Setup Guide
Overview
This Setup Guide is intended to help Procore administrators sign-up for, deploy, and configure the Dropbox Sign for Procore integration. This guide is intended for existing Procore customers and covers the setup for both existing and new Dropbox Sign customers.
New Client Registration
For Procore customers that are ready to start using the Dropbox Sign integration, both production and trial accounts are available.
First, send an e-mail to hellosign.support@teamim.com with the following information:
- Do you already have a Procore subscription?
- If yes, please contact us as we need some information to register the App
- If no, please contact Procore to obtain an appropriate subscription
- Do you already have a Dropbox Sign subscription?
- If yes, please contact us as we need some information to register the App
- If no, let us know and we can assist with procuring a suitable subscription or trial
You will receive a response requesting additional details depending on the answer to these questions.
Once the details are finalized, a subscription order and terms of service will be sent for signature.
Install the App
Once the terms are in place, your Procore client ID will be allowed to make requests to the Dropbox Sign for Procore integration. To install the integration, login to Procore as an administrator and browse to the marketplace.
Perform a search for Dropbox Sign and browse to the marketplace listing.
Click the Login to Install button and enter valid credentials to finish installing the app.
Create Document Metadata
The Dropbox Sign integration relies on custom metadata for things like assigning signatories and custom email messages. These fields must be created manually.
First, login as an admin and select Account & Admin Settings.
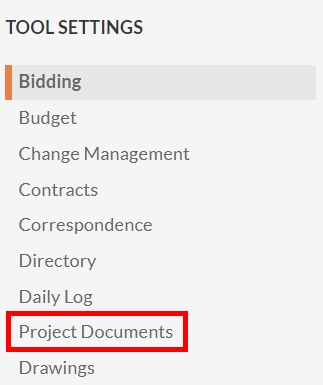
Next, select Project Documents under Tool Settings:
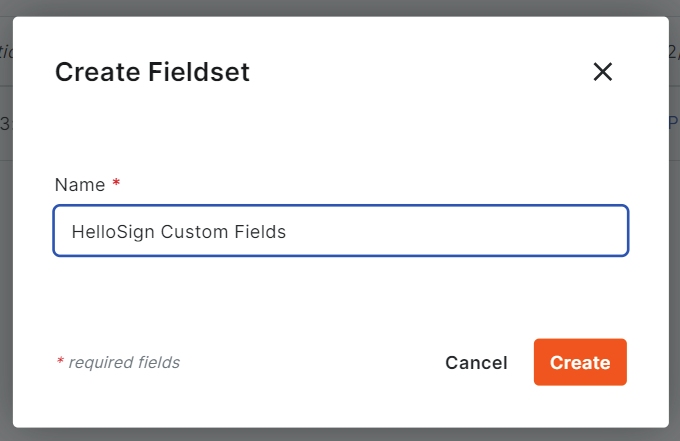
Click the Create New button to create a new Fieldset:
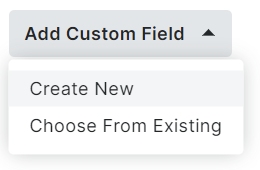
Select Create New from the Add Custom Field dropdown:
Add the following custom fields (ensure the label and type match exactly):
| Field Name | Field Type | Options | Description |
| Send to HelloSign | Single Select (Dropdown) | Cancel and Resend Send | This field is used to initiate the signature request process. |
| Date Sent On | Plain Text (Short) | Indicates when the signature request was initiated. | |
| HelloSign Error Message | Plain Text (Short) | The body of the email that will be sent to the signatories. | |
| Signer One Email | Plain Text (Short) | The e-mail address of the first signatory. | |
| Signer One Name | Plain Text (Short) | The name of the first signatory. | |
| Signer Two Email | Plain Text (Short) | The e-mail address of the second signatory. | |
| Signer Two Name | Plain Text (Short) | The name of the second signatory. | |
| HelloSign Subject | Plain Text (Short) | The subject of the email that will be sent to the signatories. | |
| HelloSign Message | Plain Text (Short) | The body of the email that will be sent to the signatories. | |
| CC Email Addresses (optional) | Plain Text (Short) | A comma separated list of e-mail addresses that should be notified of the signature request. The user that initiates the request will automatically be added as a CC. |
After all fields have been created, press the Save button.
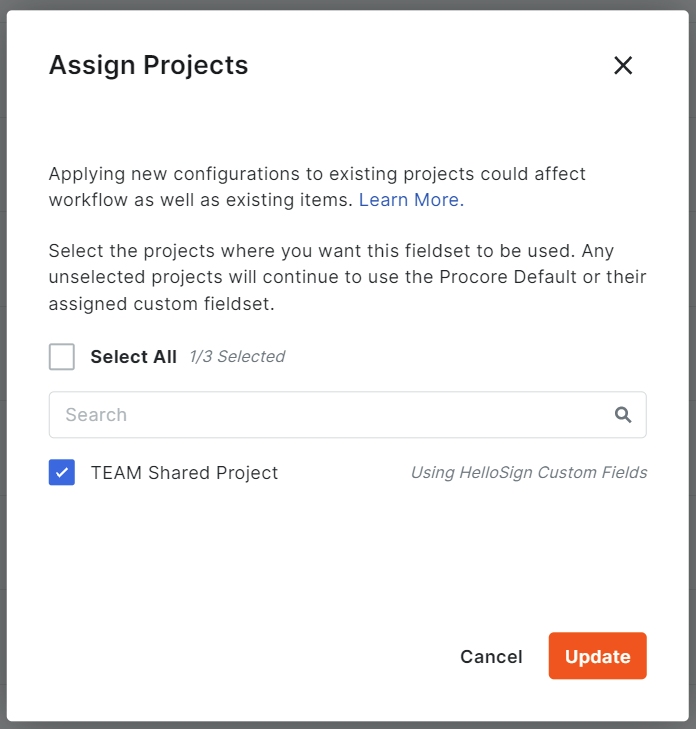
Click the Assign Projects button and assign the fieldset to the projects using the integration:
Configure Procore Project Webhook
First, sign in to Procore and select the appropriate Project that the integration will be installed into:

Next, navigate to the project's Admin tools:
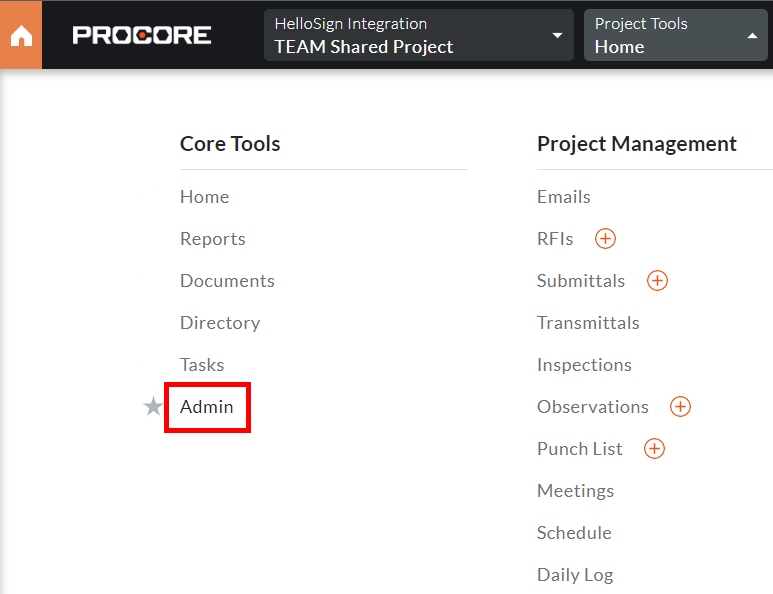
Select Webhooks in the project settings:
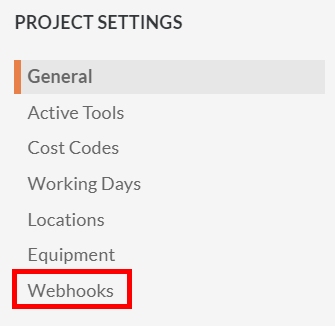
Enter the following Notification Endpoint:
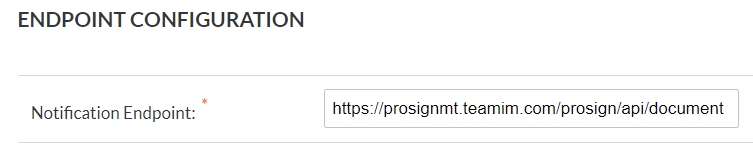
Click the Save Endpoint button.
Set Endpoint Permissions
After the endpoint has been added, scroll down and set the following permissions:

Create a Document with Text Tags
In order for your document to work with the Dropbox Sign for Procore integration, it must use text tags. Text tags tell Dropbox Sign where signatures should be placed on the document, who the signers are, and what type of fields need to be there. For a more in-depth guide on text tags, you can refer to the official Dropbox Sign Text Tags Walkthrough.
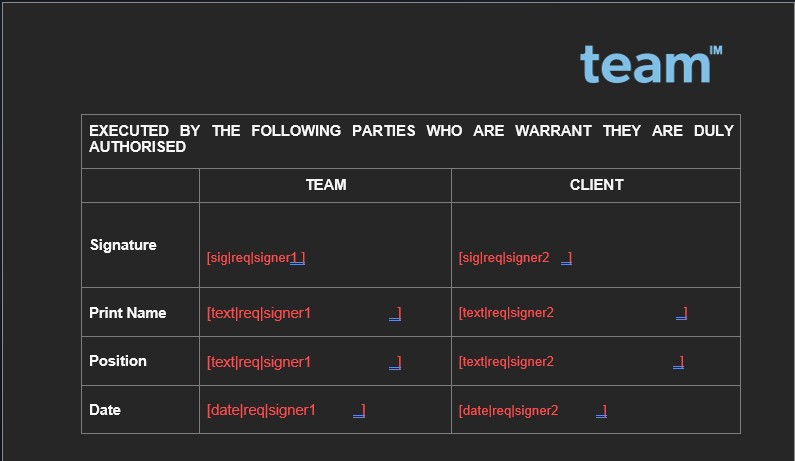
An example of text tags can be seen in the image above. Note that there are spaces at the very end of each text tag. This is to specify the font size.
To make things simple, here's each text tag and their purpose:
| Text Tag | Description |
| [sig|req|signer1 ] | A signature field will be placed here and is required to be filled in by signer1 |
| [text|req|signer1 ] | A text field will be placed here and is required to be filled in by signer1 |
| [date|req|signer1 ] | A date field will be placed here and is automatically filled in and associated to signer1 |
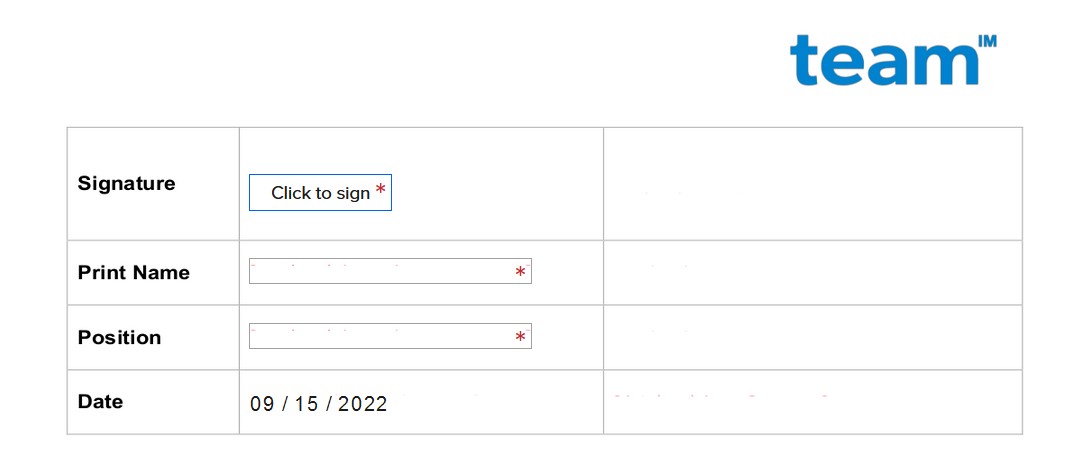
This is what the text tags look like upon viewing the document in Dropbox Sign:
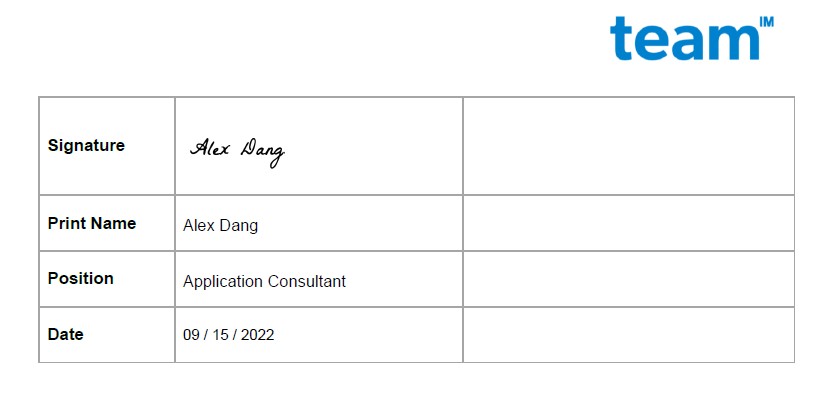
After signing the document in Dropbox Sign, this is how the signed text tags appear:
Congratulations! The Dropbox Sign for Procore integration is now configured and ready to use.