Configure Procore
Install App From Marketplace
First, start by installing the Dropbox Sign for Procore app from the Procore Marketplace. To do this:
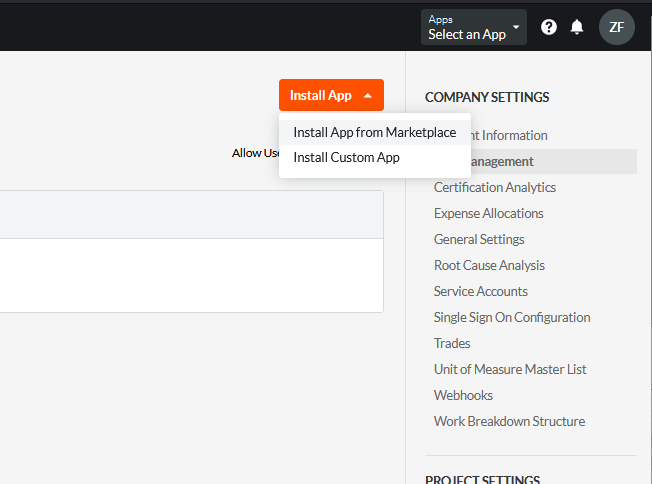
- Login to Procore as an administrator and select “App Management”
- Select “Install App” and then “Install App from Marketplace”
- Search for “Dropbox Sign for Procore”
- Press the “Install” button
Configure App
Next, create an app configuration that specifies which projects the app will be displayed for:
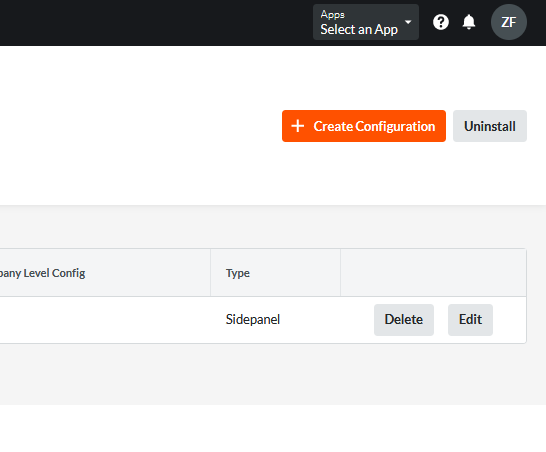
- In the App Management screen, select "View" next to Dropbox Sign for Procore
- Select "Configurations" and then "Create Configuration"
- If the app should be displayed for every project, select "Global Projects Config." Otherwise, select the appropriate projects where the side-panel app should be enabled.
- For the title, enter "Dropbox Sign for Procore"
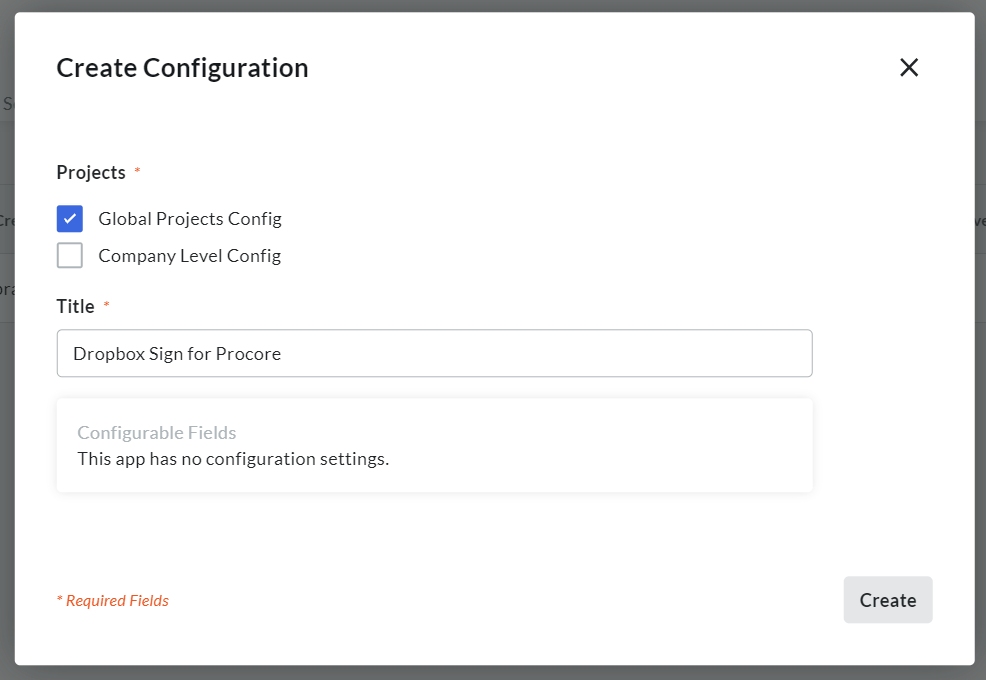
- Press the "Create" button
Configure Permissions Template
- Click the Procore icon in the top left to ensure you are at the company level
- Select Company Tools > Permission
- Select the "Projects Permissions Templates" tab
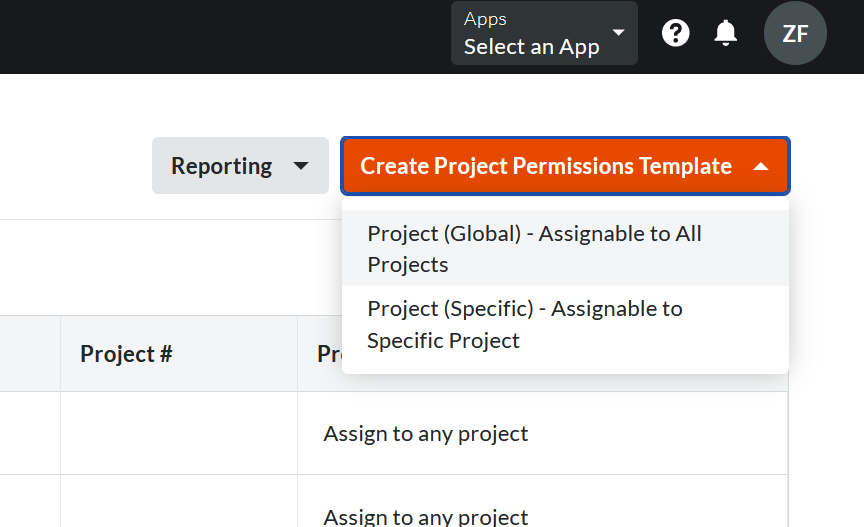
- In the top right corner, click "Create Project Permissions Template" and select the "Global" option
- Provide a name for the permission template, such as Drobox Sign Permission Template
- Click "Confirm"
- Provide the appropriate permissions to the newly created template per the integrations requirements
tip
The requested permission levels can be found under the apps Permissions tab through the App Management section of Procore
- Click "Save"
- Select Company Tools > Directory
- Find the prosign-app-xxxxxxxx user, where the x are random values

- Edit this user
- Locate and click the field for "Select Default Template"
- Apply the newly created permission template to the "Bot User" & select "Apply"
- Once done, click the box for "Add {bot-user-name} to all new projects". This settting will add the "Bot User" to all new Procore projects moving forward.
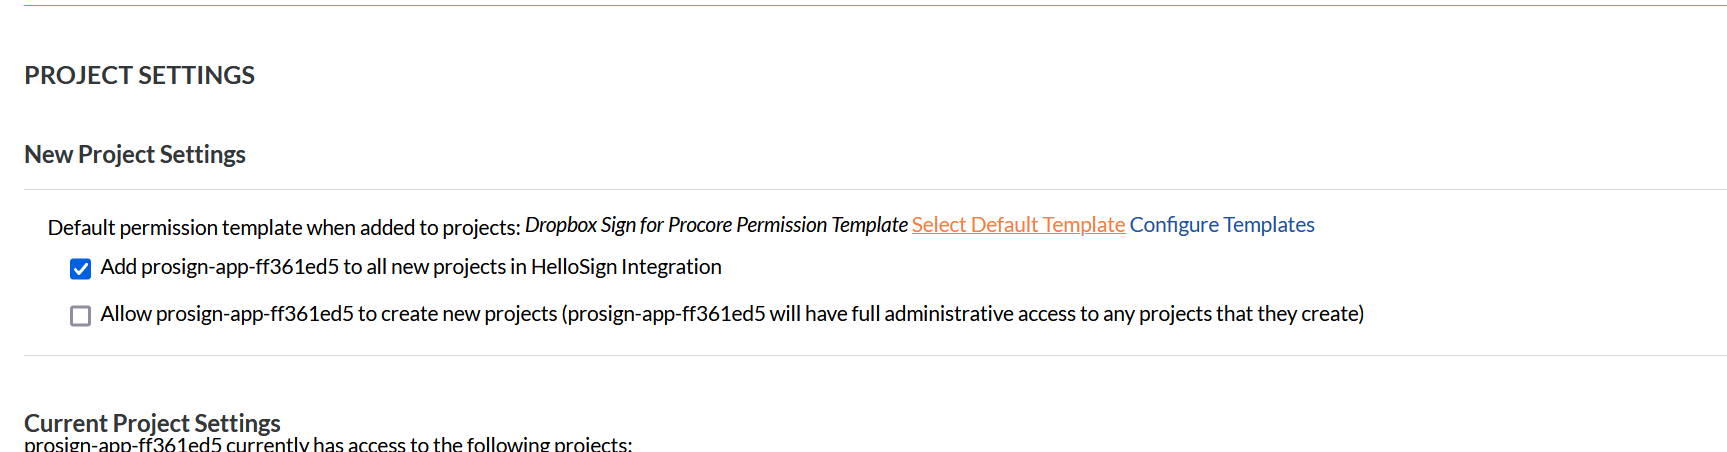
- To retroactively add the "Bot User", click the "Add All" button to add to existing Procore projects.
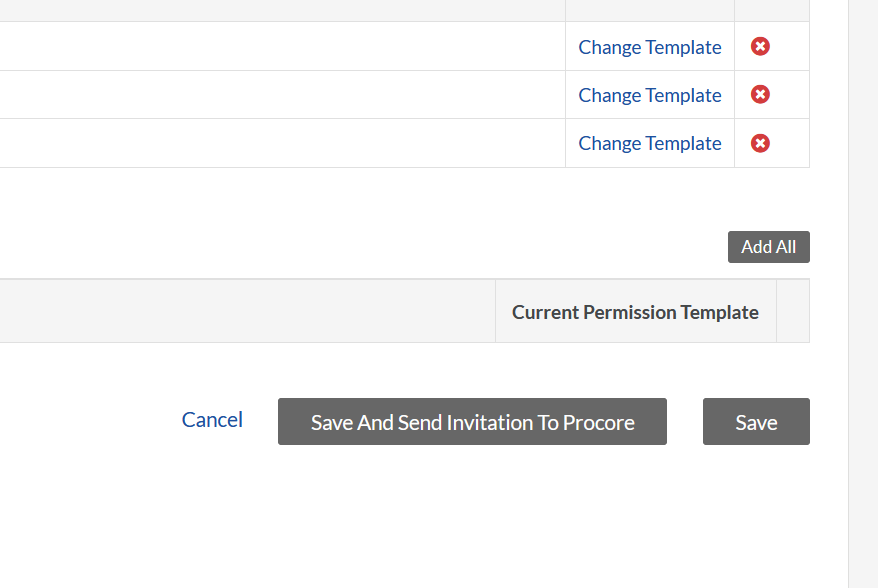
- Scroll down and select "Save" at the bottom of the screen
Register App
- Browse to a Purchase Order or Subcontract and Open the Side-Panel for the first time.
- The integration must be registered using a Procore user with admin permissions.
- Login to the Procore within the side-panel.
- Select either a 14-Day Trial or Purchase
- Fill out the forms, which includes your contact and billing information, your Dropbox Sign details, as well as selecting signature packs and a term.
- Review the details and press Submit.
- If you chose to purchase the connector, your order will be submitted and you will be sent an invoice.
- Refresh the page, choose whether you want an API connection or a User connection. You'll need to have a UserID and either API-Key or OAuth-Key to enter.
- An API connection helps to track signatures sent at a company level.
- A User OAuth connection helps to track signatures at the user level, with user having their own login accounts.
- A Global OAuth connection helps to track signatures at a user level, however it uses a single account for all users.
- At this point you can refresh the page again to start using the integration in test-mode.
- Once you are ready to switch to live-mode, contact dropboxsign.support@teamim.com