Inspector Manager+ User Guide
Role Information
The inspector Manager+ role is the advanced role which allows users to do all the functions of the inspector role in addition to being able to create projects, generate report templates, and manage survey templates, users, roles, and access.
Inspector Manager+ Project Capabilities
Inspector Manager+ users have elevated permissions in regard to projects. Inspector Manager+ users, in addition to the inspector capabilities, can:
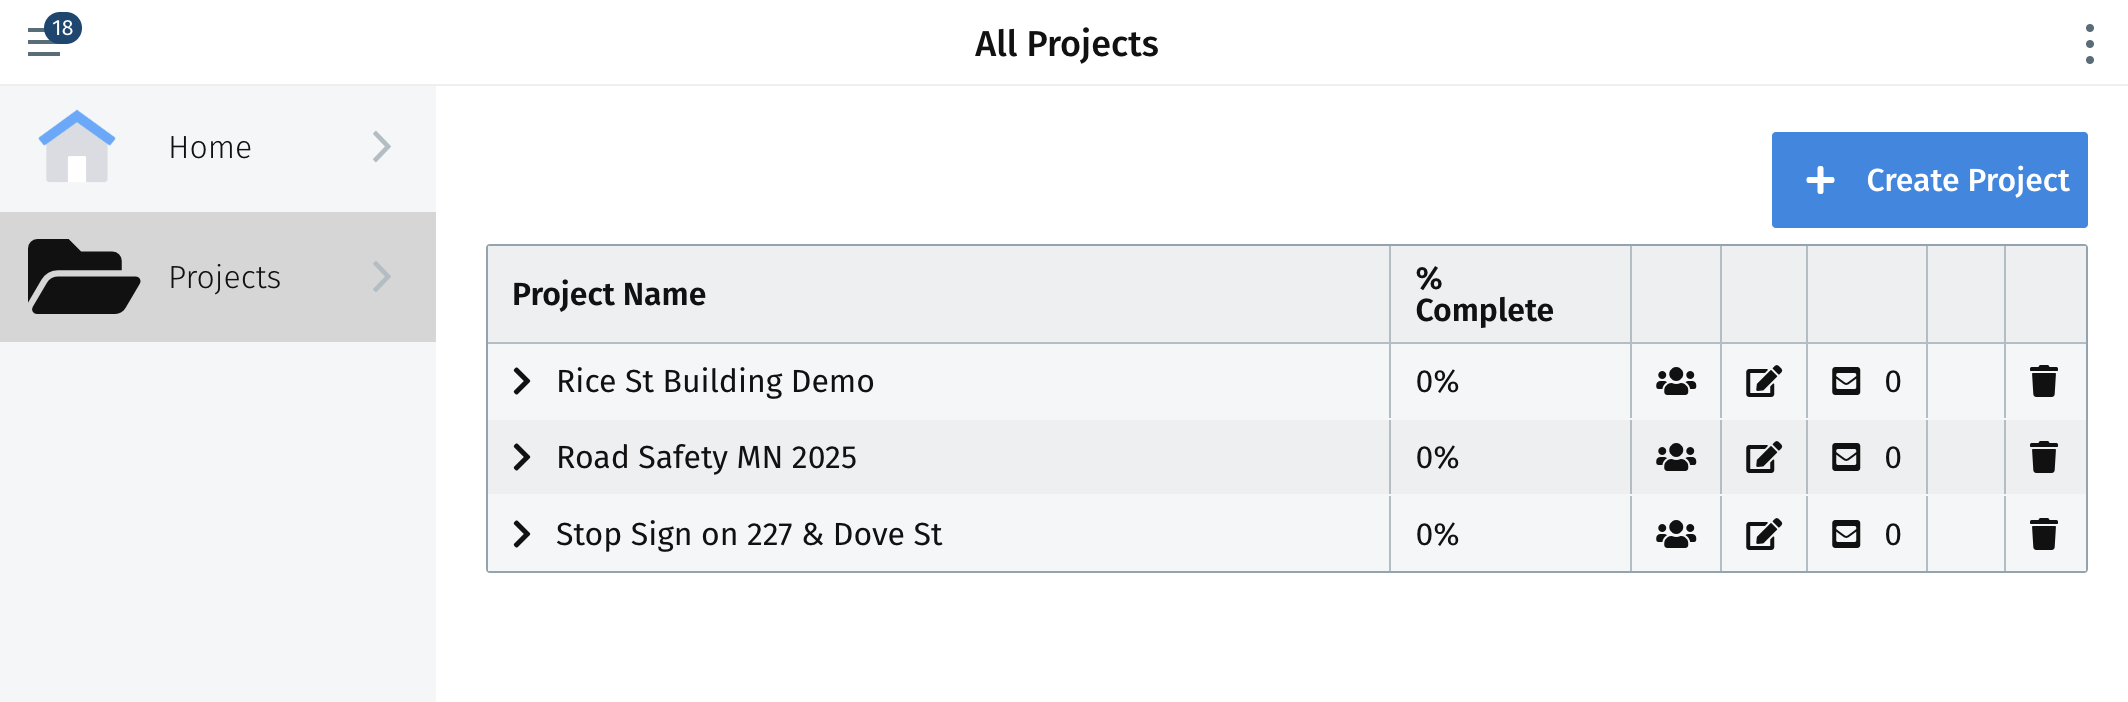
- View all projects within their Inspection Management instance (within the project landing page)
- View and add users to the project (by selecting the people icon next to the percentage complete column)
- Delete projects (by selecting the trash can icon within the far right column)
- Create projects (by selecting the "Create Project" above the project table within the project landing page)
Create Project
Inspector Manager+ users can create projects by selecting the "Create Project" button within the project landing page. Once selected, Inspector Manager+ users are directed to a page to create a project
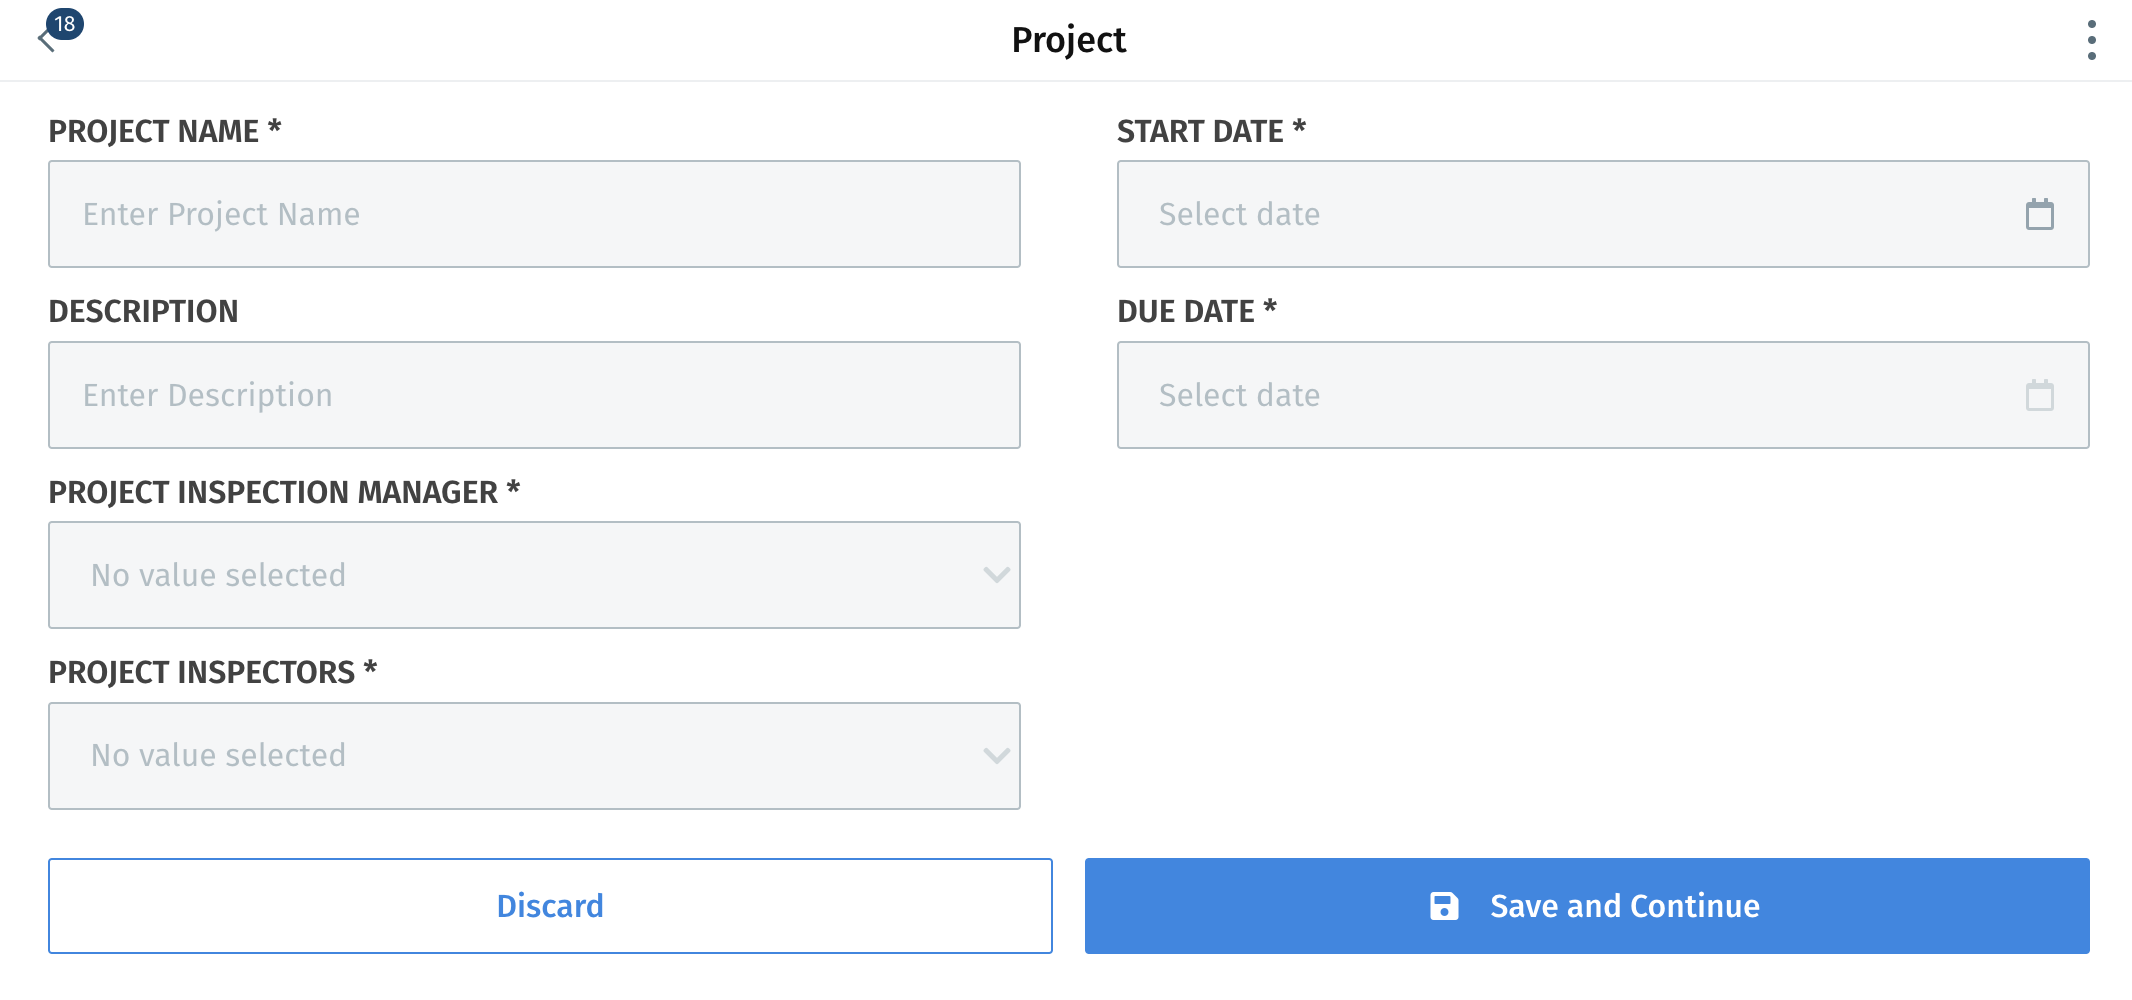
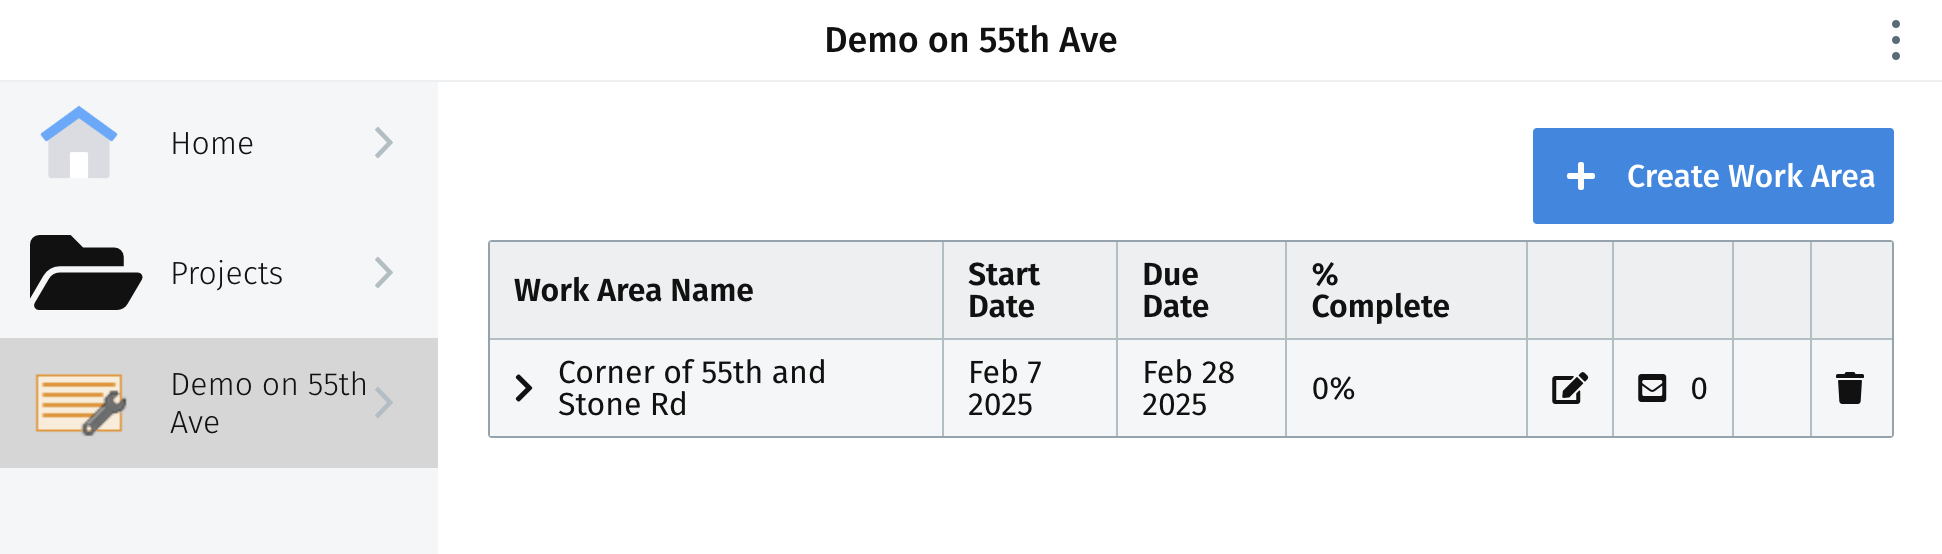
After being saved, Inspector Manager+ users will be directed to the project details page
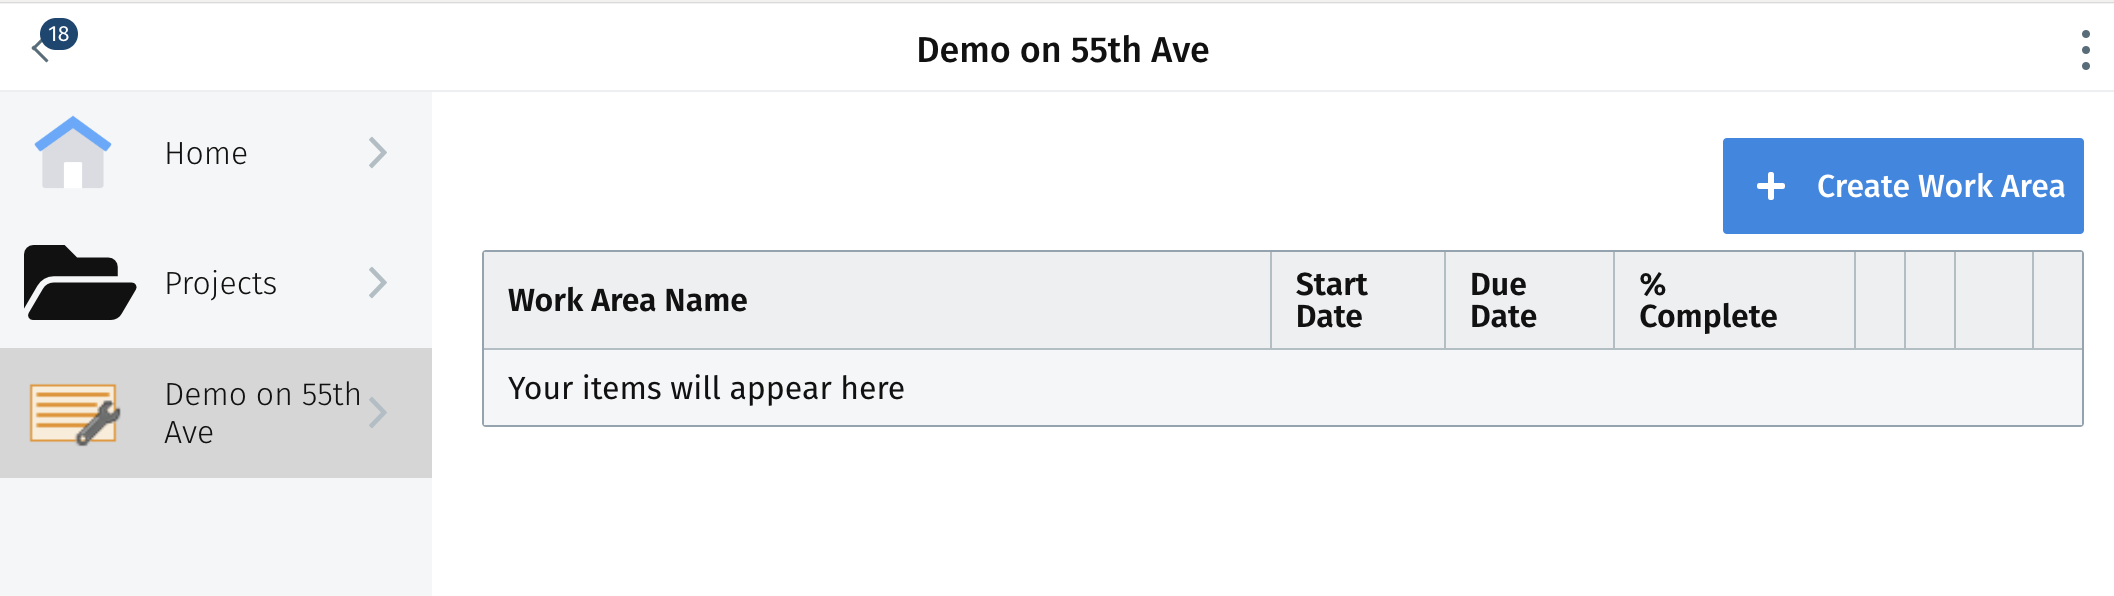
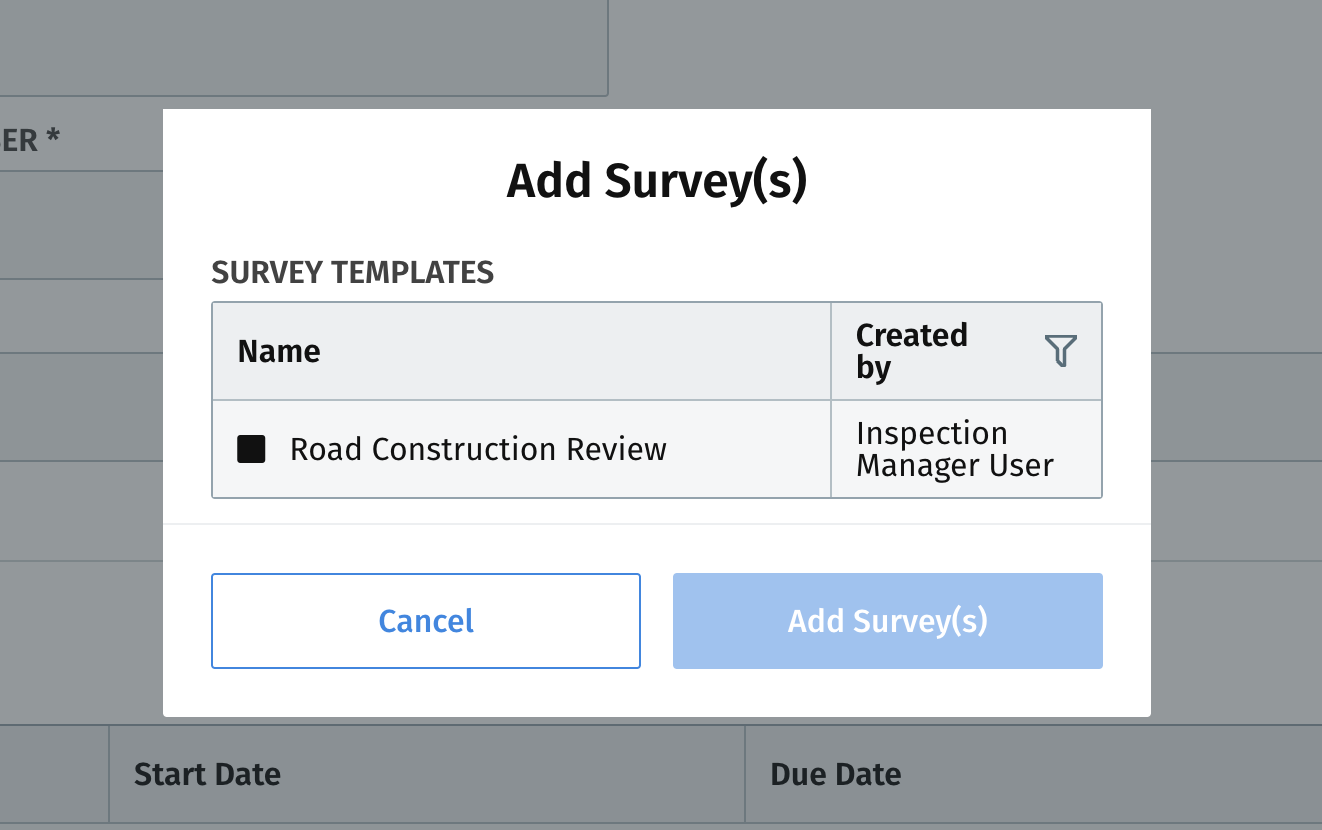
From this screen, Inspector Manager+ users can create a work area and complete the necessary fields and details to save a work area, including associating a survey template with the work area within the project
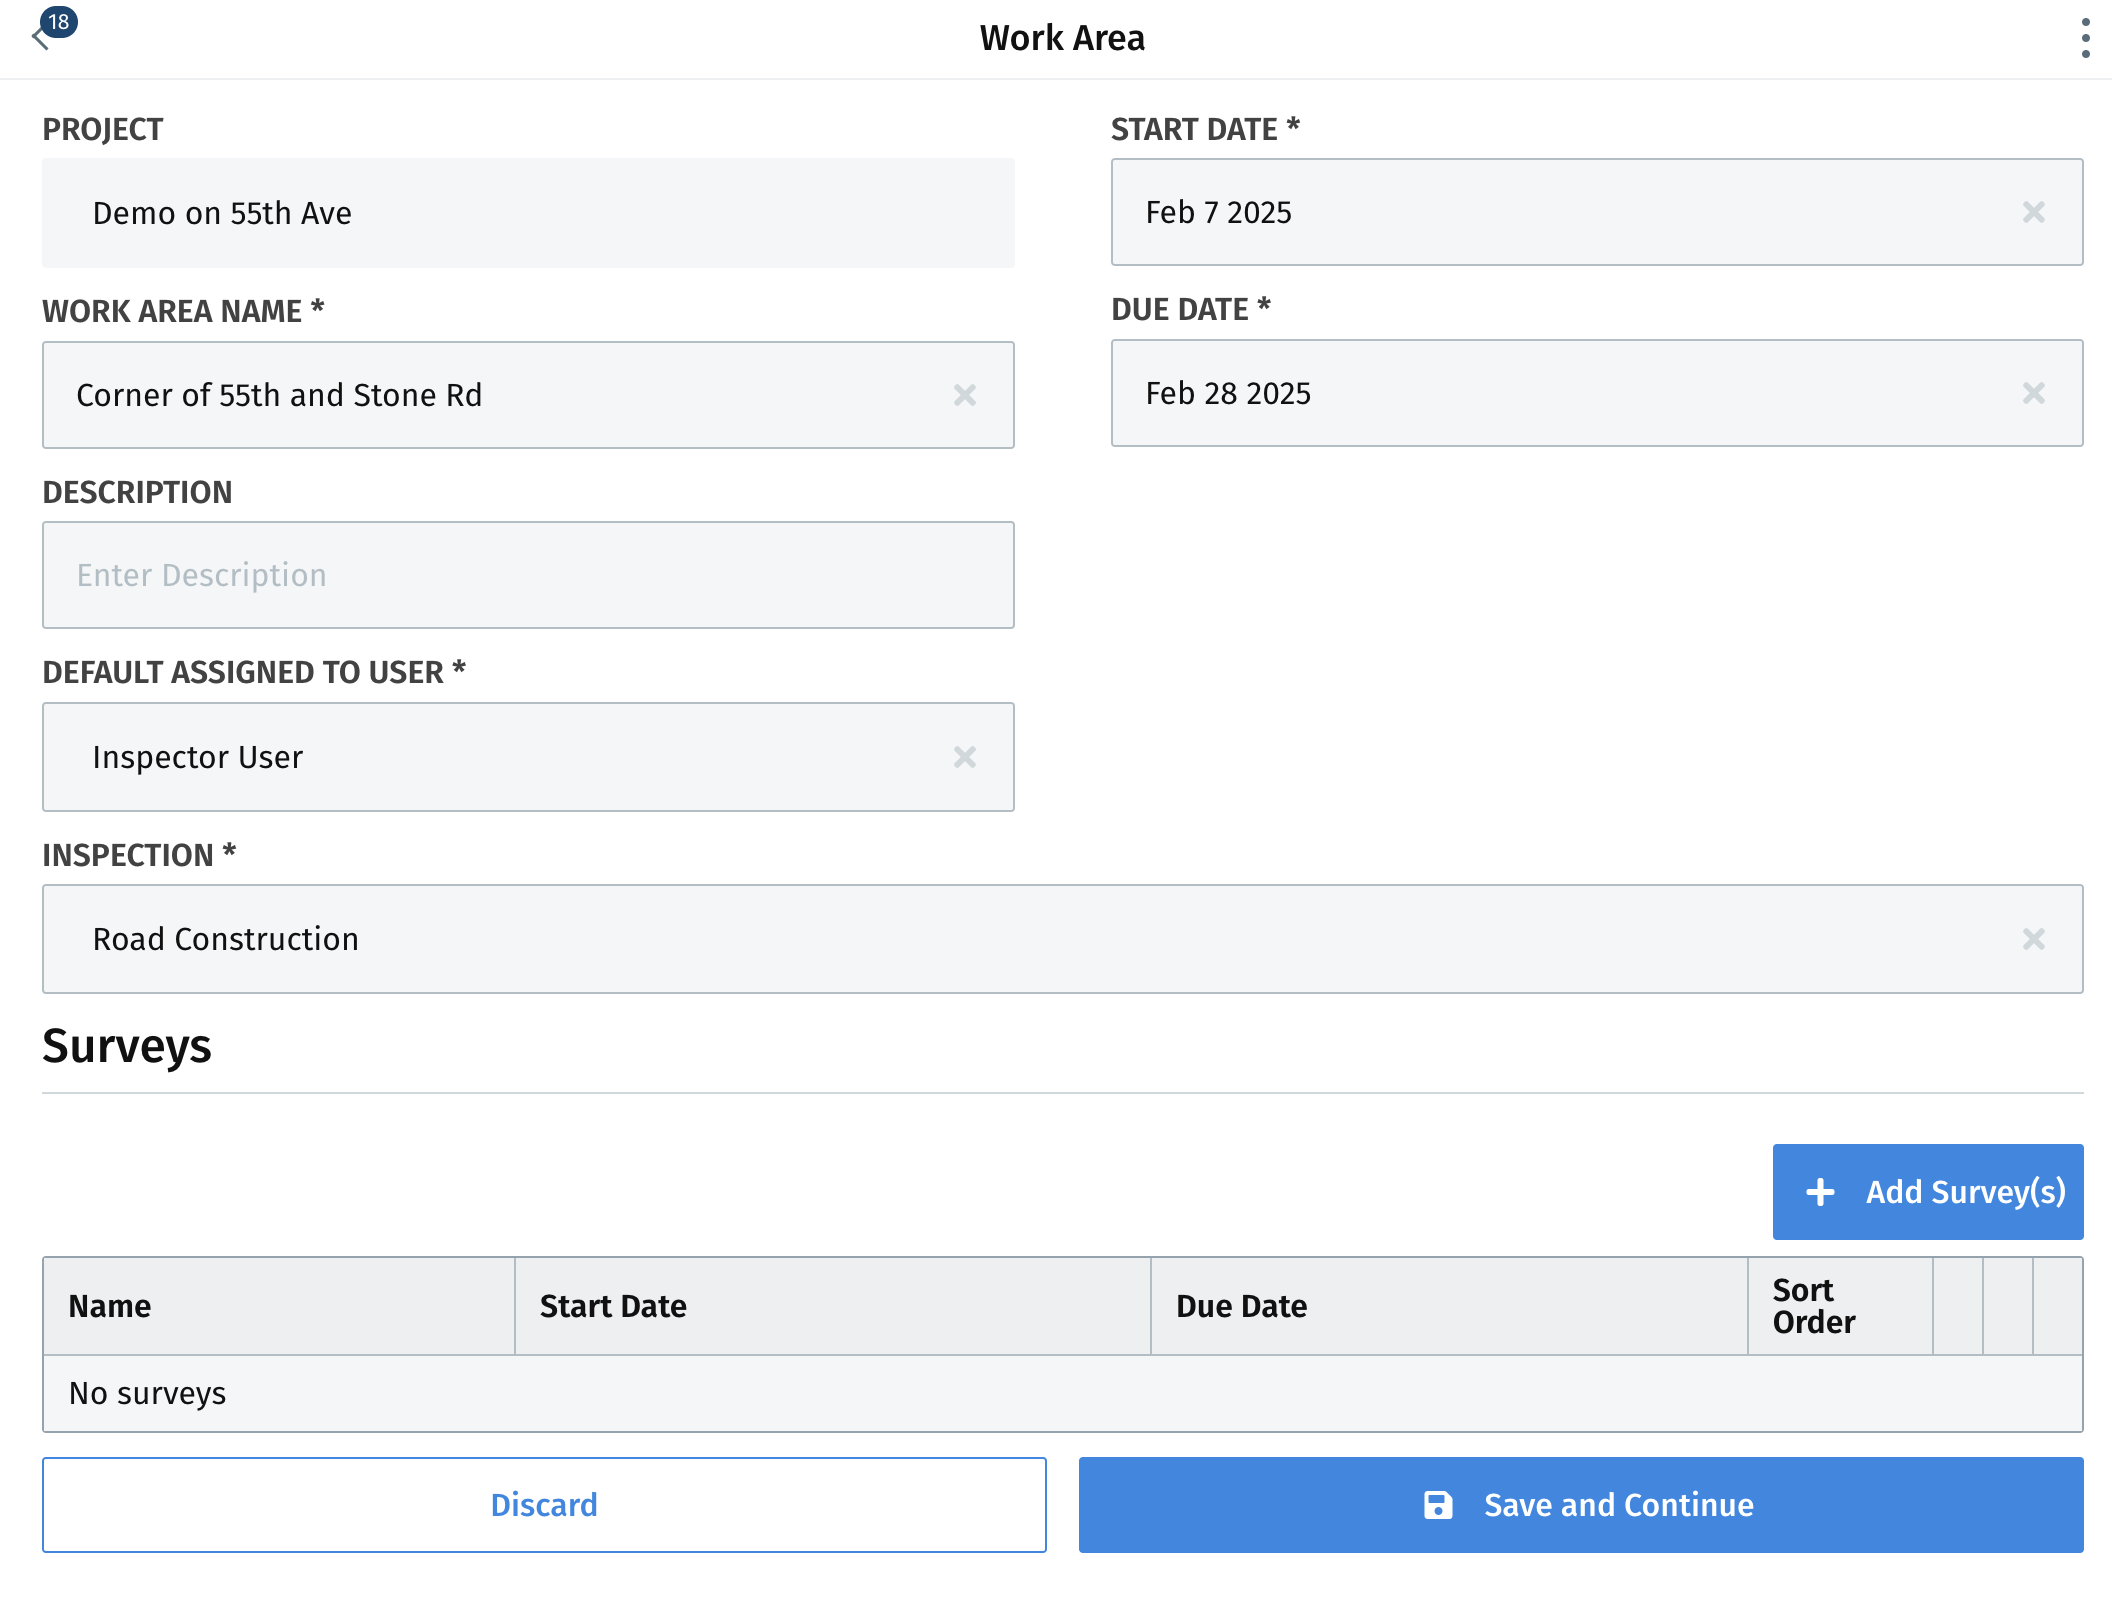
After Inspector Manager+ users enter in the inspection type field, they are able to add a survey based on the inspection type
After saving the work area, the Inspector Manager+ users are brought back to the project detail page to add another work area or view the newly created work area. They can also edit or delete the newly created work area within the detail page
Inspector Manager+ Survey Templates
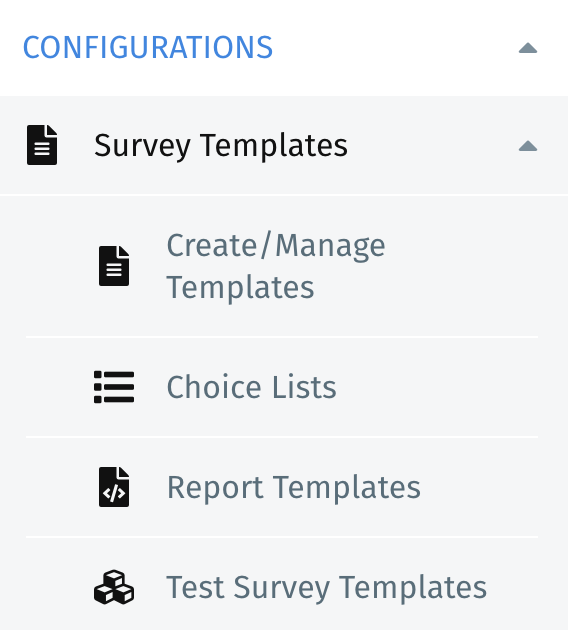
Inspector Manager+ users have the ability to manage survey templates as well as choice lists and report templates within their Inspection Management instance. They can do so by navigating to the survey templates section within the main navigation:
Inspector Manager+ Create/ Manage Templates
Inspector Manager+ users can create and manage templates by choosing the "Create/ Manage Templates" option within the survey templates section of the navigation. Survey templates are used to set a standard for the surveys inspectors follows and allows all the questions and required information to be gathered quickly and easily once the template is setup. Once a Inspector Manager+ user selects the create/manage templates menu item, they will be brought to the survey templates landing page
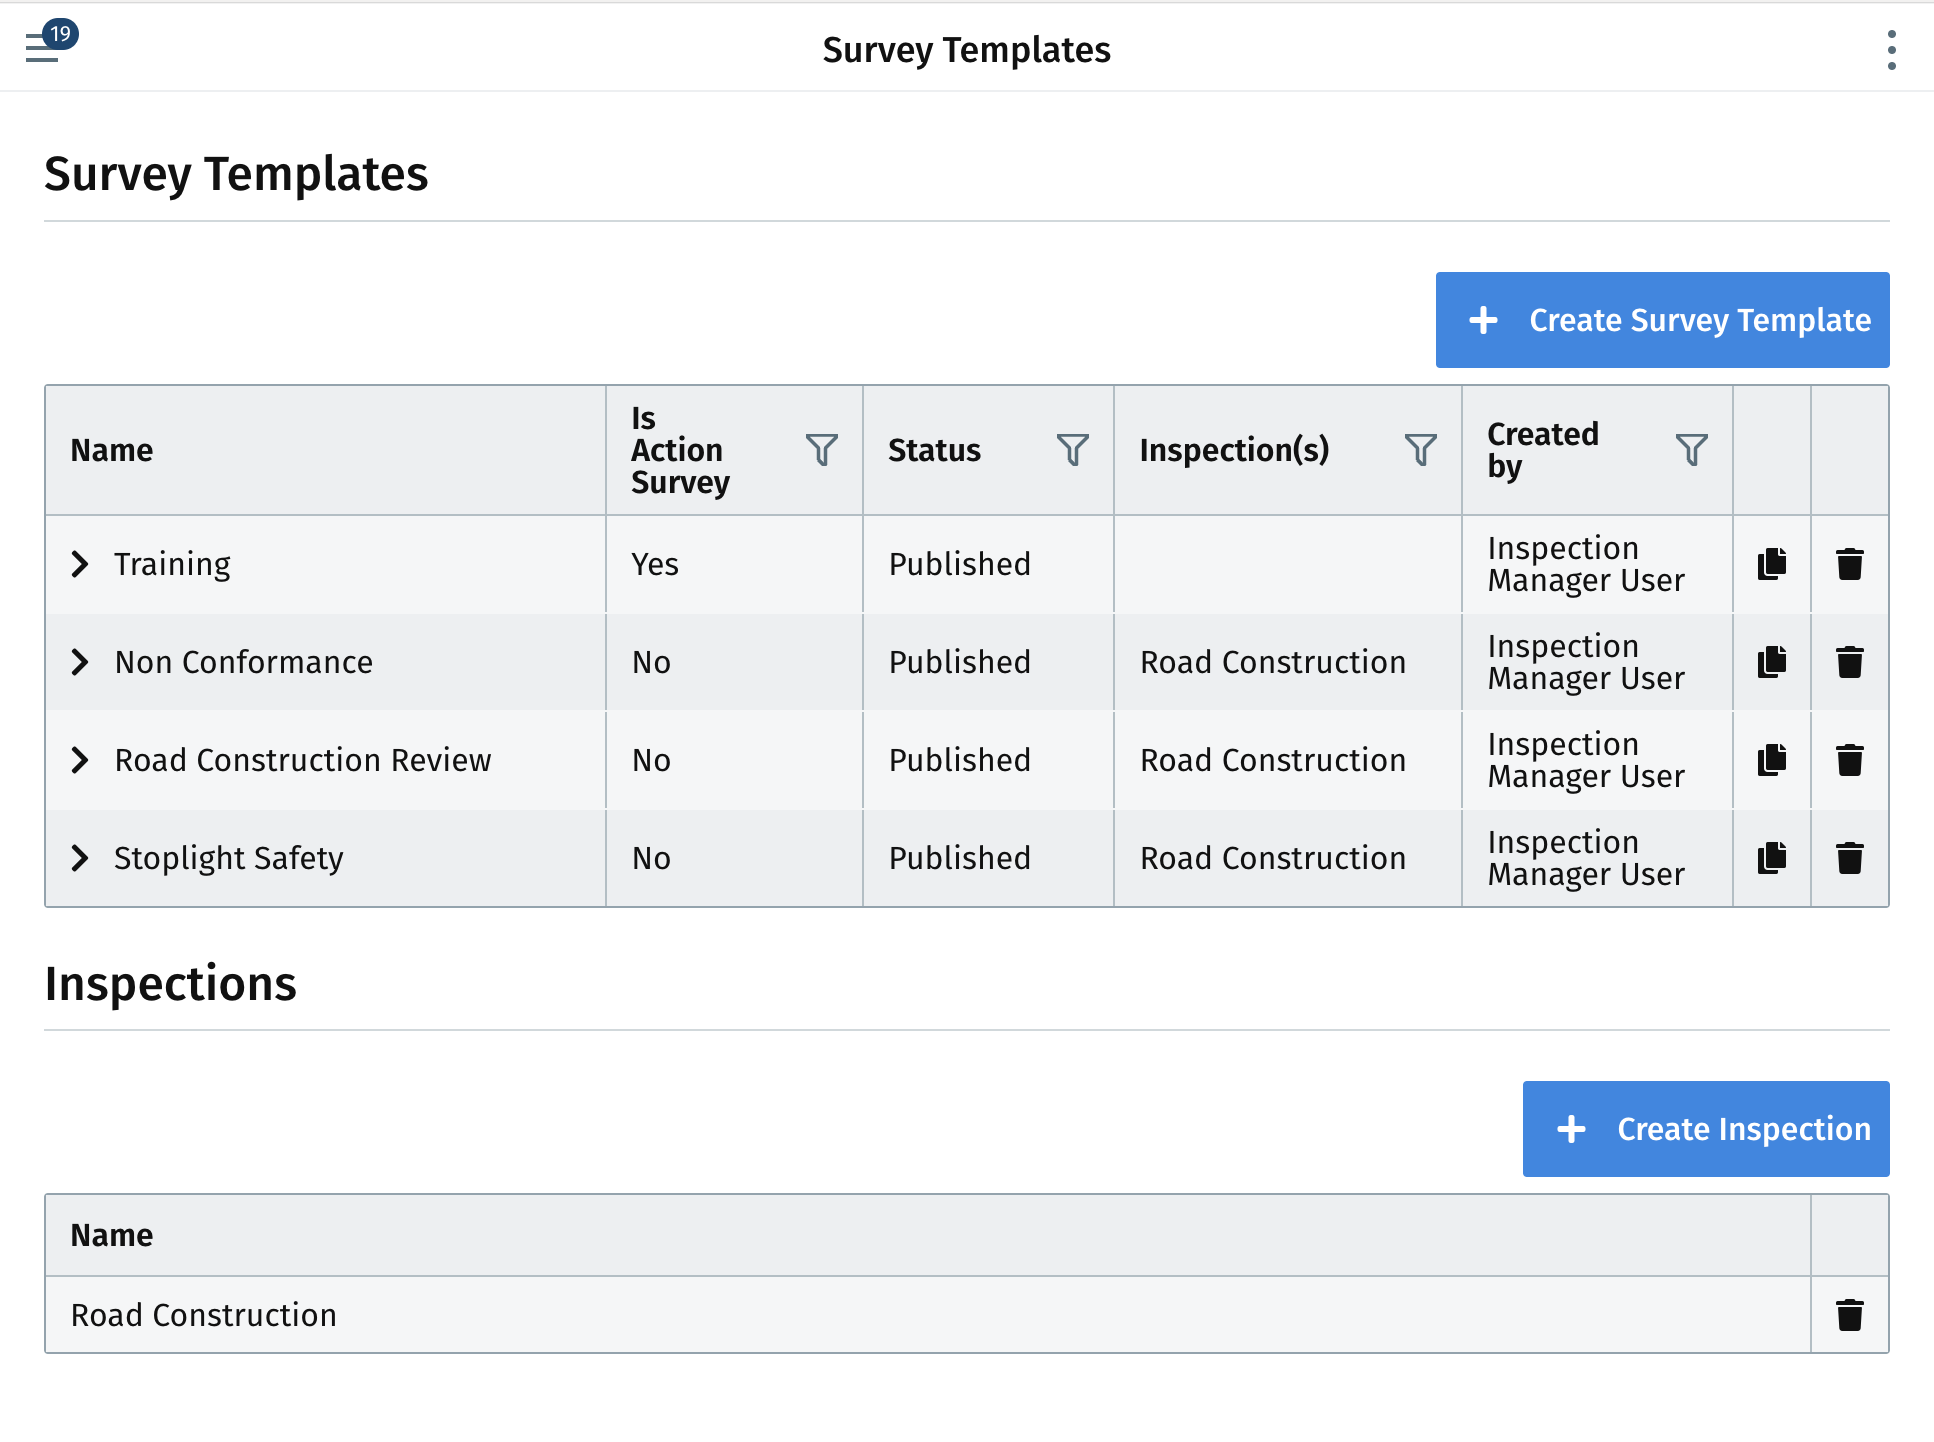
Within the survey templates landing page, Inspector Manager+ users can view all the templates and inspection types created. They can also view the following survey template details within the landing page:
- Template name
- Is action survey
- Status
- Inspection type
- Created by
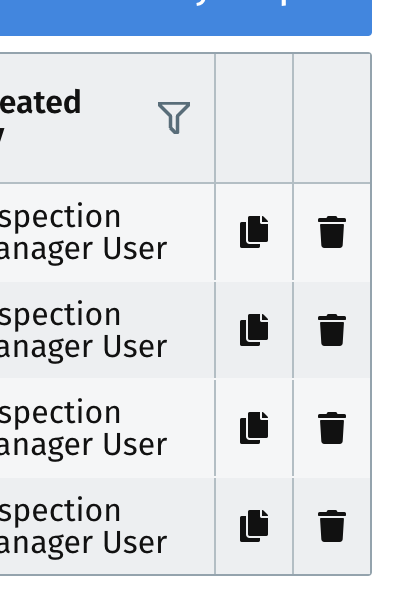
Inspector Manager+ users can also copy and delete survey templates by selecting those actions within the template row:
If an Inspector Manager+ user wants to view and edit a current survey template, they can easily do so by selecting the survey template and then they will be brought to the survey template details page
Here they can edit the template details including:
- Template name
- Survey type
- Inspection type
- Survey actions
- Ordering of the fields and sections
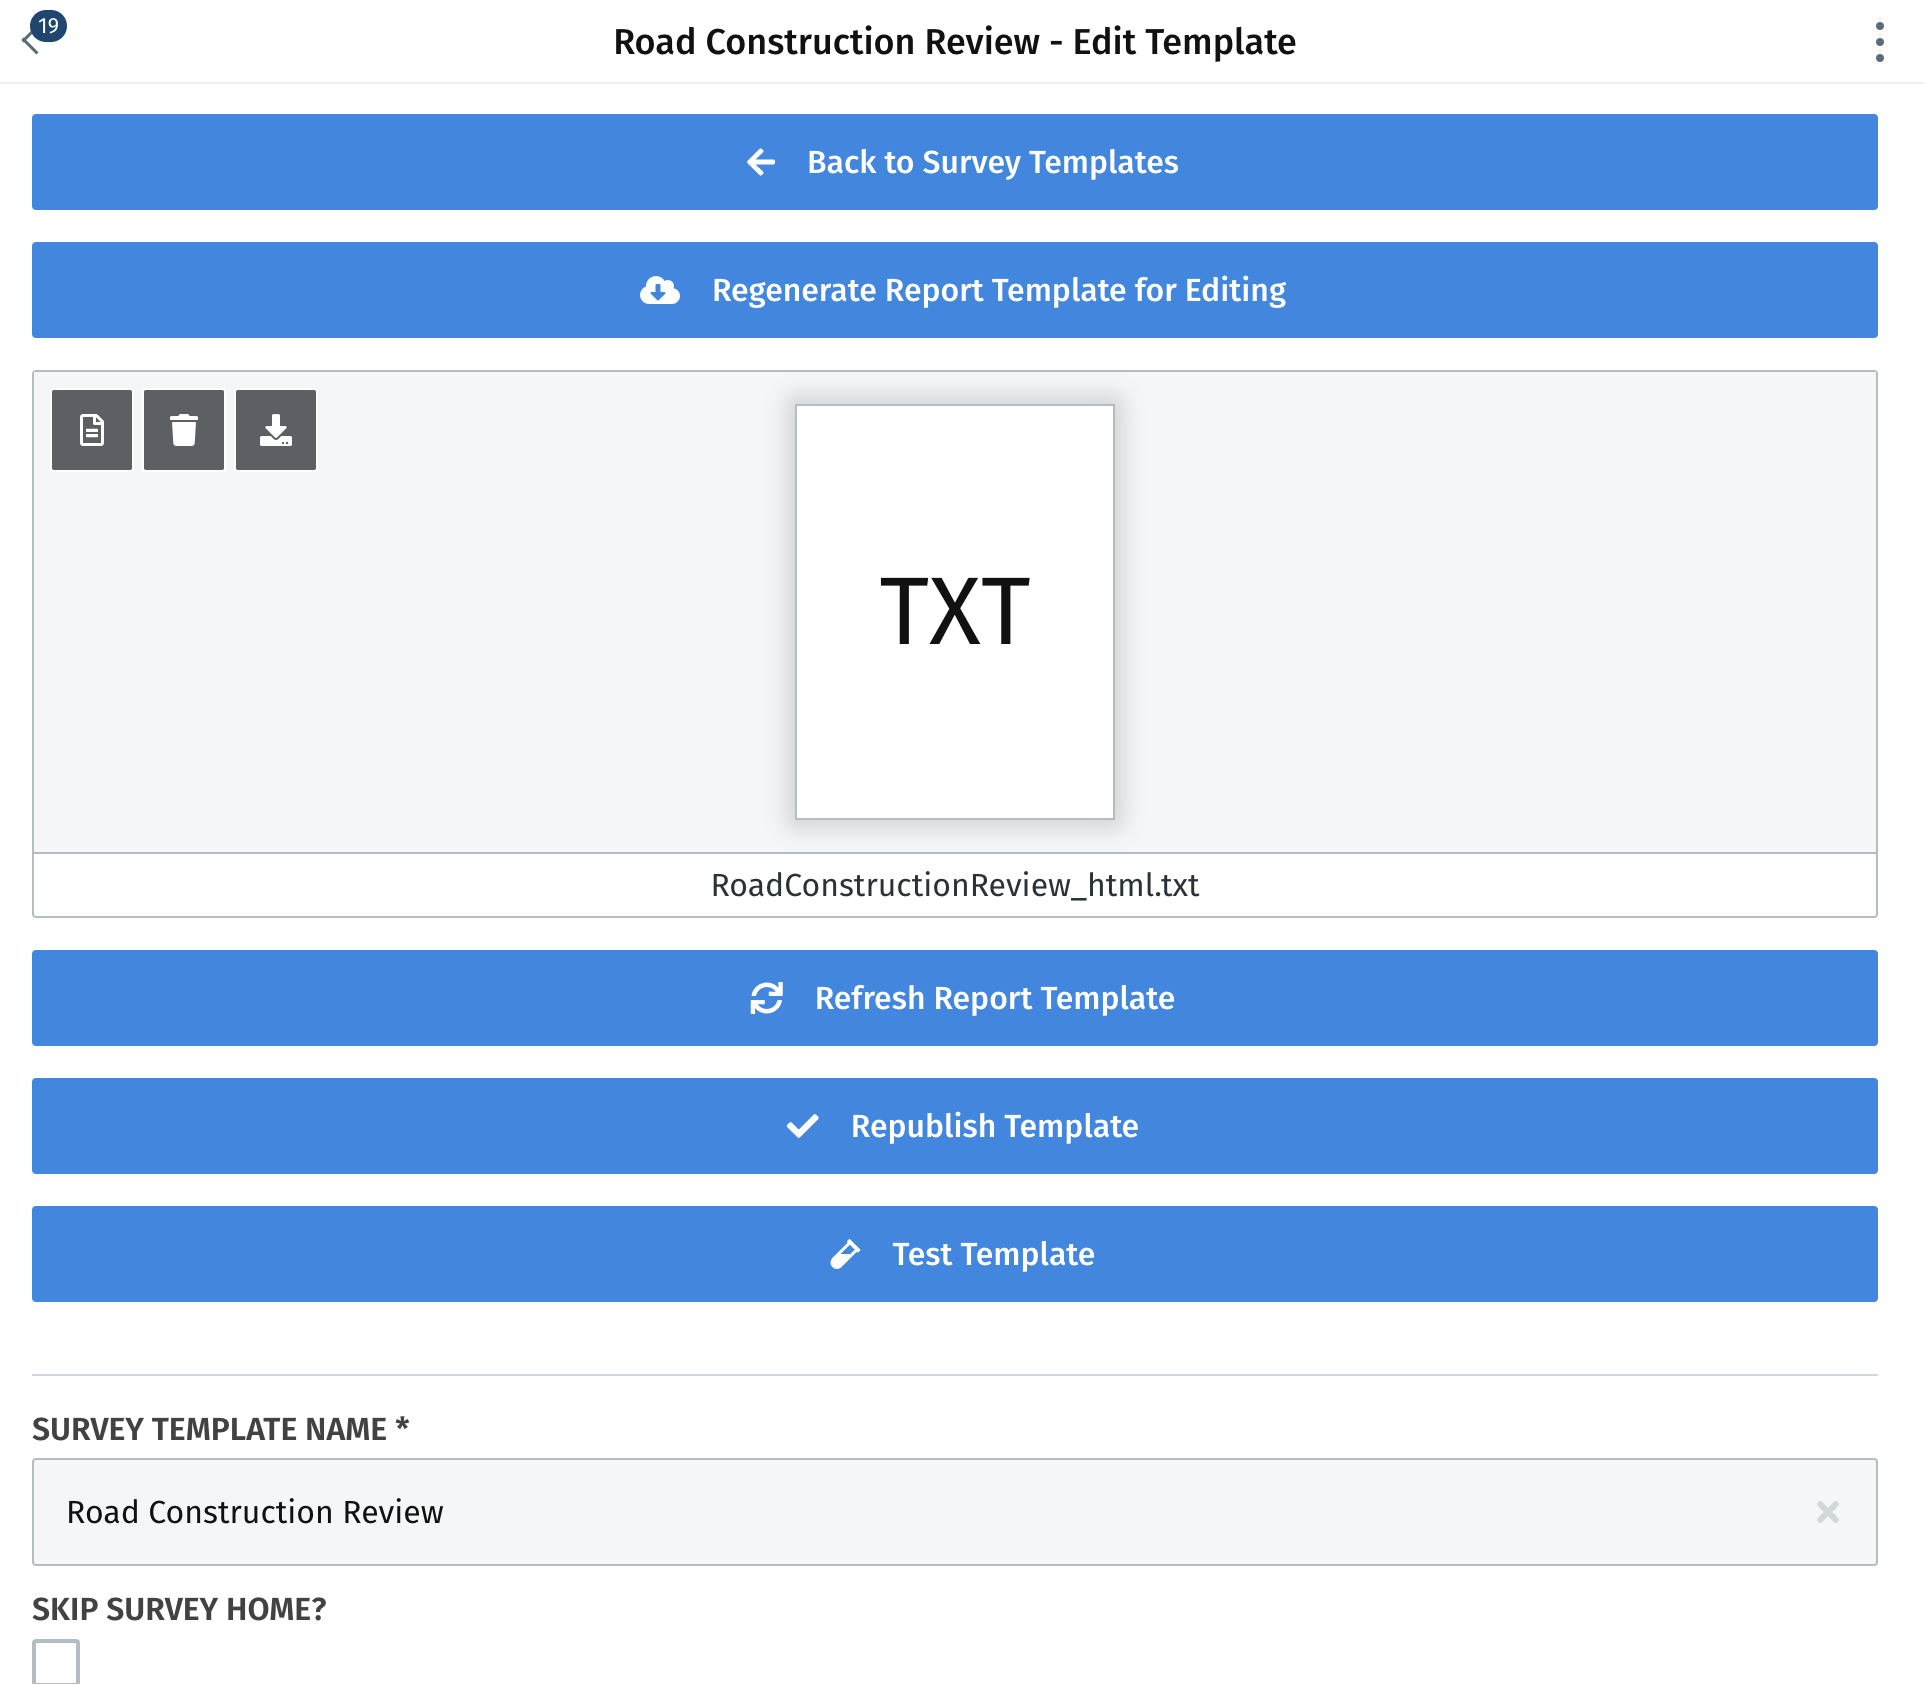
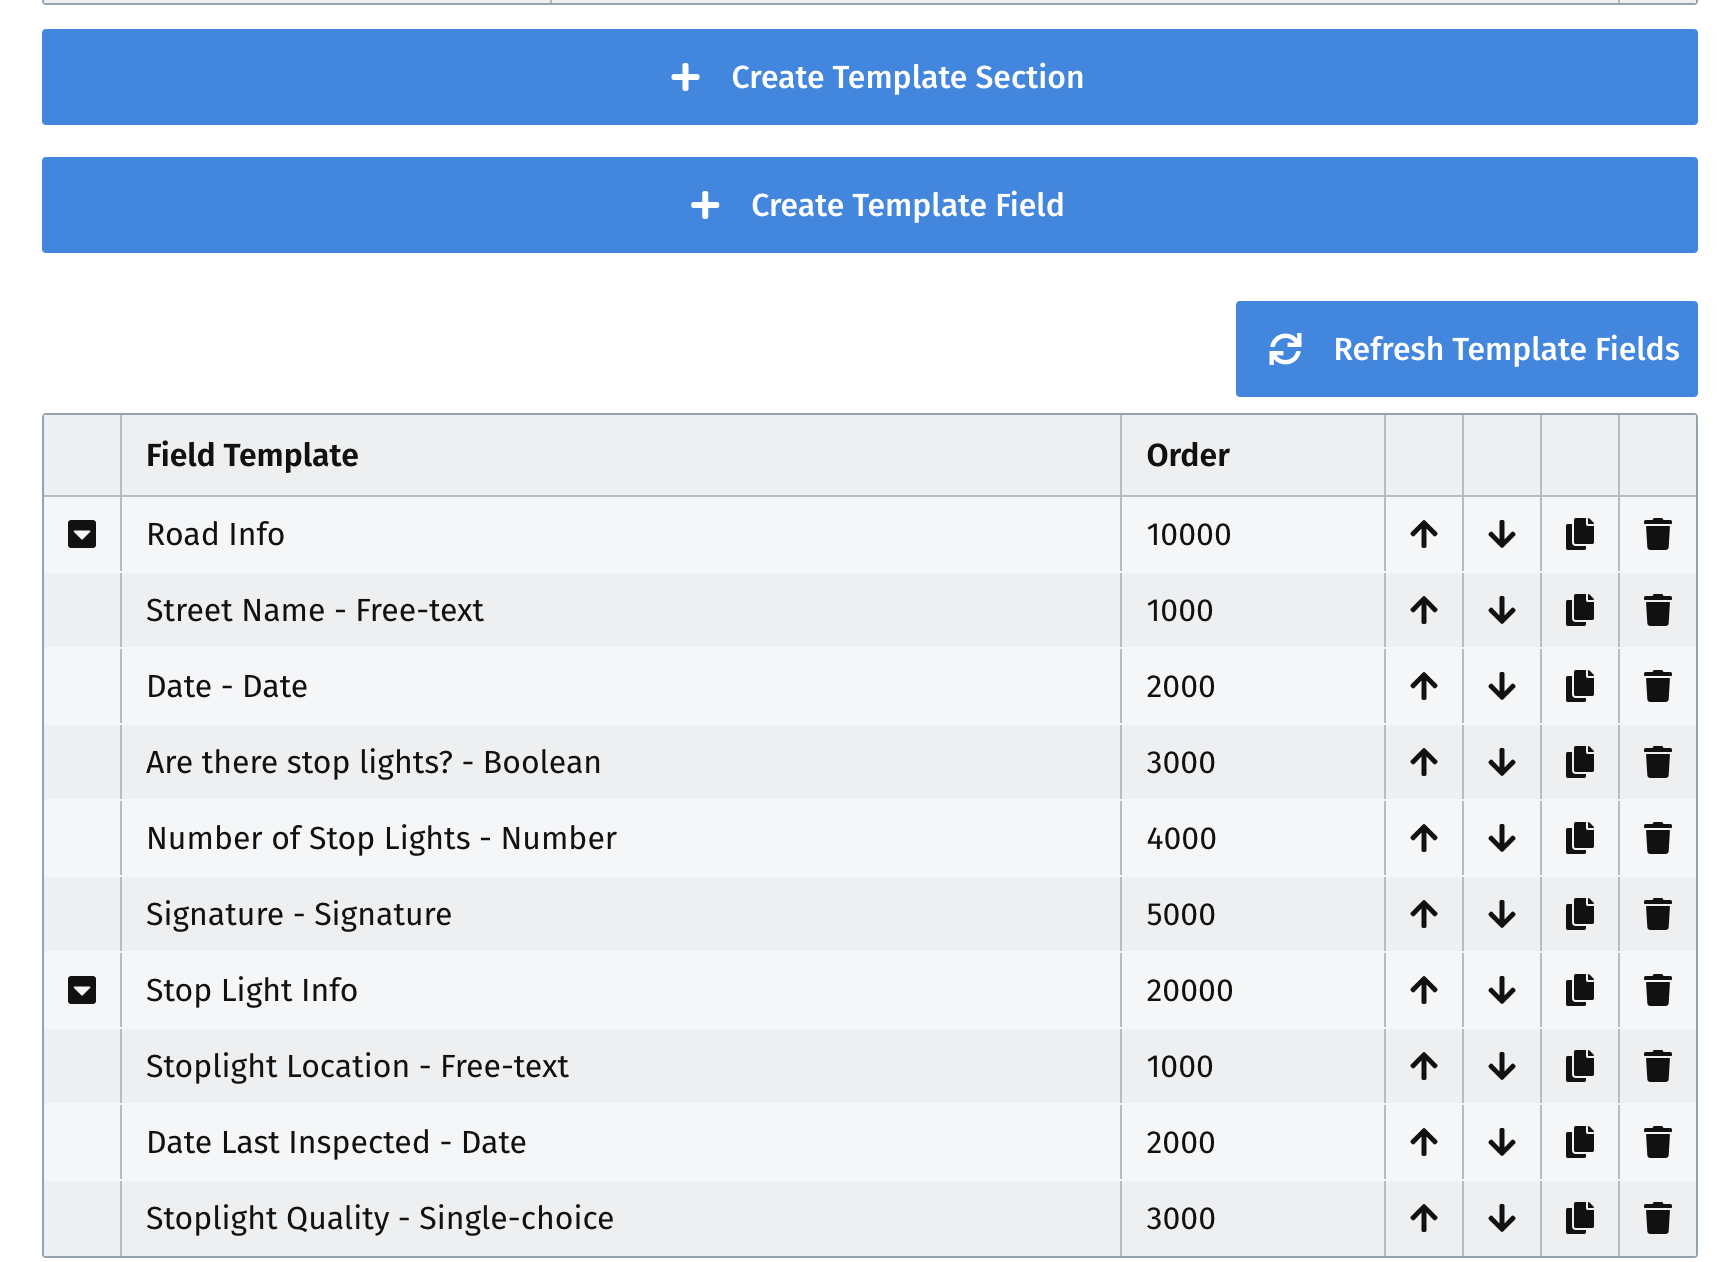
Inspector Manager+ users can also add in additional sections and fields as well as edit the existing by simply selecting the "create" functions noted within the template details page. By selecting "Create Template Section" the system adds a new section into the survey template. Selecting "Create Template Field" adds a field into the survey section.
Survey actions can be added to alert a user when a survey is initiated or completed. If an Inspector Manager+ user needs to remove any actions, fields, or sections within the template, they can do so by selecting the trash can icon next to the row
After any changes have been made, the Inspector Manager+ user has to select "Republish Template" to save the changes

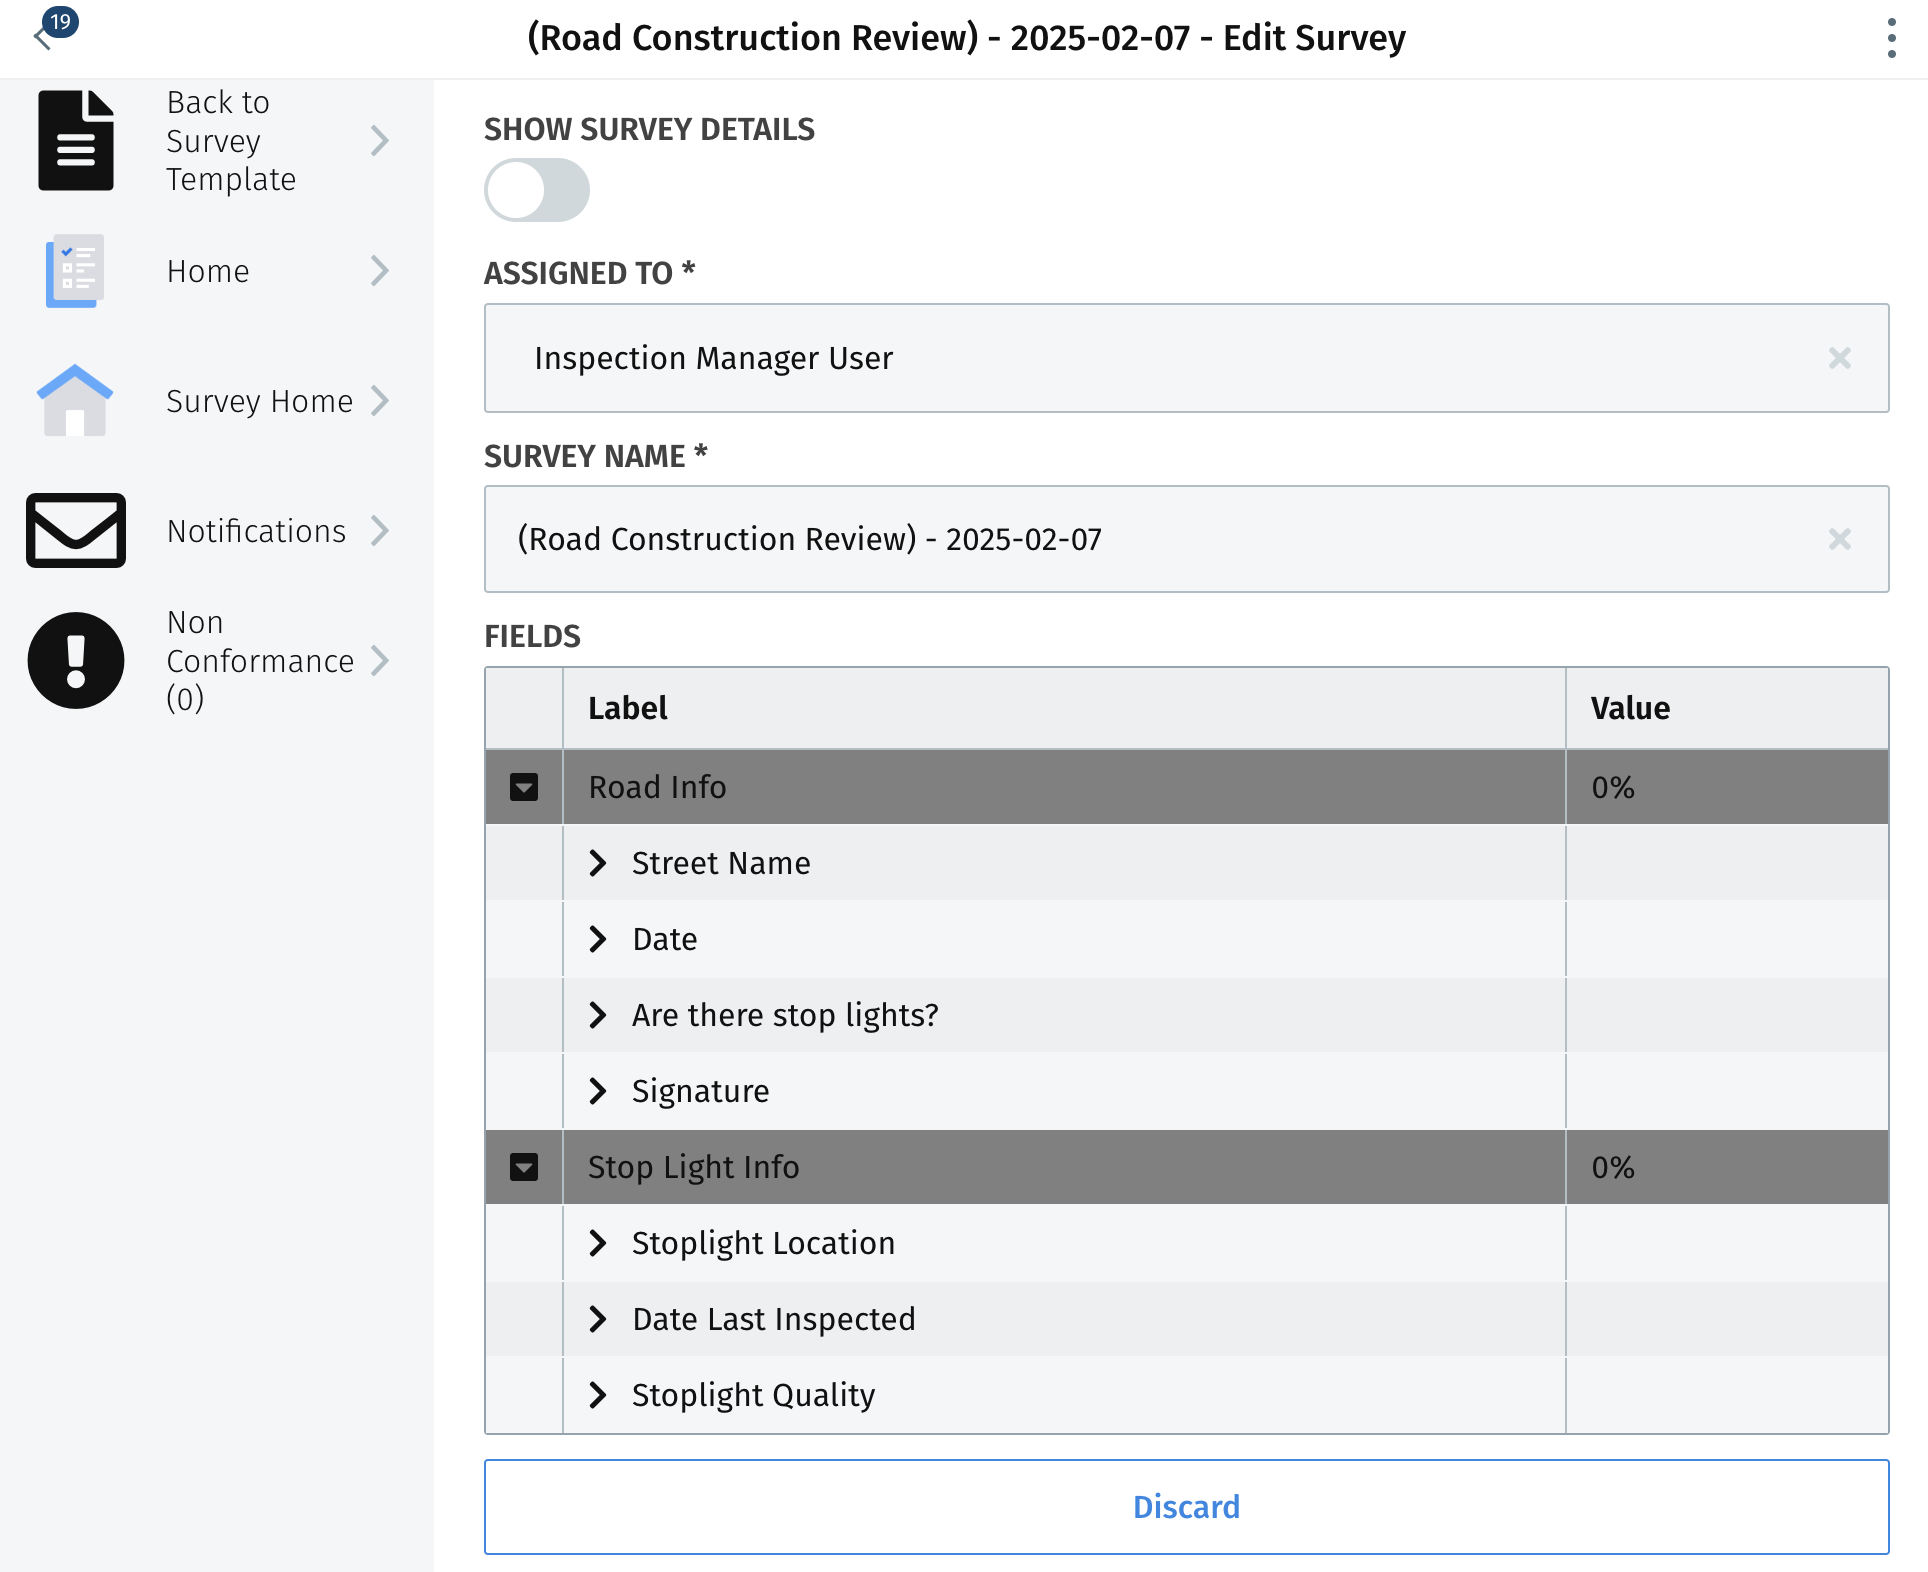
If a Inspector Manager+ user wants to test a template by replicating how an inspector would fill out a survey, they can do so by selecting the button "Test Template". From there, the Inspector Manager+ user will be brought to a screen to fill out the survey test
Creating a Survey Template
Inspector Manager+ users can also create a new survey template through the Create/ Manage Templates landing page by selecting the "Create Survey Template" button
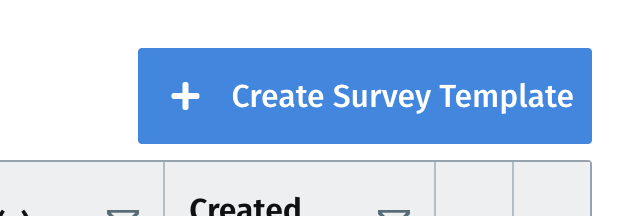
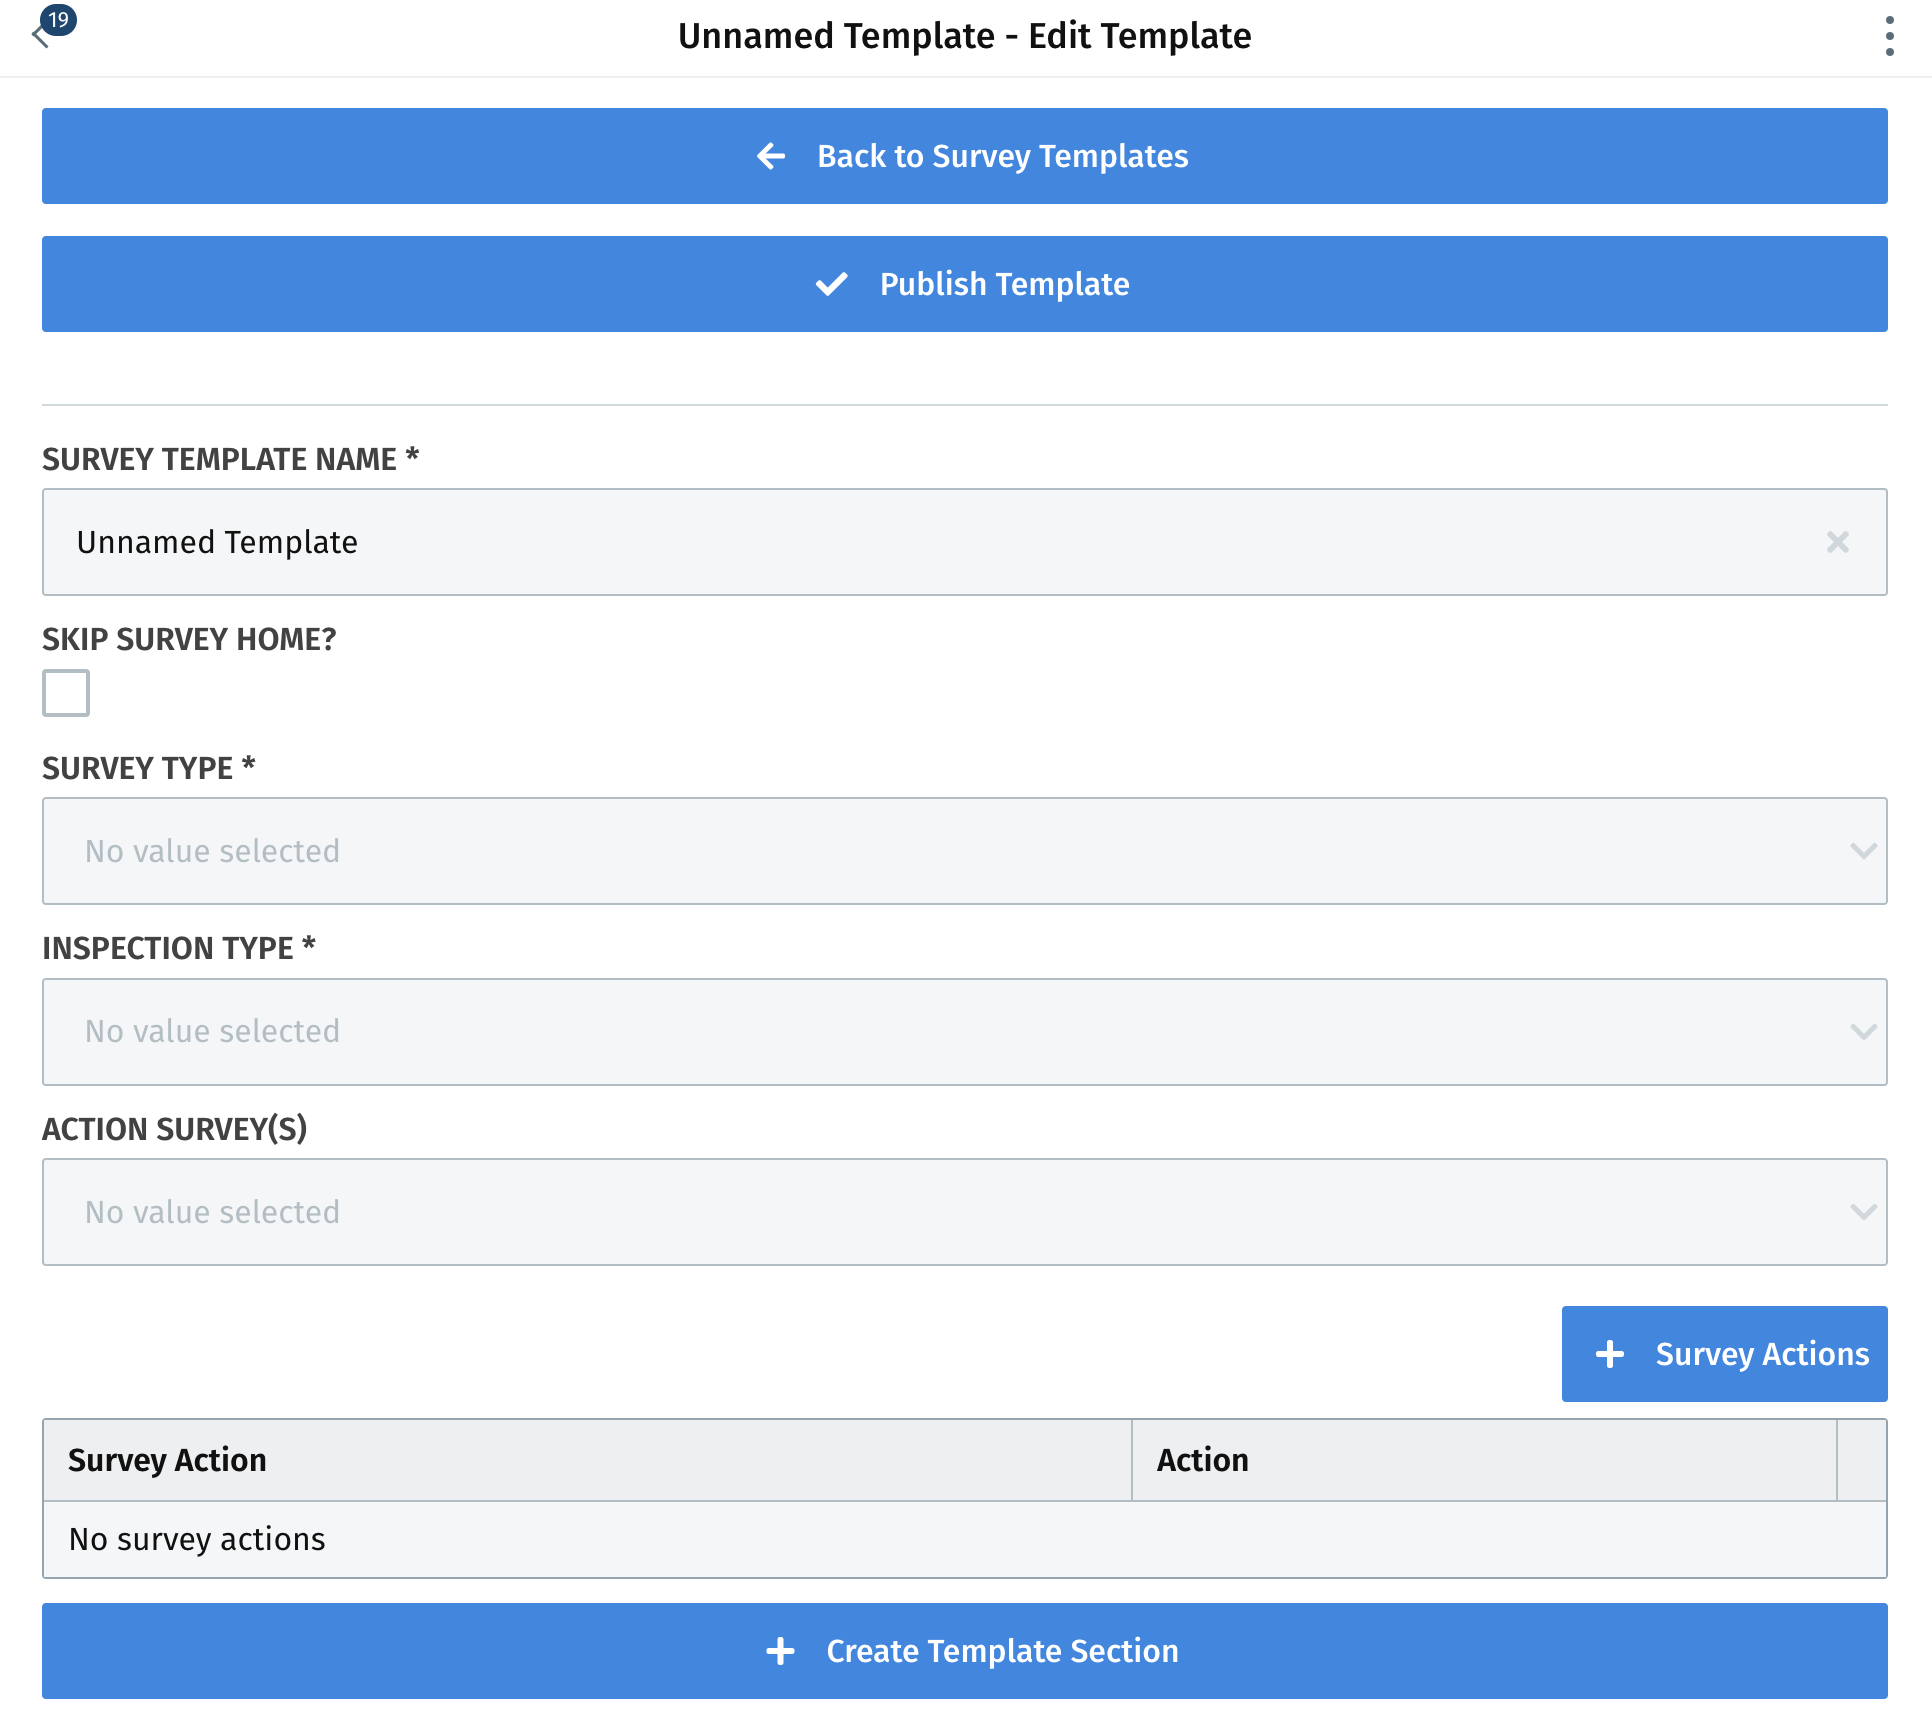
After selecting, the Inspector Manager+ user will be brought to a page to enter survey information, add survey actions, add template sections, and add section fields
There are three different survey types that a Inspector Manager+ user can select from:
- Action: surveys of this type appear as an "Action" from within other surveys. These Action Surveys are useful for collecting non-conformance and other information that an organization may want to collect at various times while working within another survey.
- On Demand: this is an unscheduled survey. This type of survey is can be launched at any time and is useful for collecting information such as safety violations or in situations where unscheduled data collection occurs.
- Scheduled: scheduled surveys are associated with the context Levels within the application such as Project and Work Area. The scheduled surveys are used to set start and due dates on the survey.
There are also a variety of inspection types, which the Inspector Manager+ user can create and edit via the Create/ Manage Templates landing page.
Once an Inspector Manager+ user has completed the necessary survey template details and adds in the required sections and fields for the survey template they can select "Publish Template" to save. If they no longer need the survey template, they can select "Back to Survey Templates"

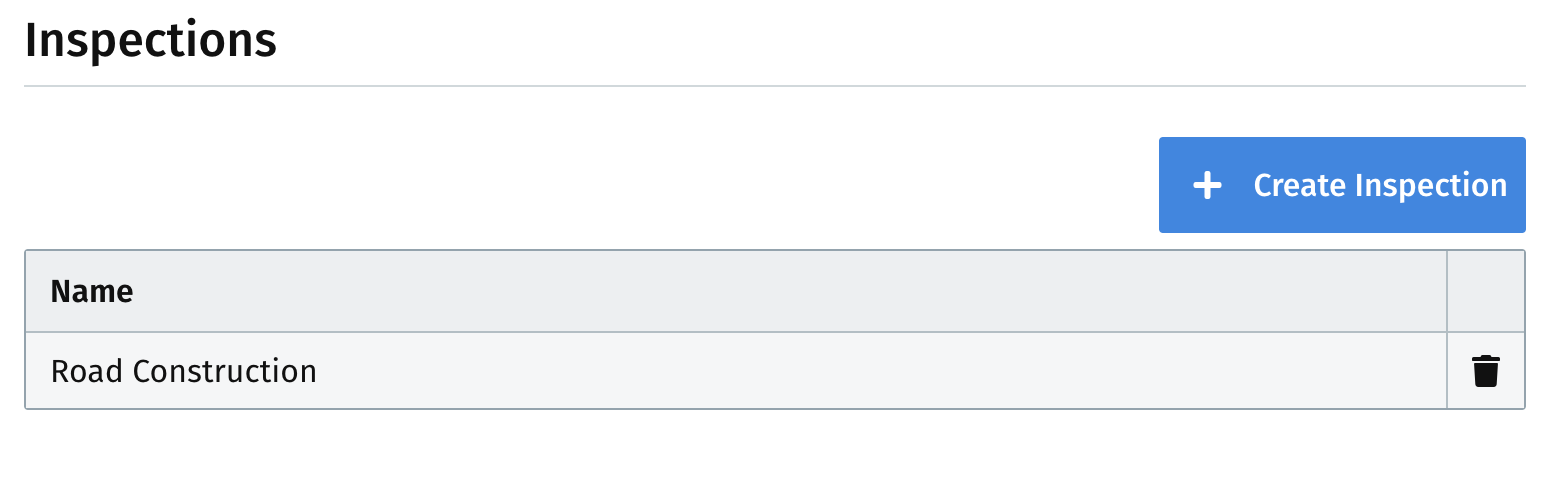
Create Inspection Types
Inspector Manager+ users have the ability to create and manage an inspection type, which allows teams to categorize inspections. They can do so within the Create/ Manage Templates landing page
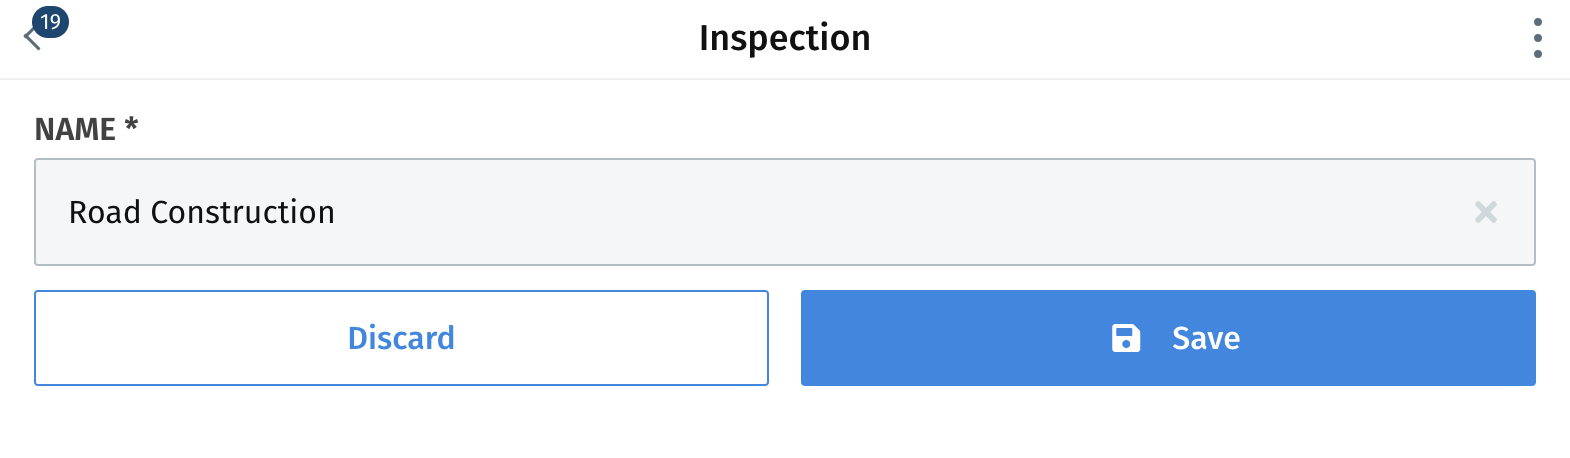
Inspector Manager+ users can edit an inspection type by selecting it within the inspection type table and updating the information and selecting save:
If an inspection type is no longer needed, an Inspector Manager+ user can select the trash icon next to the inspection type name to delete the type
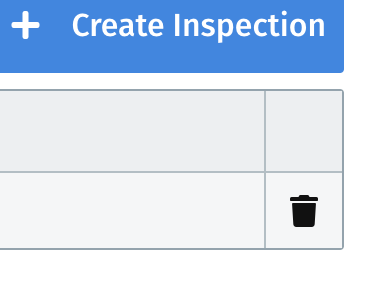
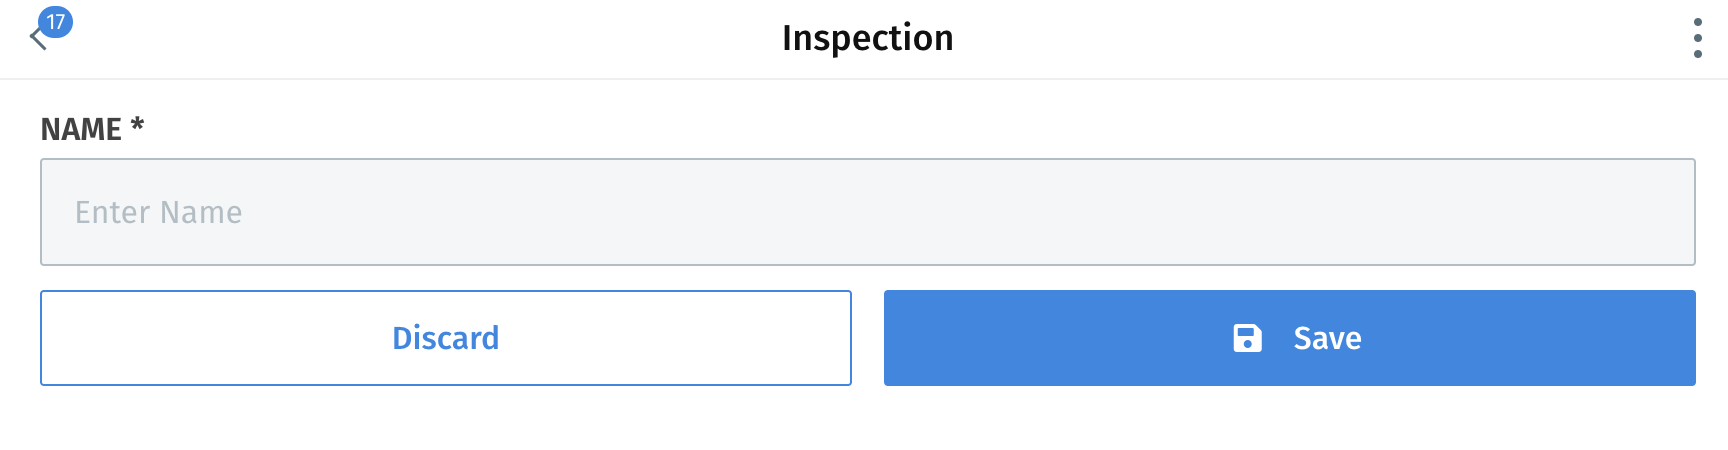
They can also create an inspection type by selecting "Create Inspection Type" and filling out the inspection type name and template approver and then saving
Choice Lists
Inspector Manager+ users can manage choice lists by selecting "Choice Lists" under survey templates within the main navigation. Choice lists are the field options listed within a survey template and subsequent surveys using the survey template. Once selecting, Inspector Manager+ users will be brought to the choice list landing page where they are able to view the current choice list options:

Inspector Manager+ users can view and edit a choice list by selecting it within the landing page and editing the information needing an update
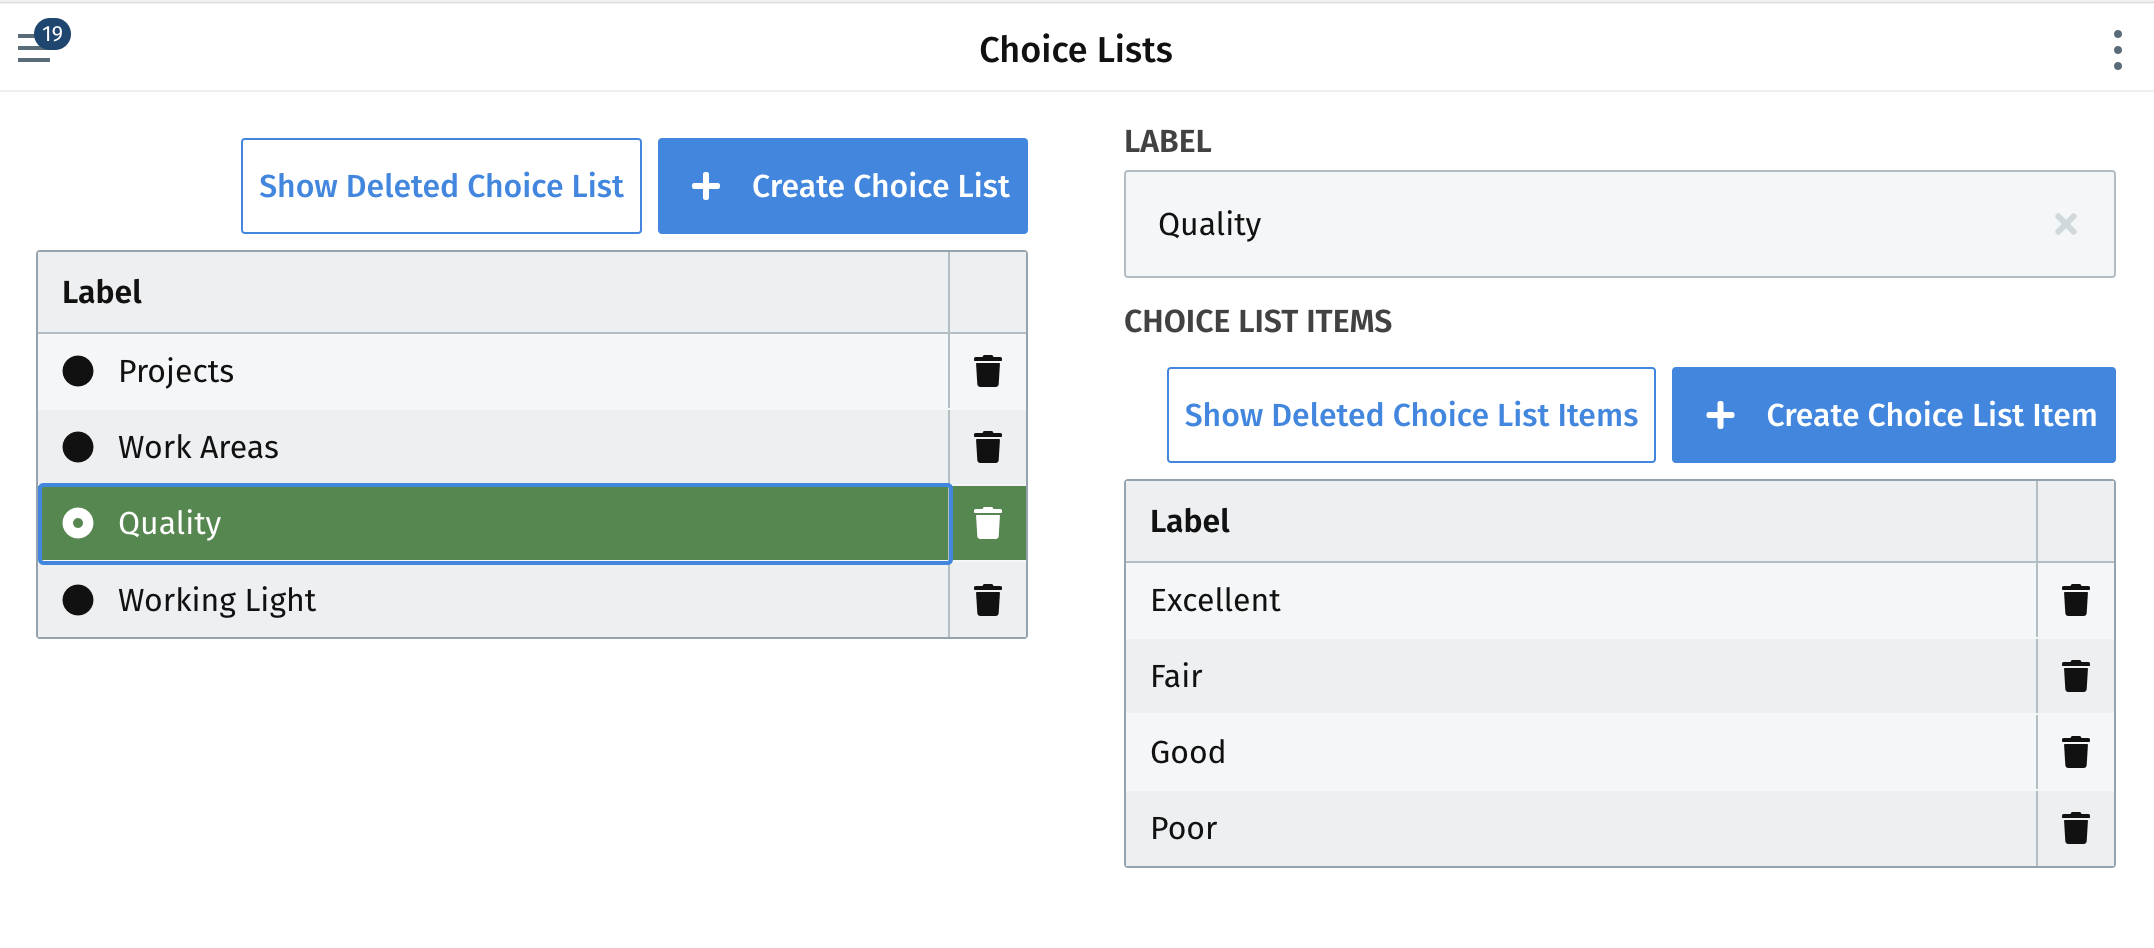
Within the edit screen as well as the create choice list screen there is reference to "Choice List Items" - these are the field options that will be presented if an Inspector Manager+ user adds the choice list to a survey template. For example, if the choice list type is true/false, the choice list items are "true" and "false"
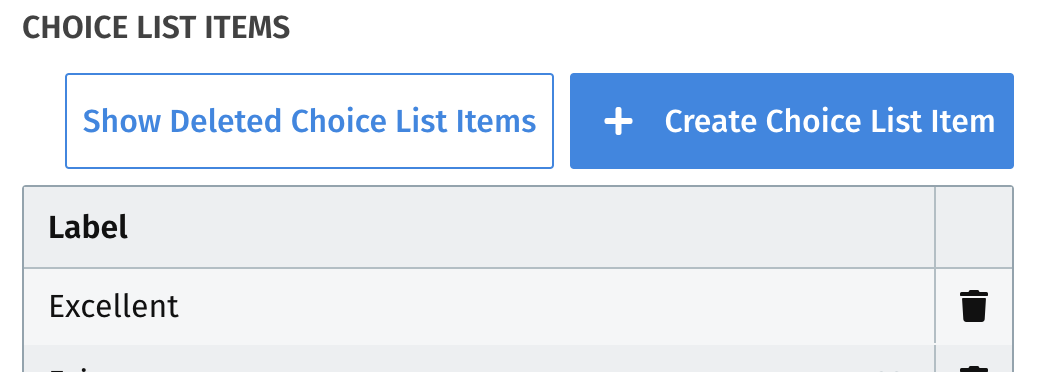
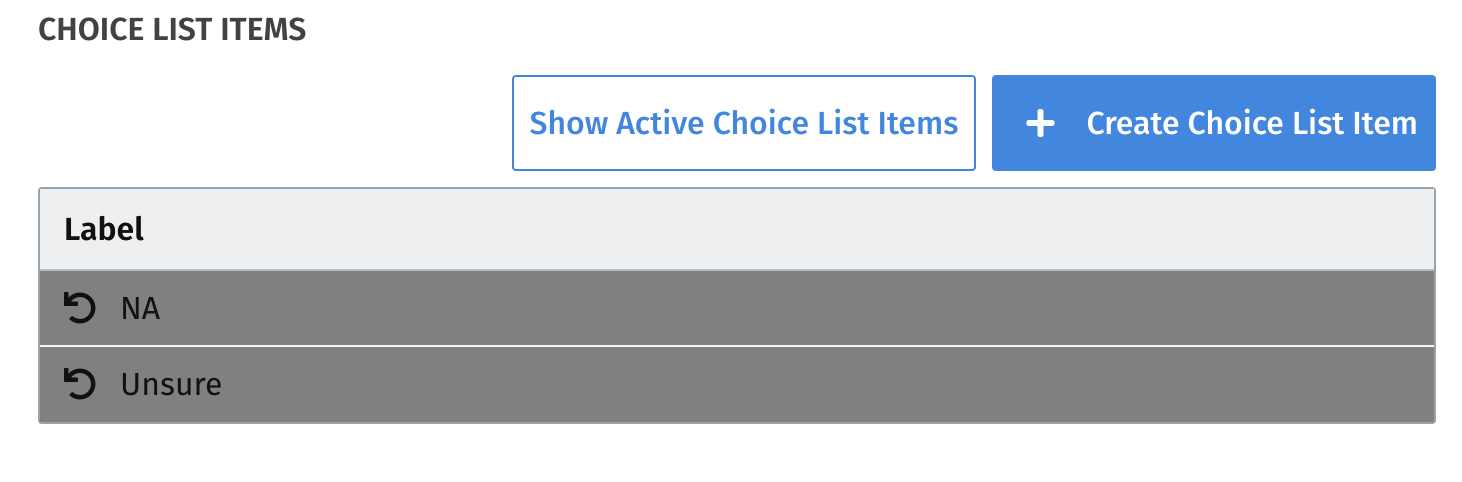
If the Inspector Manager+ user wants to view if a choice list had previous choice list items that have since been deleted, they can select "show deleted choice list items" to view and recover the choice list item
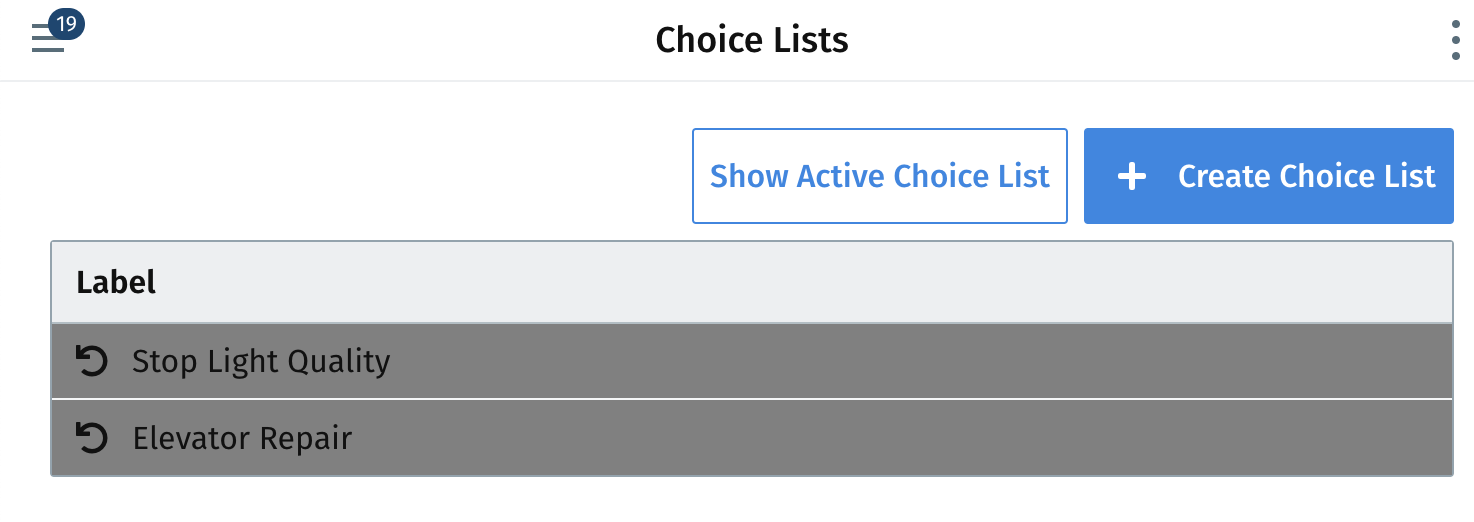
Inspector Manager+ users can also delete a choice list by selecting the trash icon next to the choice list within the landing page. Similar to viewing deleted choice list items, an Inspector Manager+ user can view the deleted choice lists by selecting "Show Deleted Choice List"
Once selected, they can view the deleted choice lists, recover choice lists, and return to the active choice list
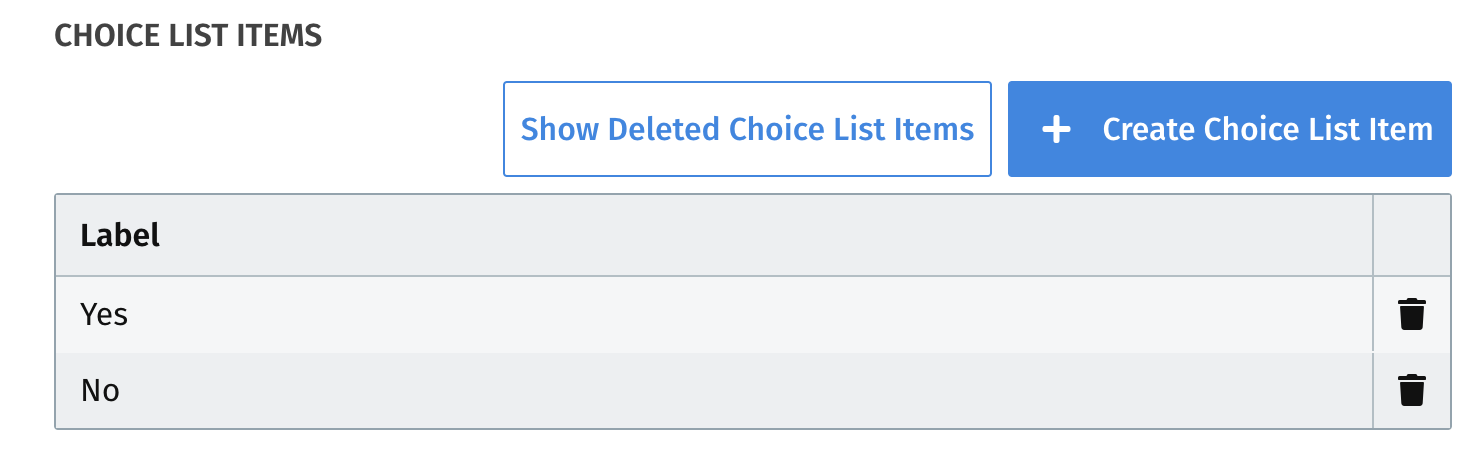
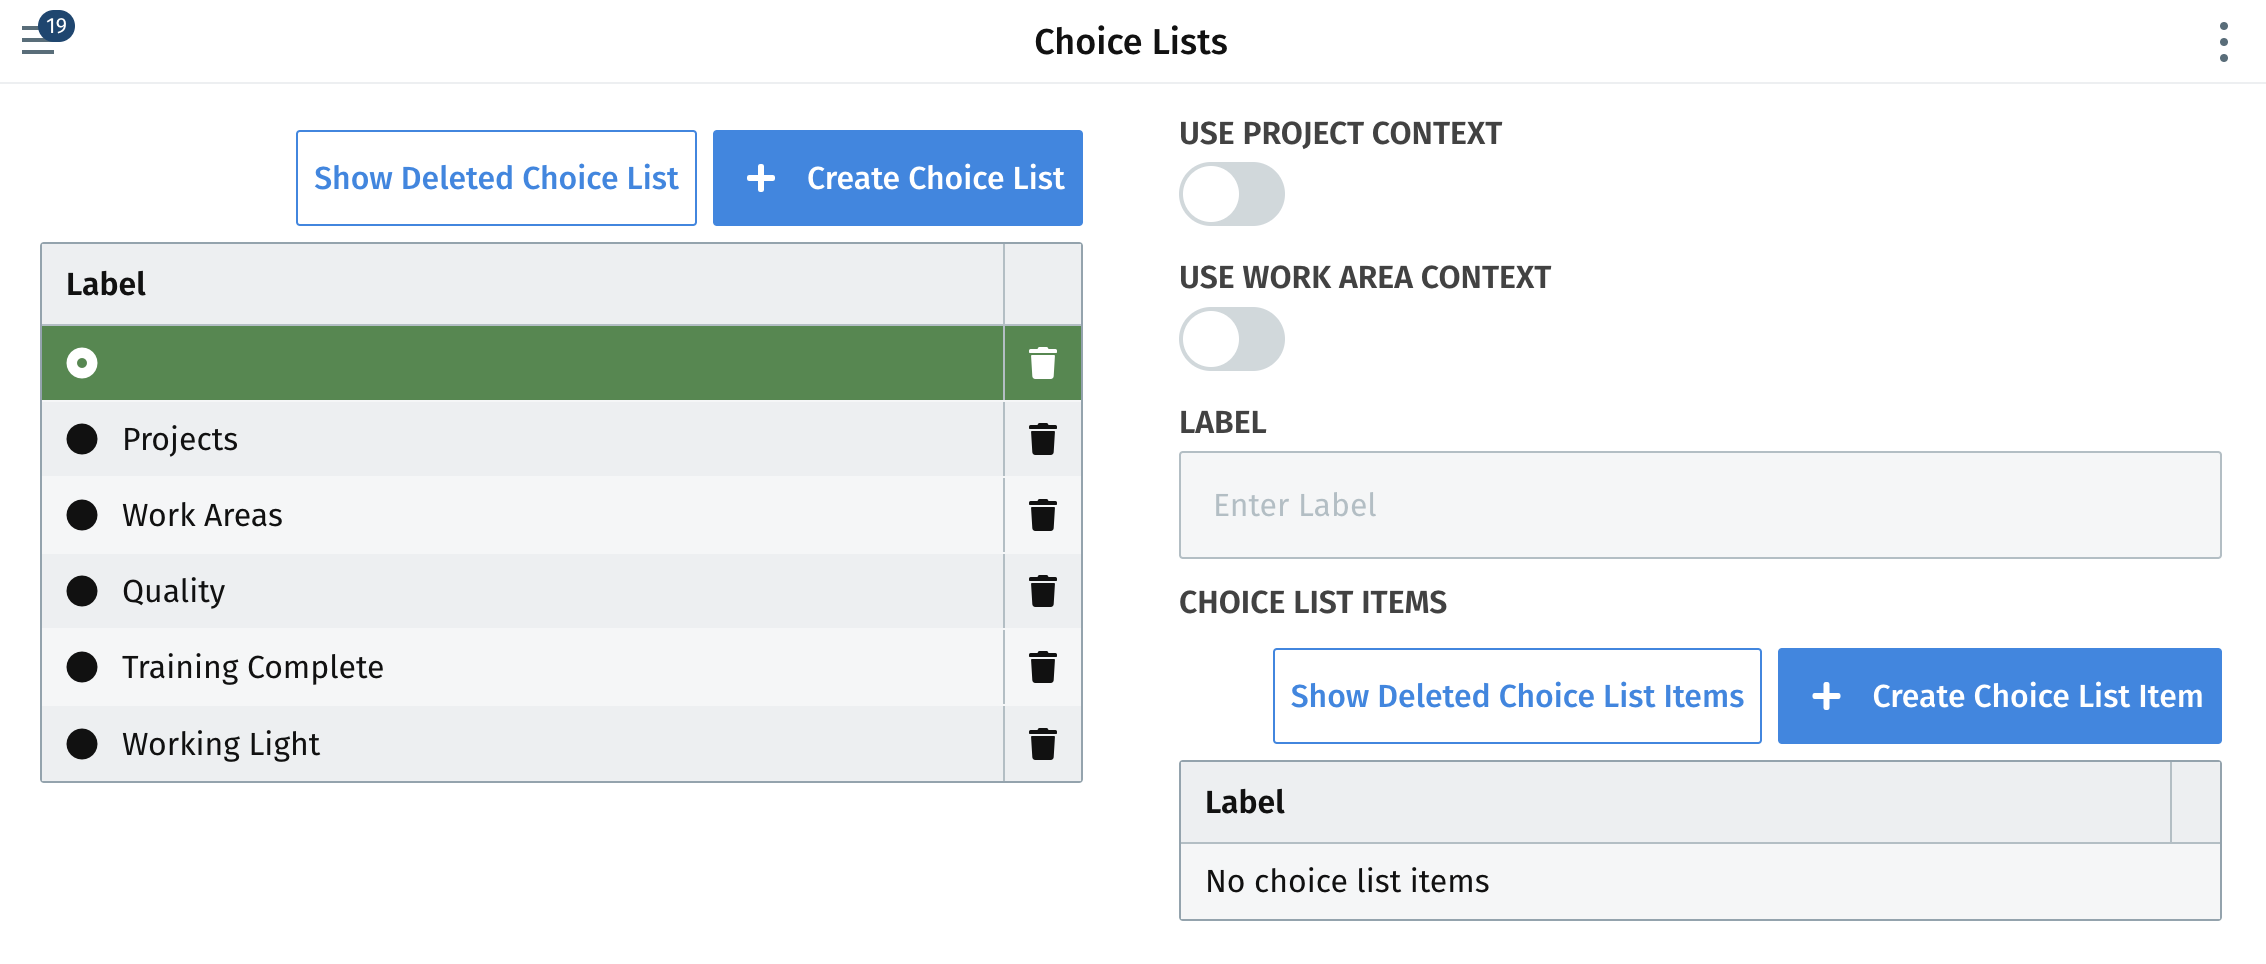
Inspector Manager+ users can also create a new choice list by selecting "Create Choice List" and be directed to fill out the label and choice list items
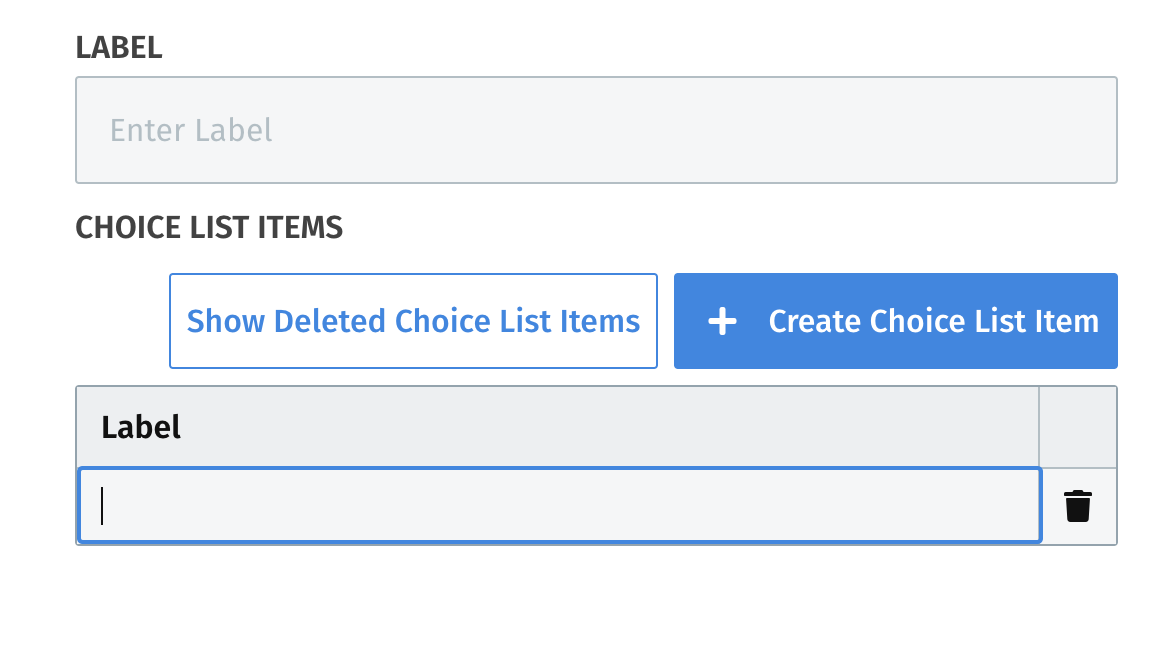
In order to add a choice list item, the Inspector Manager+ user can select the "Create Choice List Item" which will add the new item to the item table. From there, the Inspector Manager+ user can select the new choice list item to label it.
Context Choice Lists
Throughout the Inspection Management application there are two levels of Context that can be enabled and tailored to your organization to help group and organize Surveys. For Scheduled Surveys these Context Items are set automatically based on the schedule. For On Demand Surveys, these Context items can be added as a Choice List to the survey. An example would be if the levels of Context are Project and Work Area, there may be a Safety Incident. The Safety Incident would occur within the context of a Project and a Work Area however it is not a Scheduled Survey. In those cases the Inspector would select the Project and Work Area using Context Choice Lists.
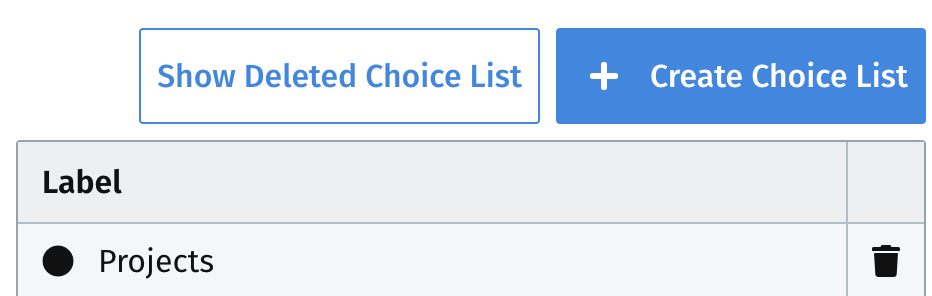
To create a Context Choice List, create a Choice List as you normally would, however, instead of adding items to it, set the slider to indicate that this Choice List represents the Level 1 or Level 2 Context. In the sample below those are named Project and Work Area so the Projects Choice List uses the Project Context.
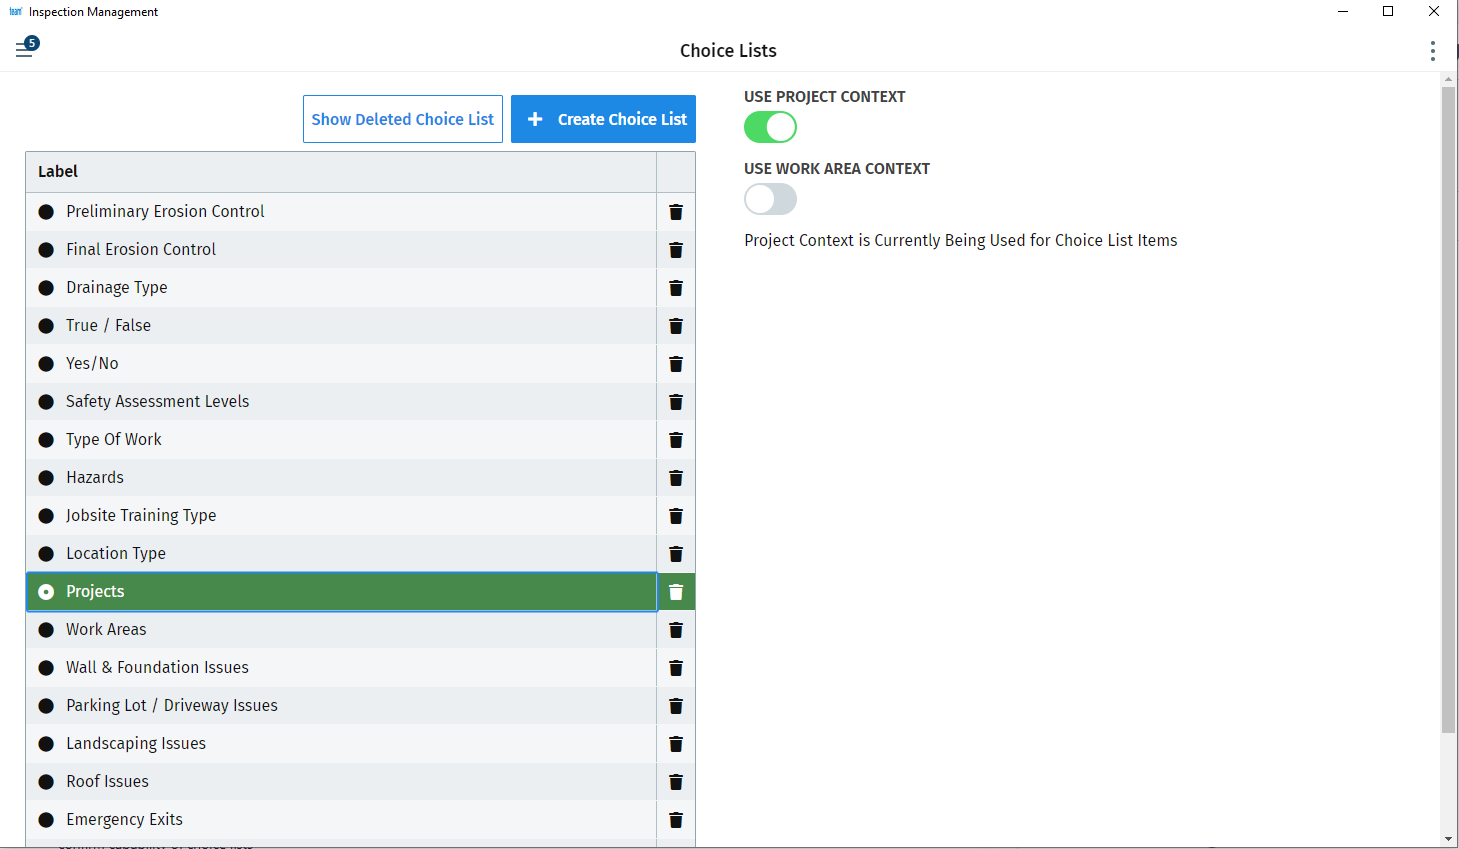
Once this is set you can add the Project as a selection to any Survey.
Report Templates
When a Survey is completed, a final Report is automatically generated, additionally there are reports that can be generated to summarize information at each of the Context Levels (i.e. Project & Work Area). The reports use a Report Template that is associated with either the Survey or a global format used for the Context Levels. Inspection Management comes with a default Report Template that is used for all Surveys, however Inspector Manager+ users have the ability to modify the Report Template globally and/or for each Survey to suit their needs.
Modifying Report Templates
Report Templates are HTML files with some replaceable tags based on HandlebarsJS that are used to dynamically fill in the information collected on the Survey or from the Context Levels. There are two Global Report Templates, one for each Context Level in addition to a Report Template that is used for each Survey. Use the hamburger menu to navigate to the "Report Templates" item under the survey templates section. That will open the report templates landing page where the Global Report Templates can be changed.
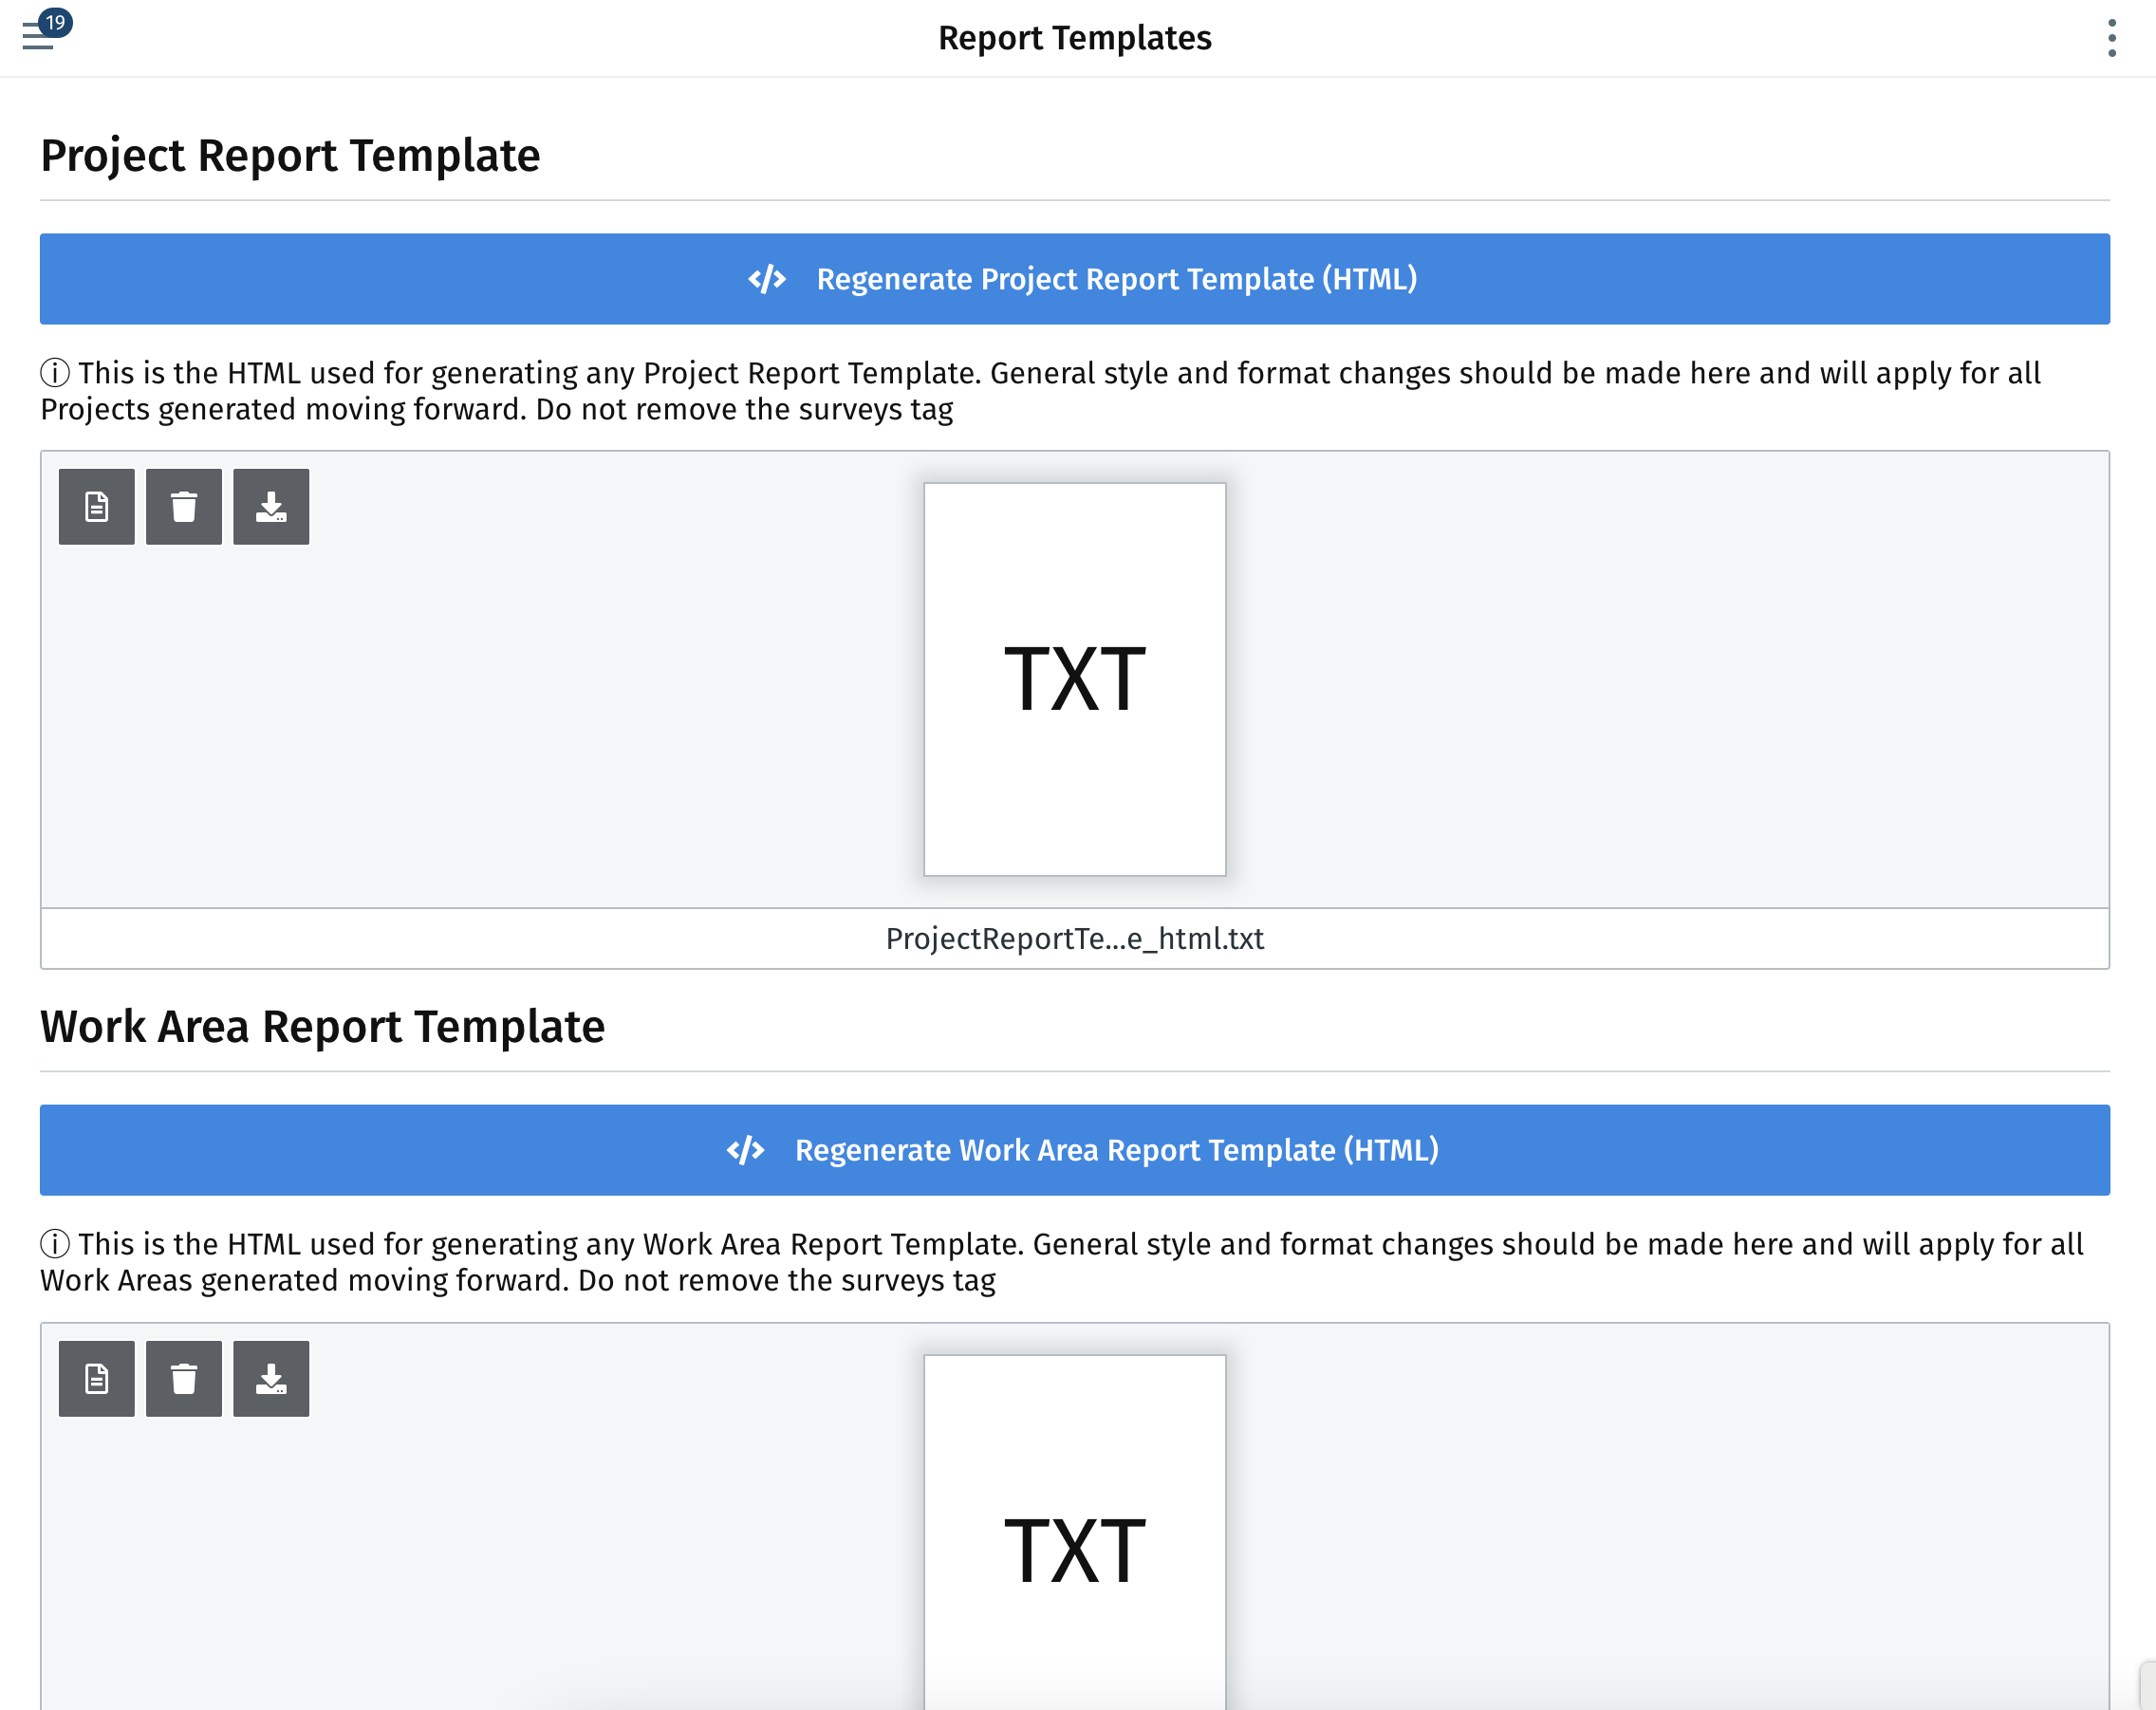
Once on the report template page, the process for editing the Report Template is to:
- Download the Template
- Edit the HTML
- Upload the modified HTML.
- Regenerate the Report Template.
::: Important
The HandlebarsJS tags should not be modified.
:::
Test Survey Templates
Once a survey template is created, Inspector Manager+ users may need to test out the template to ensure it is functioning as expected prior to inspectors utilizing the template. To test the template, Inspector Manager+ users can select "Test Survey Templates" within the survey template section of the main navigation and be directed to the landing page.
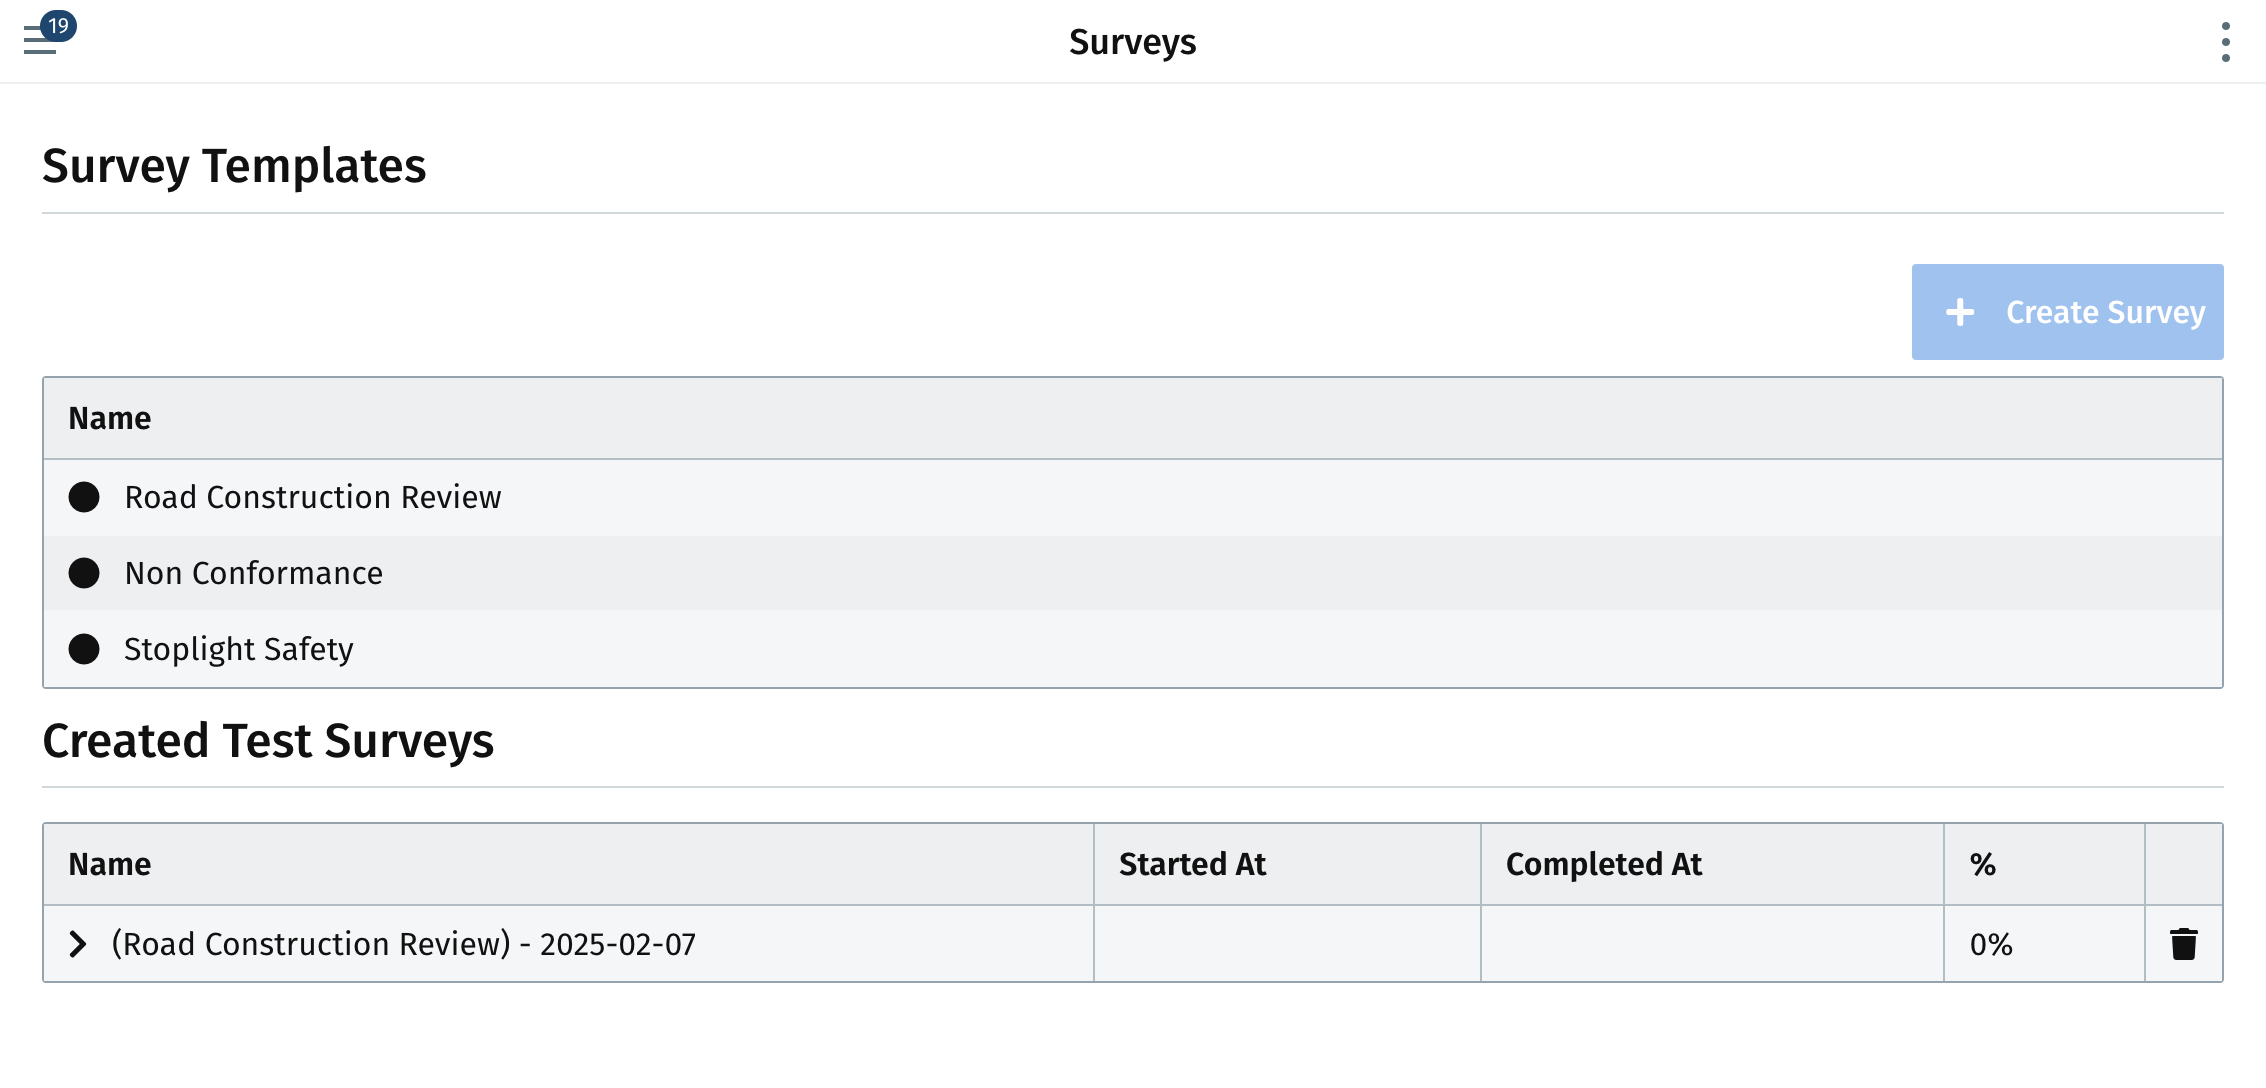
Once brought to the test survey templates landing page, Inspector Manager+ users can view their survey templates as well as the test surveys that have been created to confirm and verify the new survey templates.
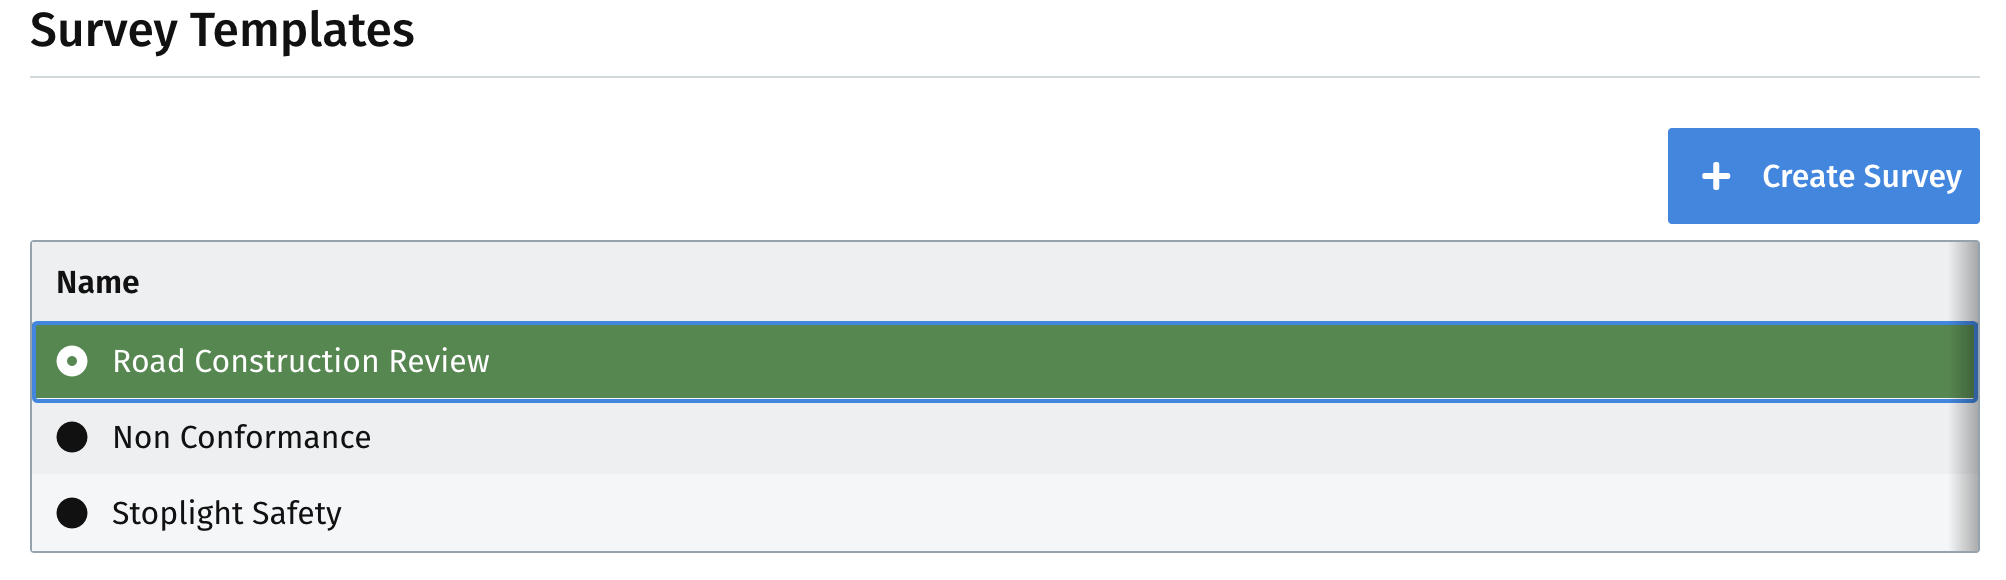
If an Inspector Manager+ user wants to test a newly created survey template, they can do so by selecting the new survey template and selecting "create survey"
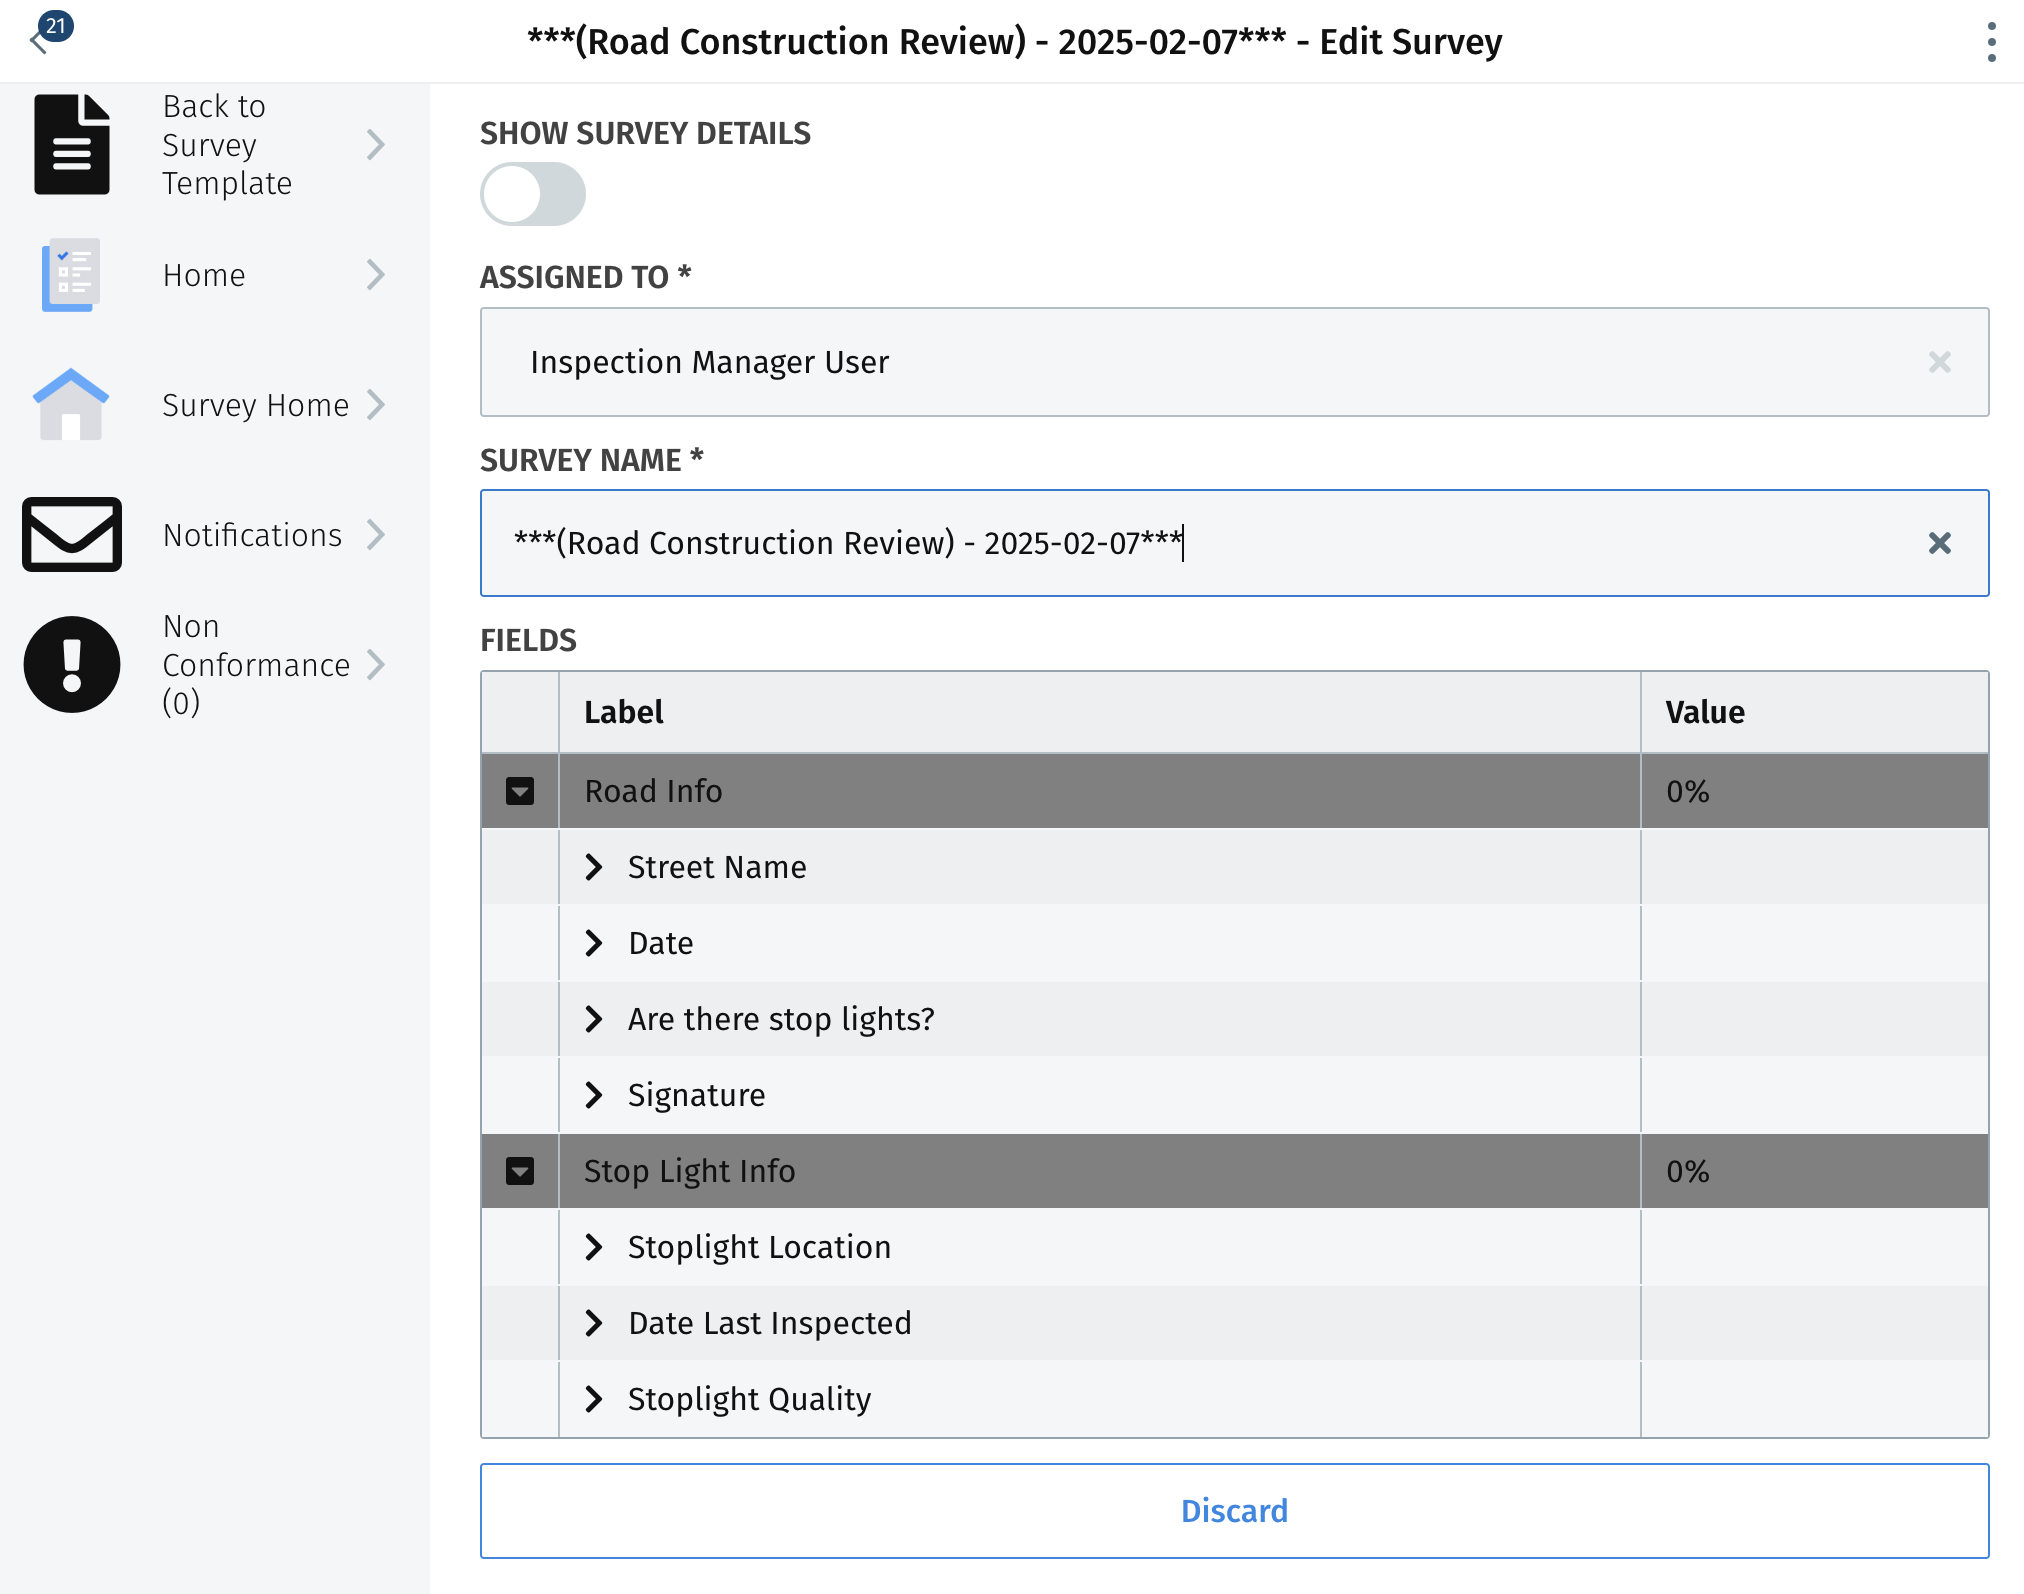
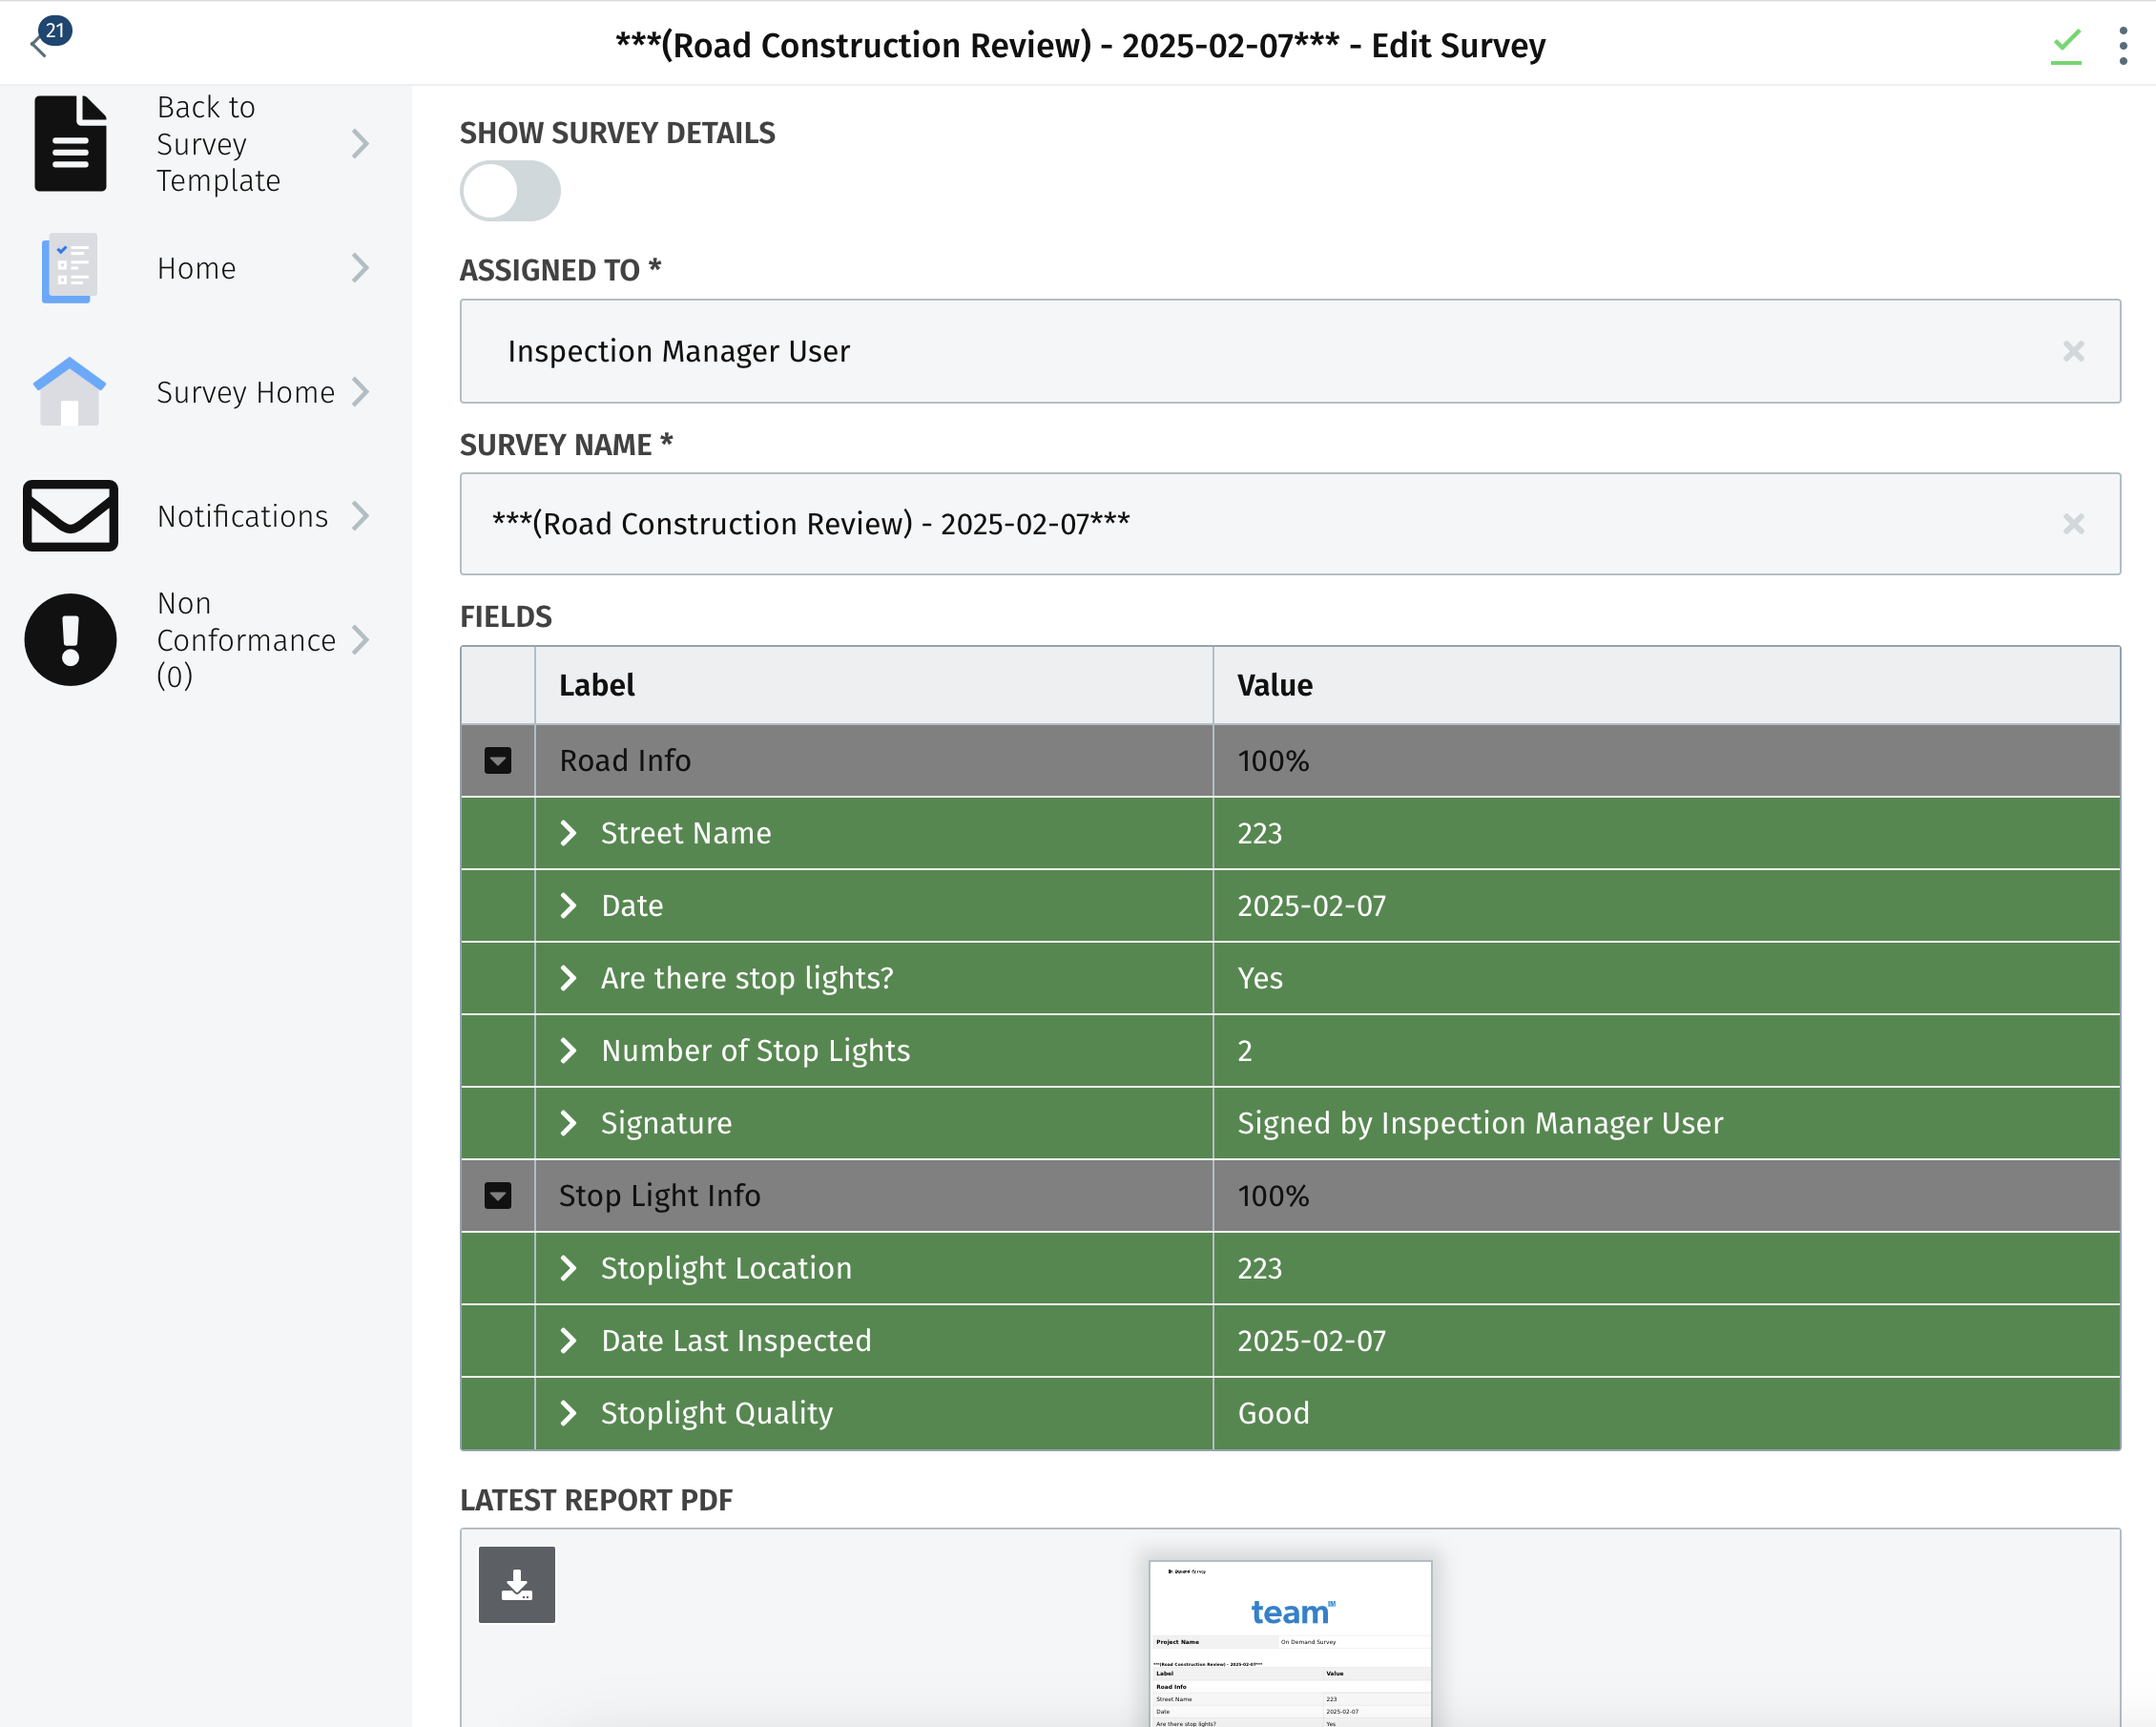
Once an Inspector Manager+ user selects "create survey" they will be brought to the survey screen where they are able to complete the survey as if they are an inspector and confirm that each section and field is accurate and displaying as expected
Once the Inspector Manager+ user completes the test of the survey template the test survey generates the PDF report for the Inspector Manager+ to view
After being submitted, the Inspector Manager+ user can view the newly created and completed test of the survey template within the "Test Survey Template" landing page

Inspector Manager+ Manage Users
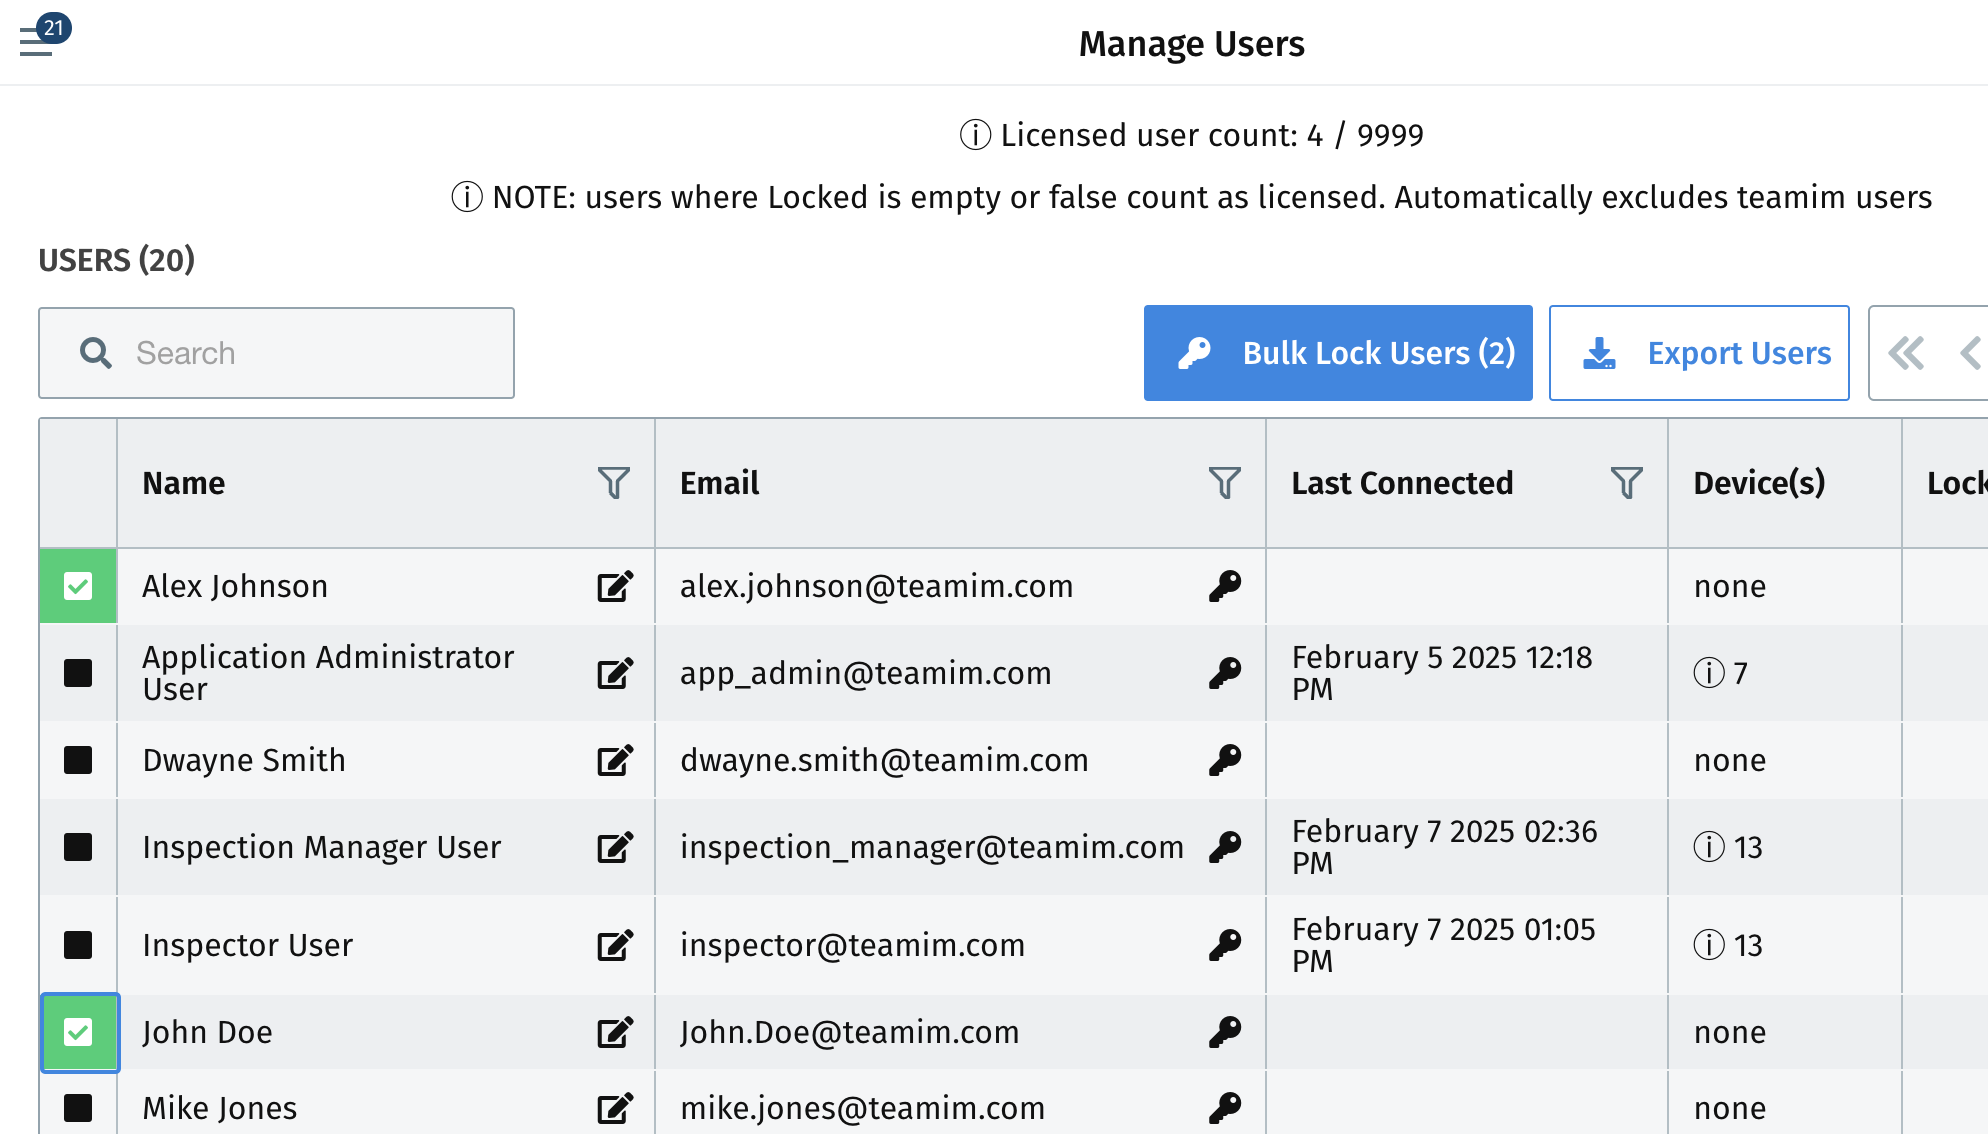
Inspector Manager+ users have additional permission to manage users. They can do so by navigating to the "Manage Users" navigation item under settings and be brought to the "Manage Users" landing page
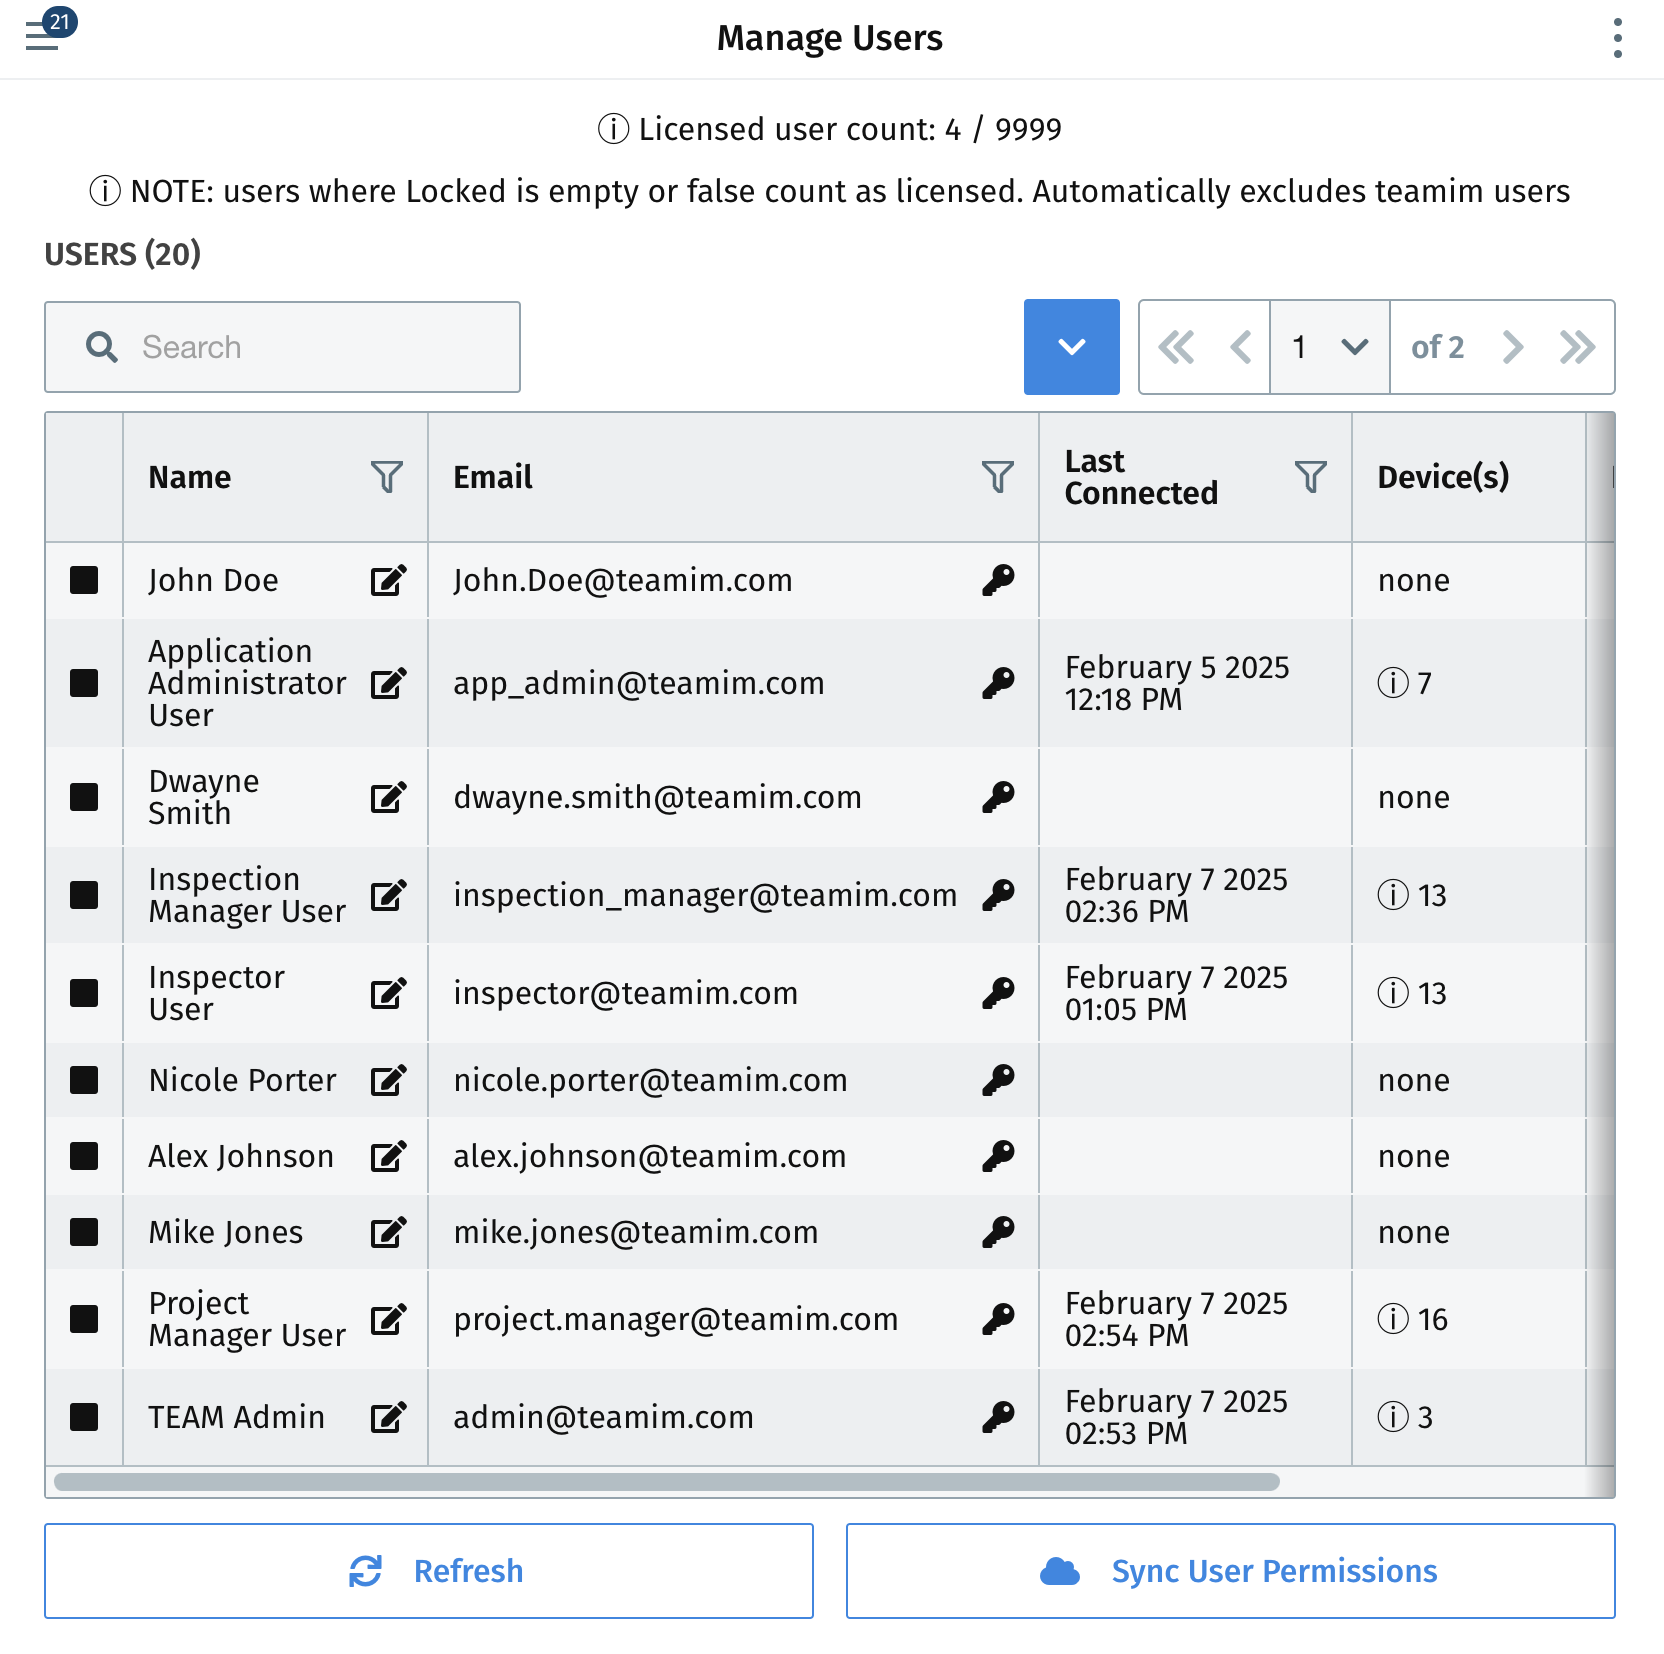
On this page Inspector Manager+ users can view the following:
- License user count
- Users within their Inspection Management instance
- User details including their last connected time, their device information, and if they’re locked
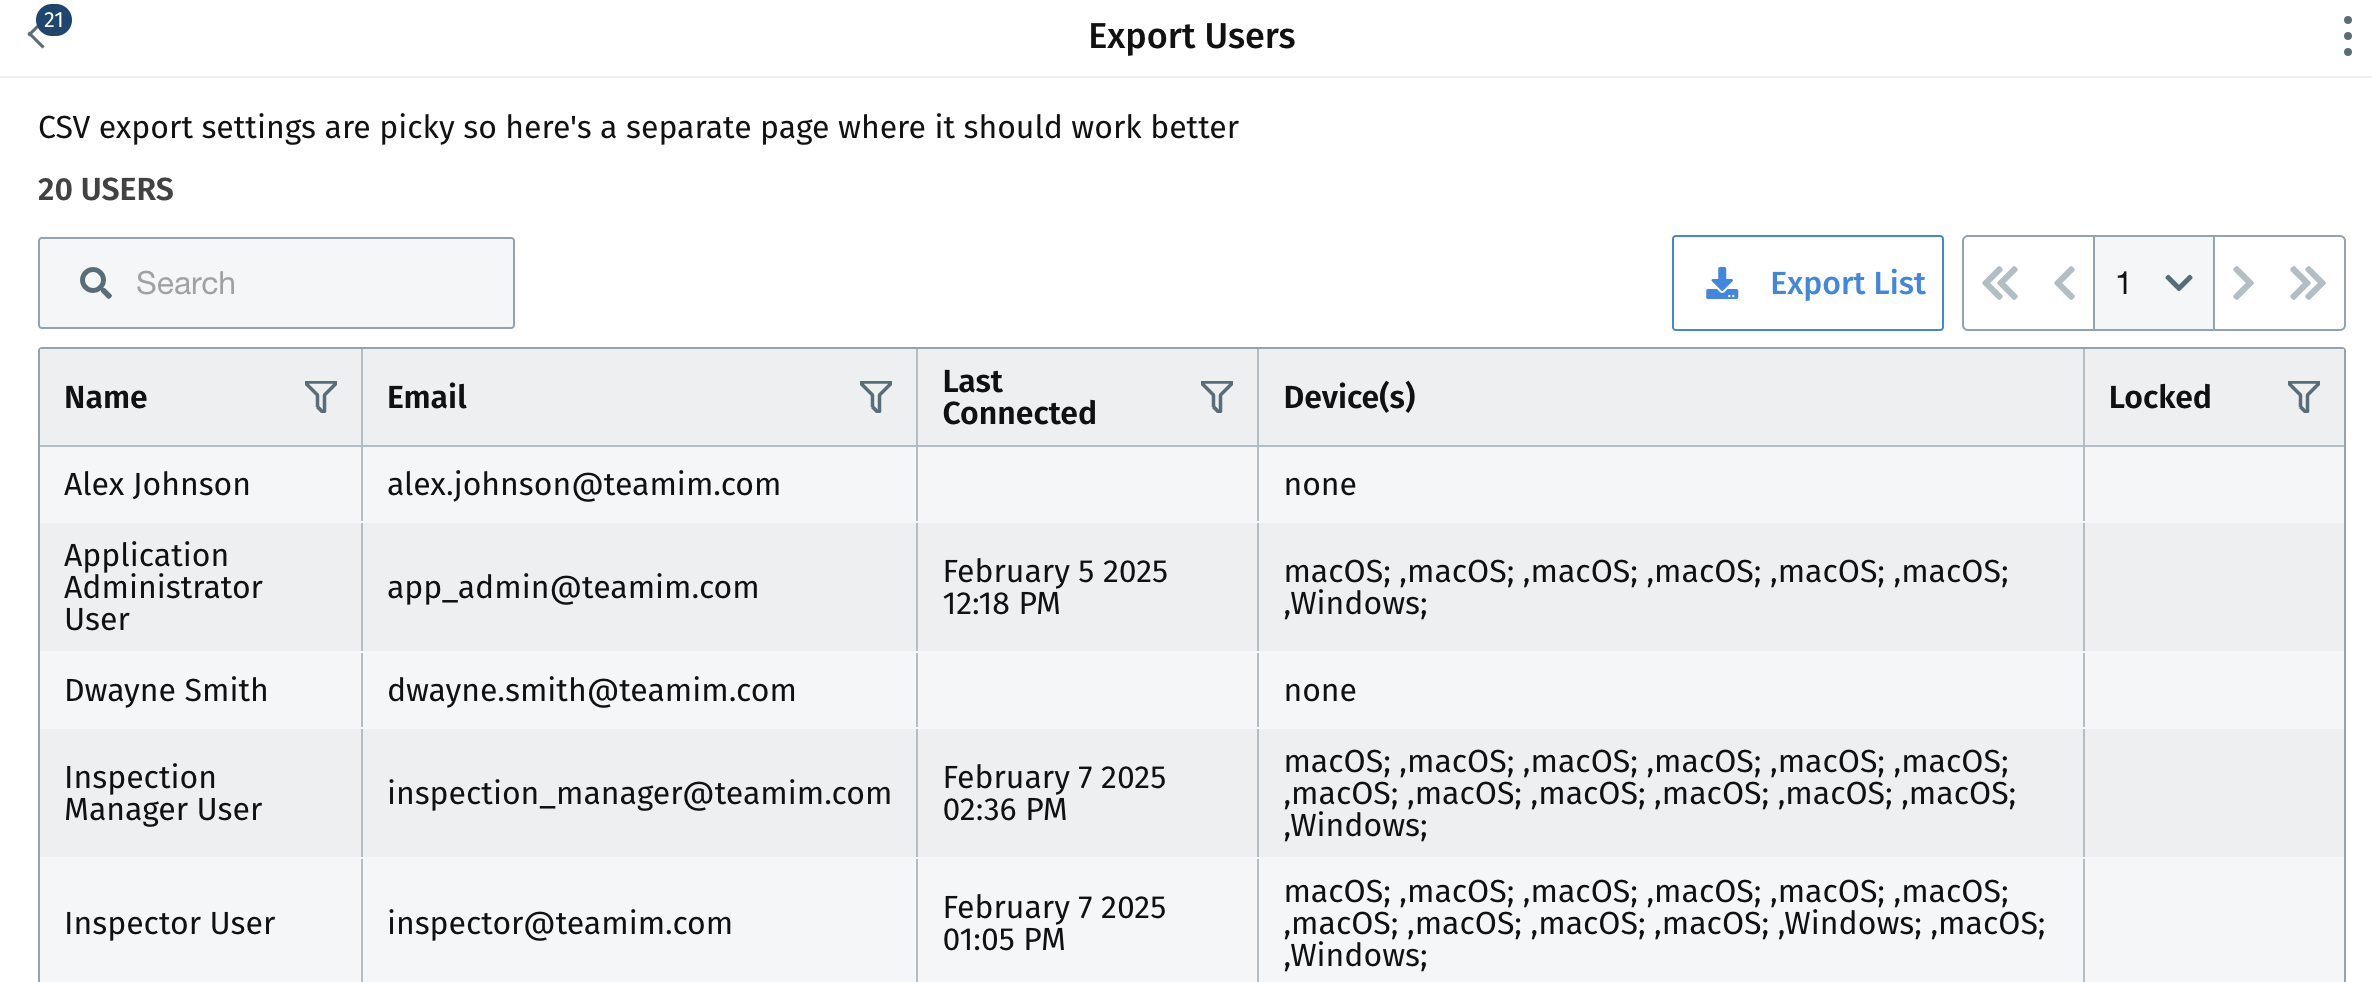
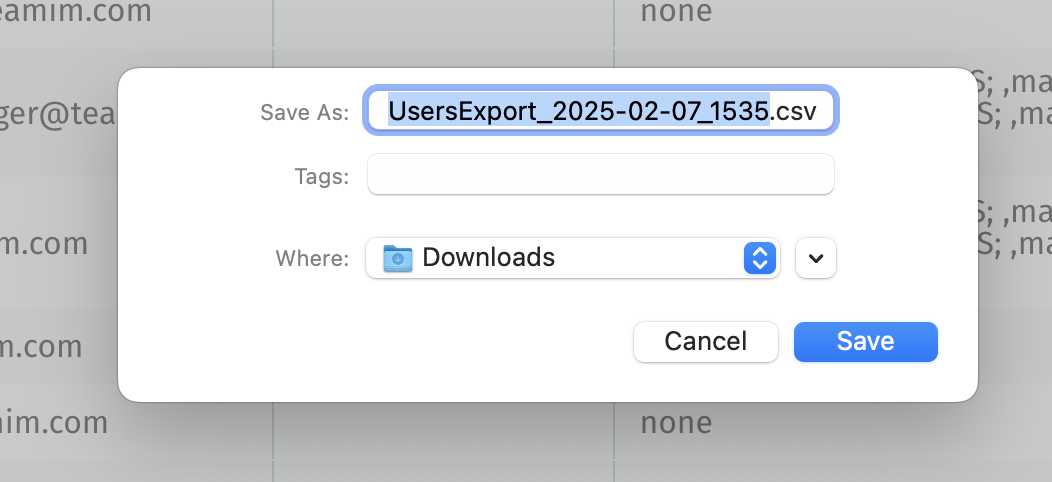
Inspector Manager+ users can also select "Export Users" and be brought to the user list to export
Additionally, Inspector Manager+ users can refresh the manage users page and sync user permissions by selecting those options within the manage users landing page
Inspector Manager+ users are able to complete a variety of functions when managing users. They can check the box alongside the user to then bulk lock users out of the Inspection Management Instance or select the lock icon next to the user’s email to lock one user out of the instance
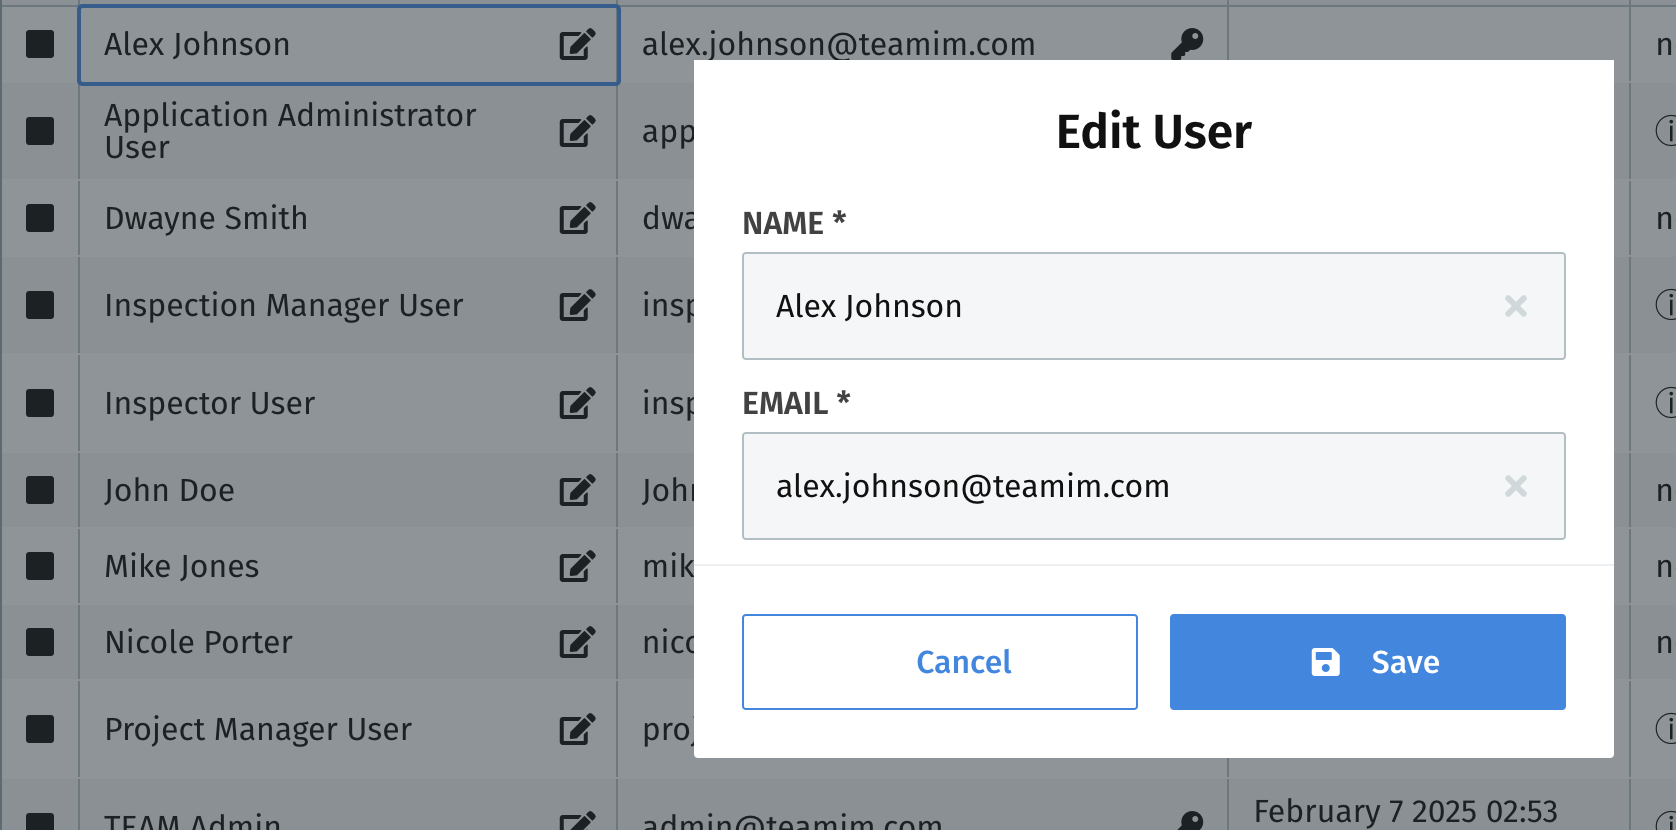
Inspector Manager+ users can also edit the user details by clicking the edit icon next to the user name
Additionally, Inspector Manager+ users can select "Send to email" which will also send an email to the user when a notification has been sent to them.
Inspector Manager+ Manage Roles
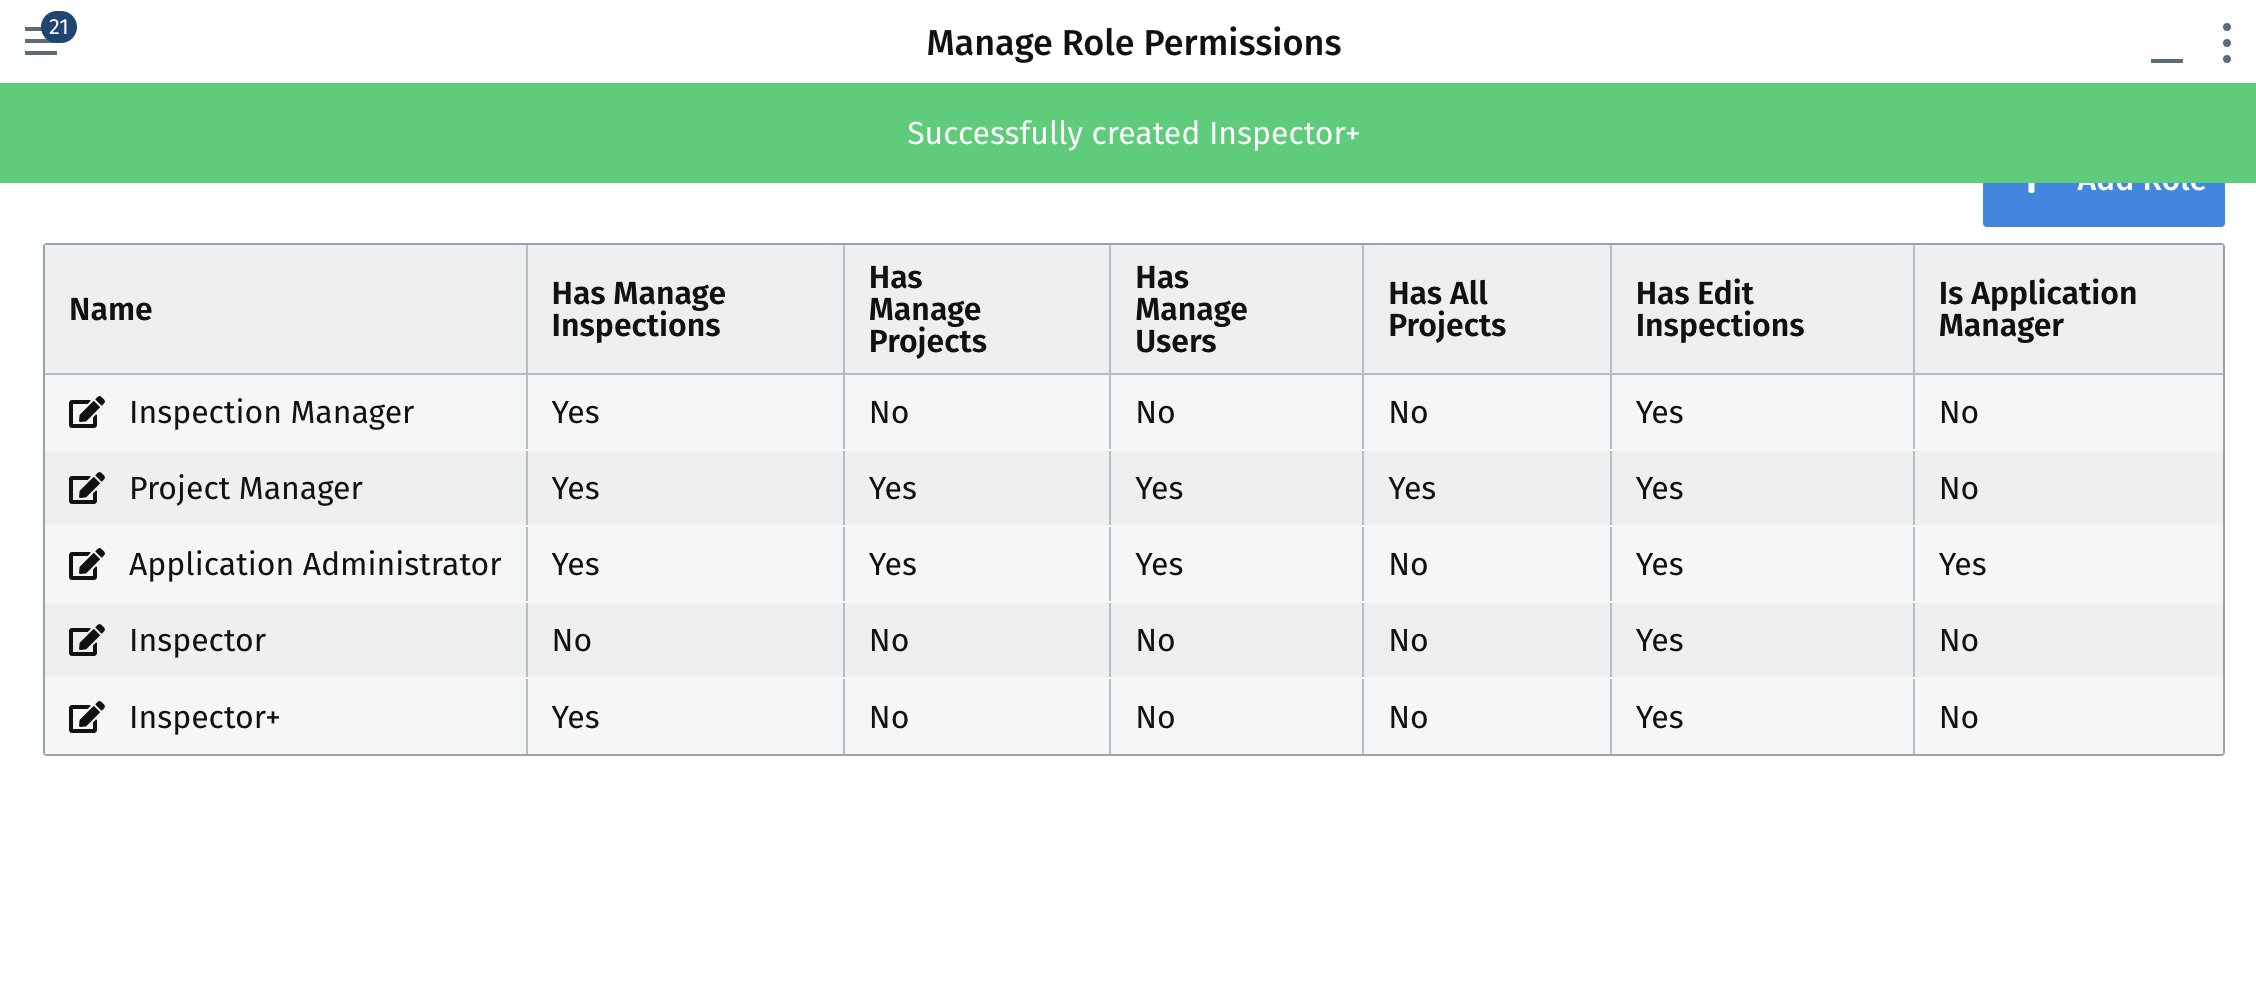
Inspector Manager+ users have additional permission to manage roles. They can do so by navigating to the "Manage Roles" navigation item under settings and be brought to the "Manage Roles" landing page
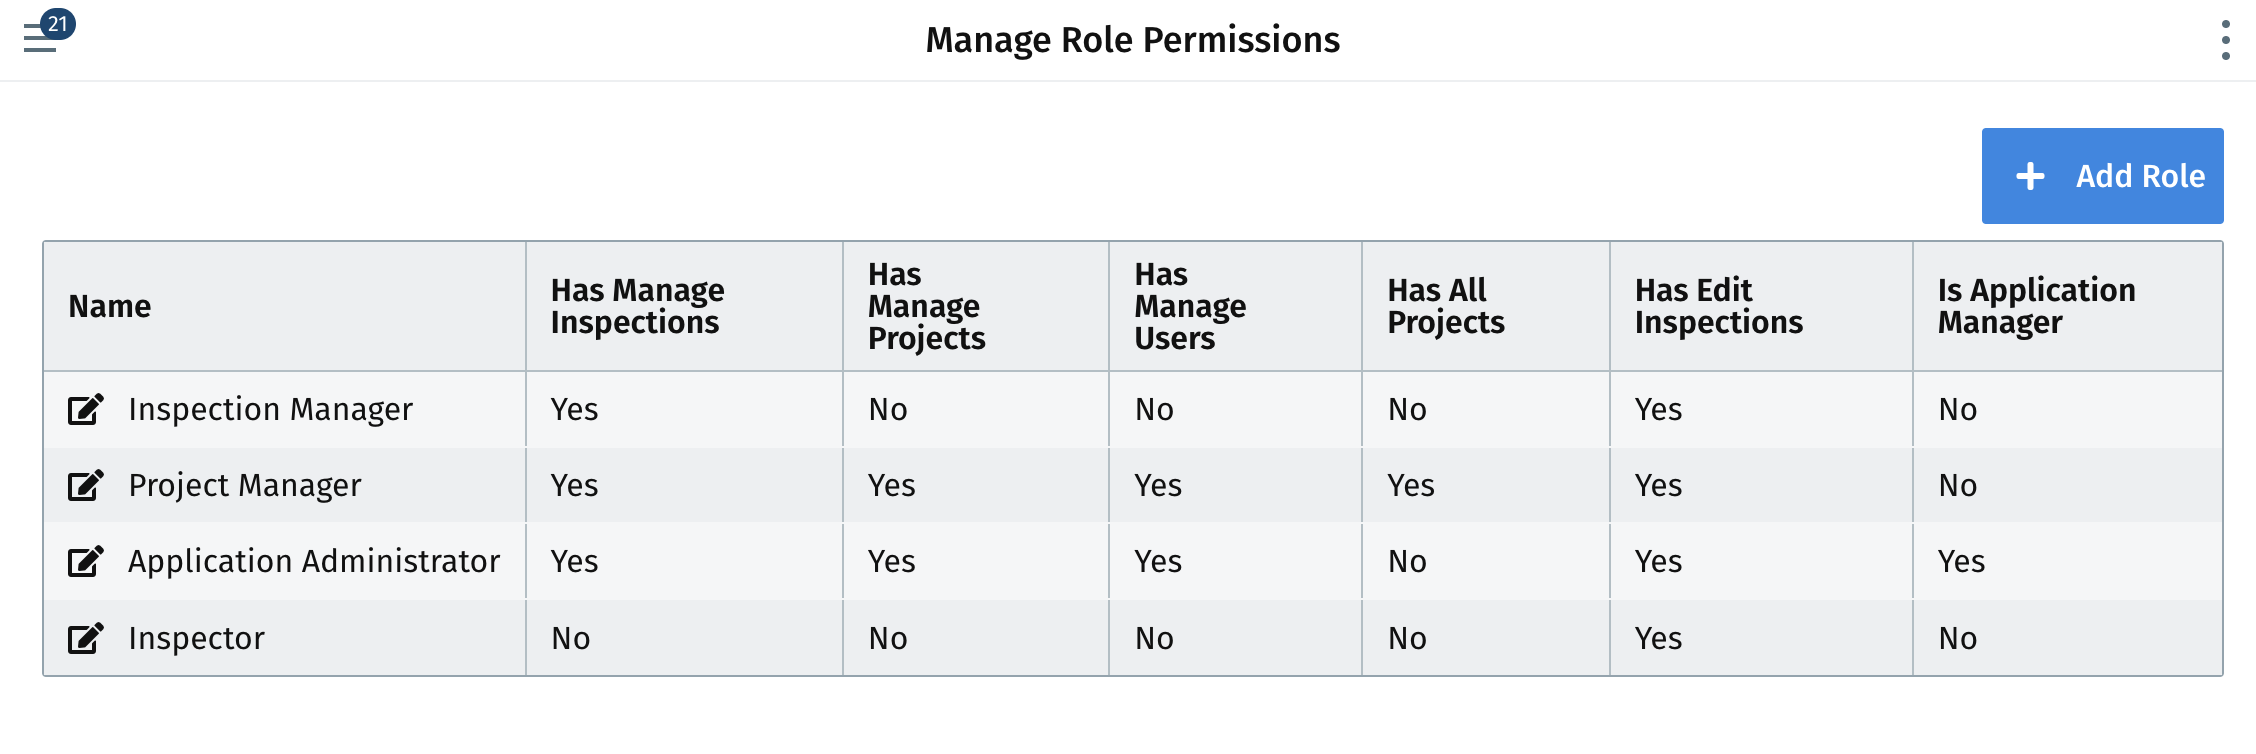
From this page, Inspector Manager+ users can view the current roles within their Inspection Management Instance.
Inspector Manager+ users can create new roles by selecting the "Add Role" button and be brought to the create role popup
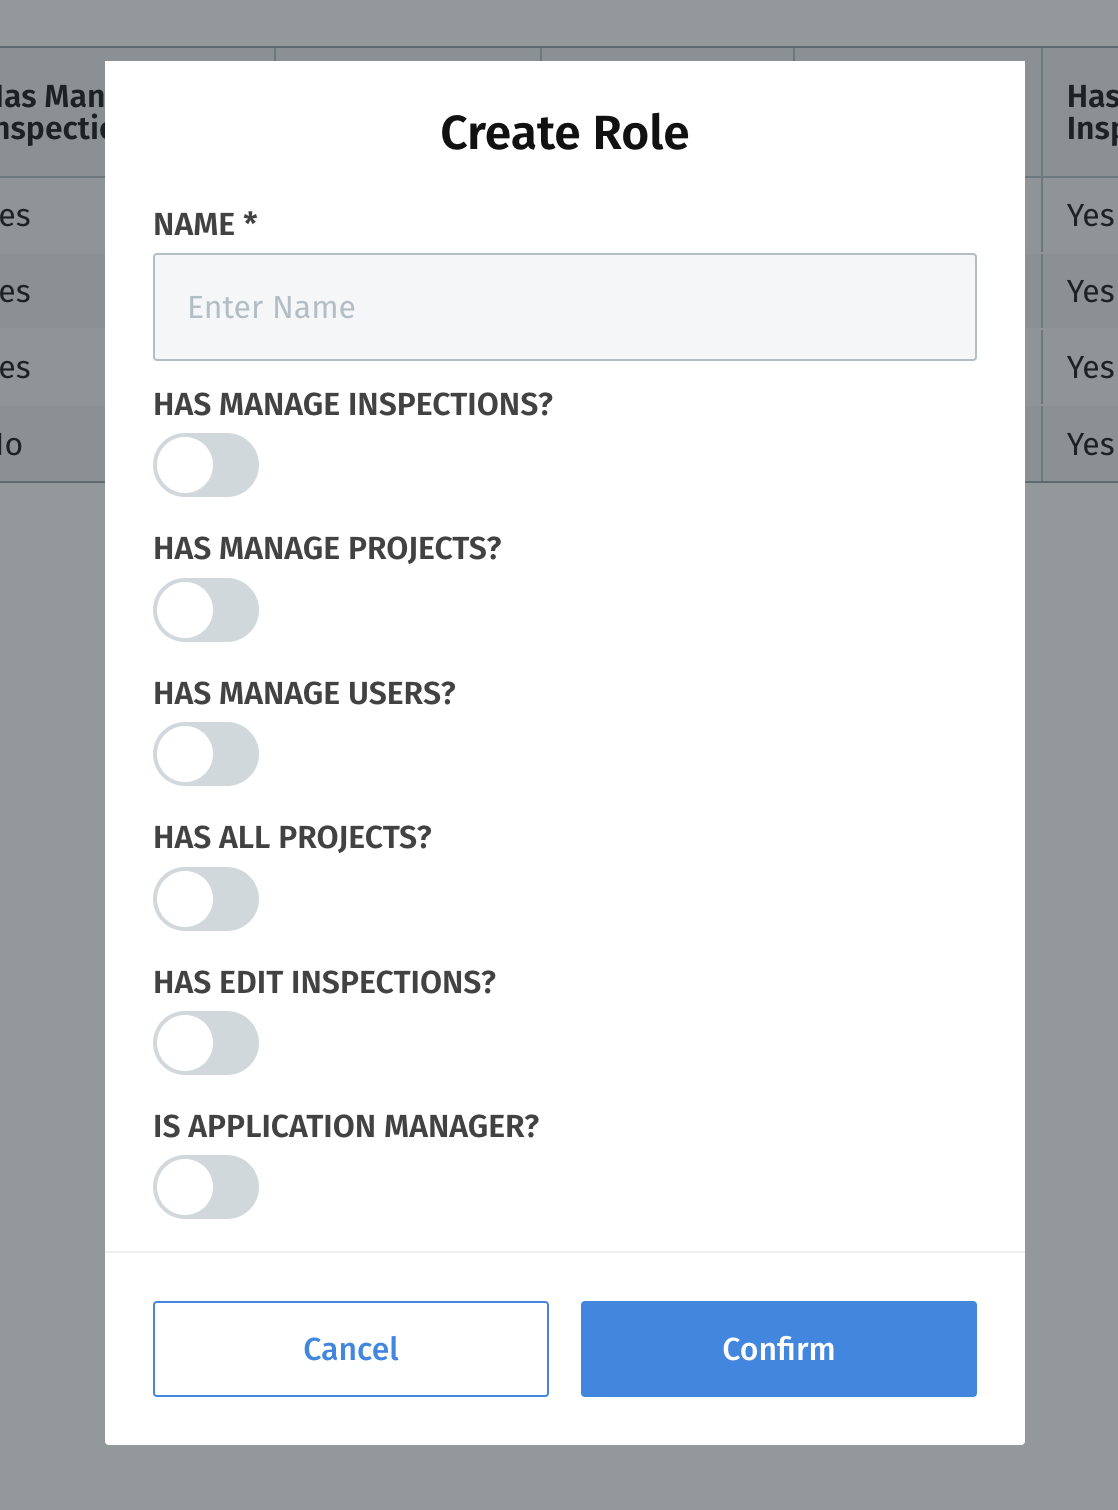
Once an Inspector Manager+ user names the role and grants what permissions are allowed within the role they can save and view the new role within the Manage Roles landing page
Each role has the possibility of having six different permissions, including:
- Has manage inspections
- Has manage projects
- Has manage users
- Has all projects
- Has edit all inspections
- Is application manager
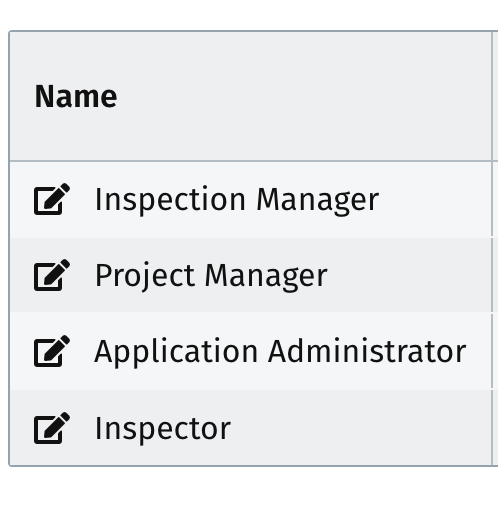
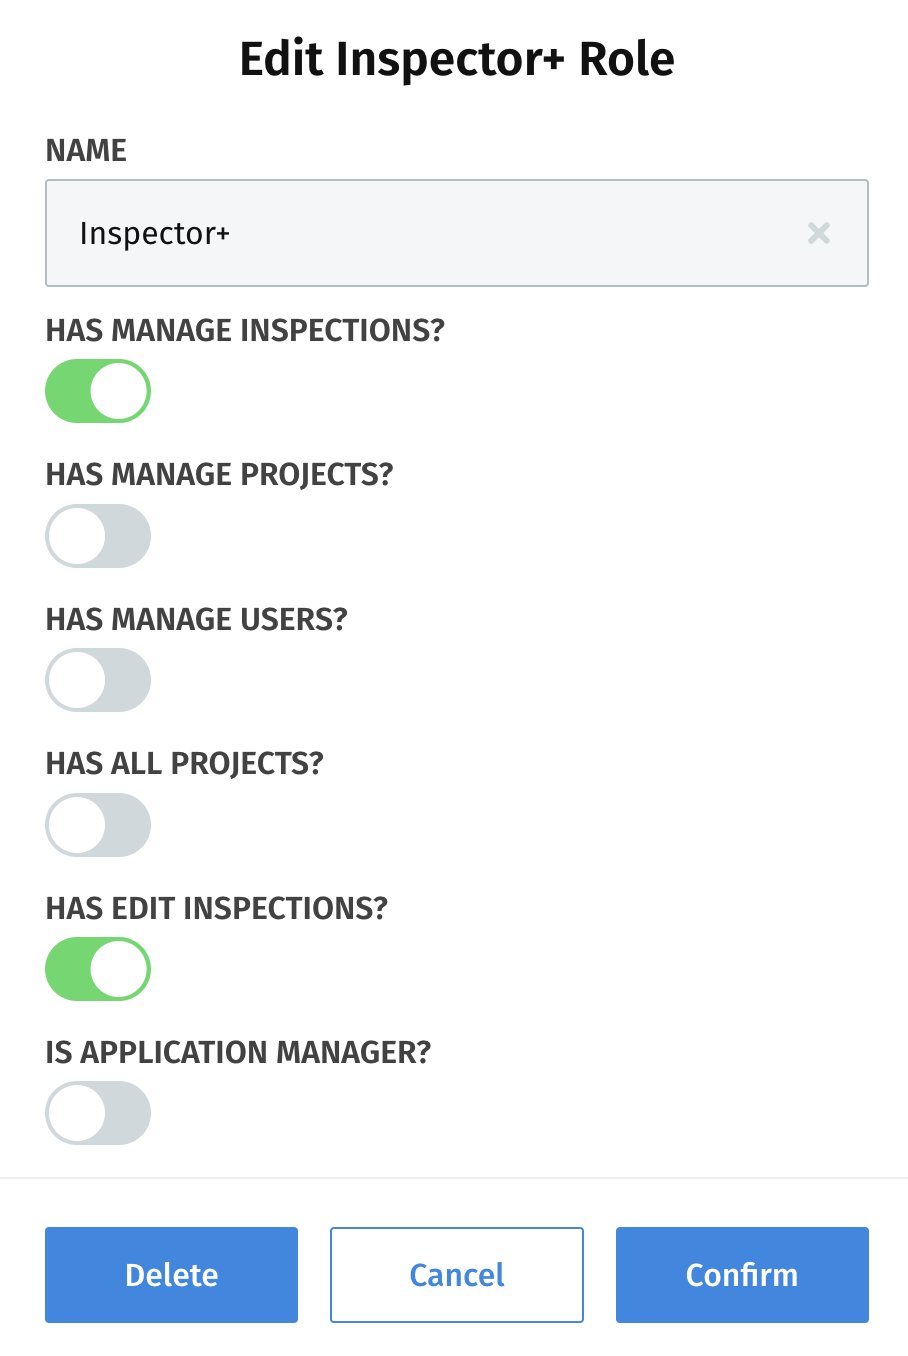
Inspector Manager+ users can also complete a variety of actions within the manage roles page. They can edit the role permissions and role name by selecting the edit icon next to the role name. After the popup appears, they can adjust the permissions and rename the role name.
Additionally, Inspector Manager+ users can delete the role within the edit role popup
Inspector Manager+ Mobile App Settings
Inspector Manager+ users are able to view and manage their mobile settings by selecting "Mobile App Settings" within the settings section of the navigation
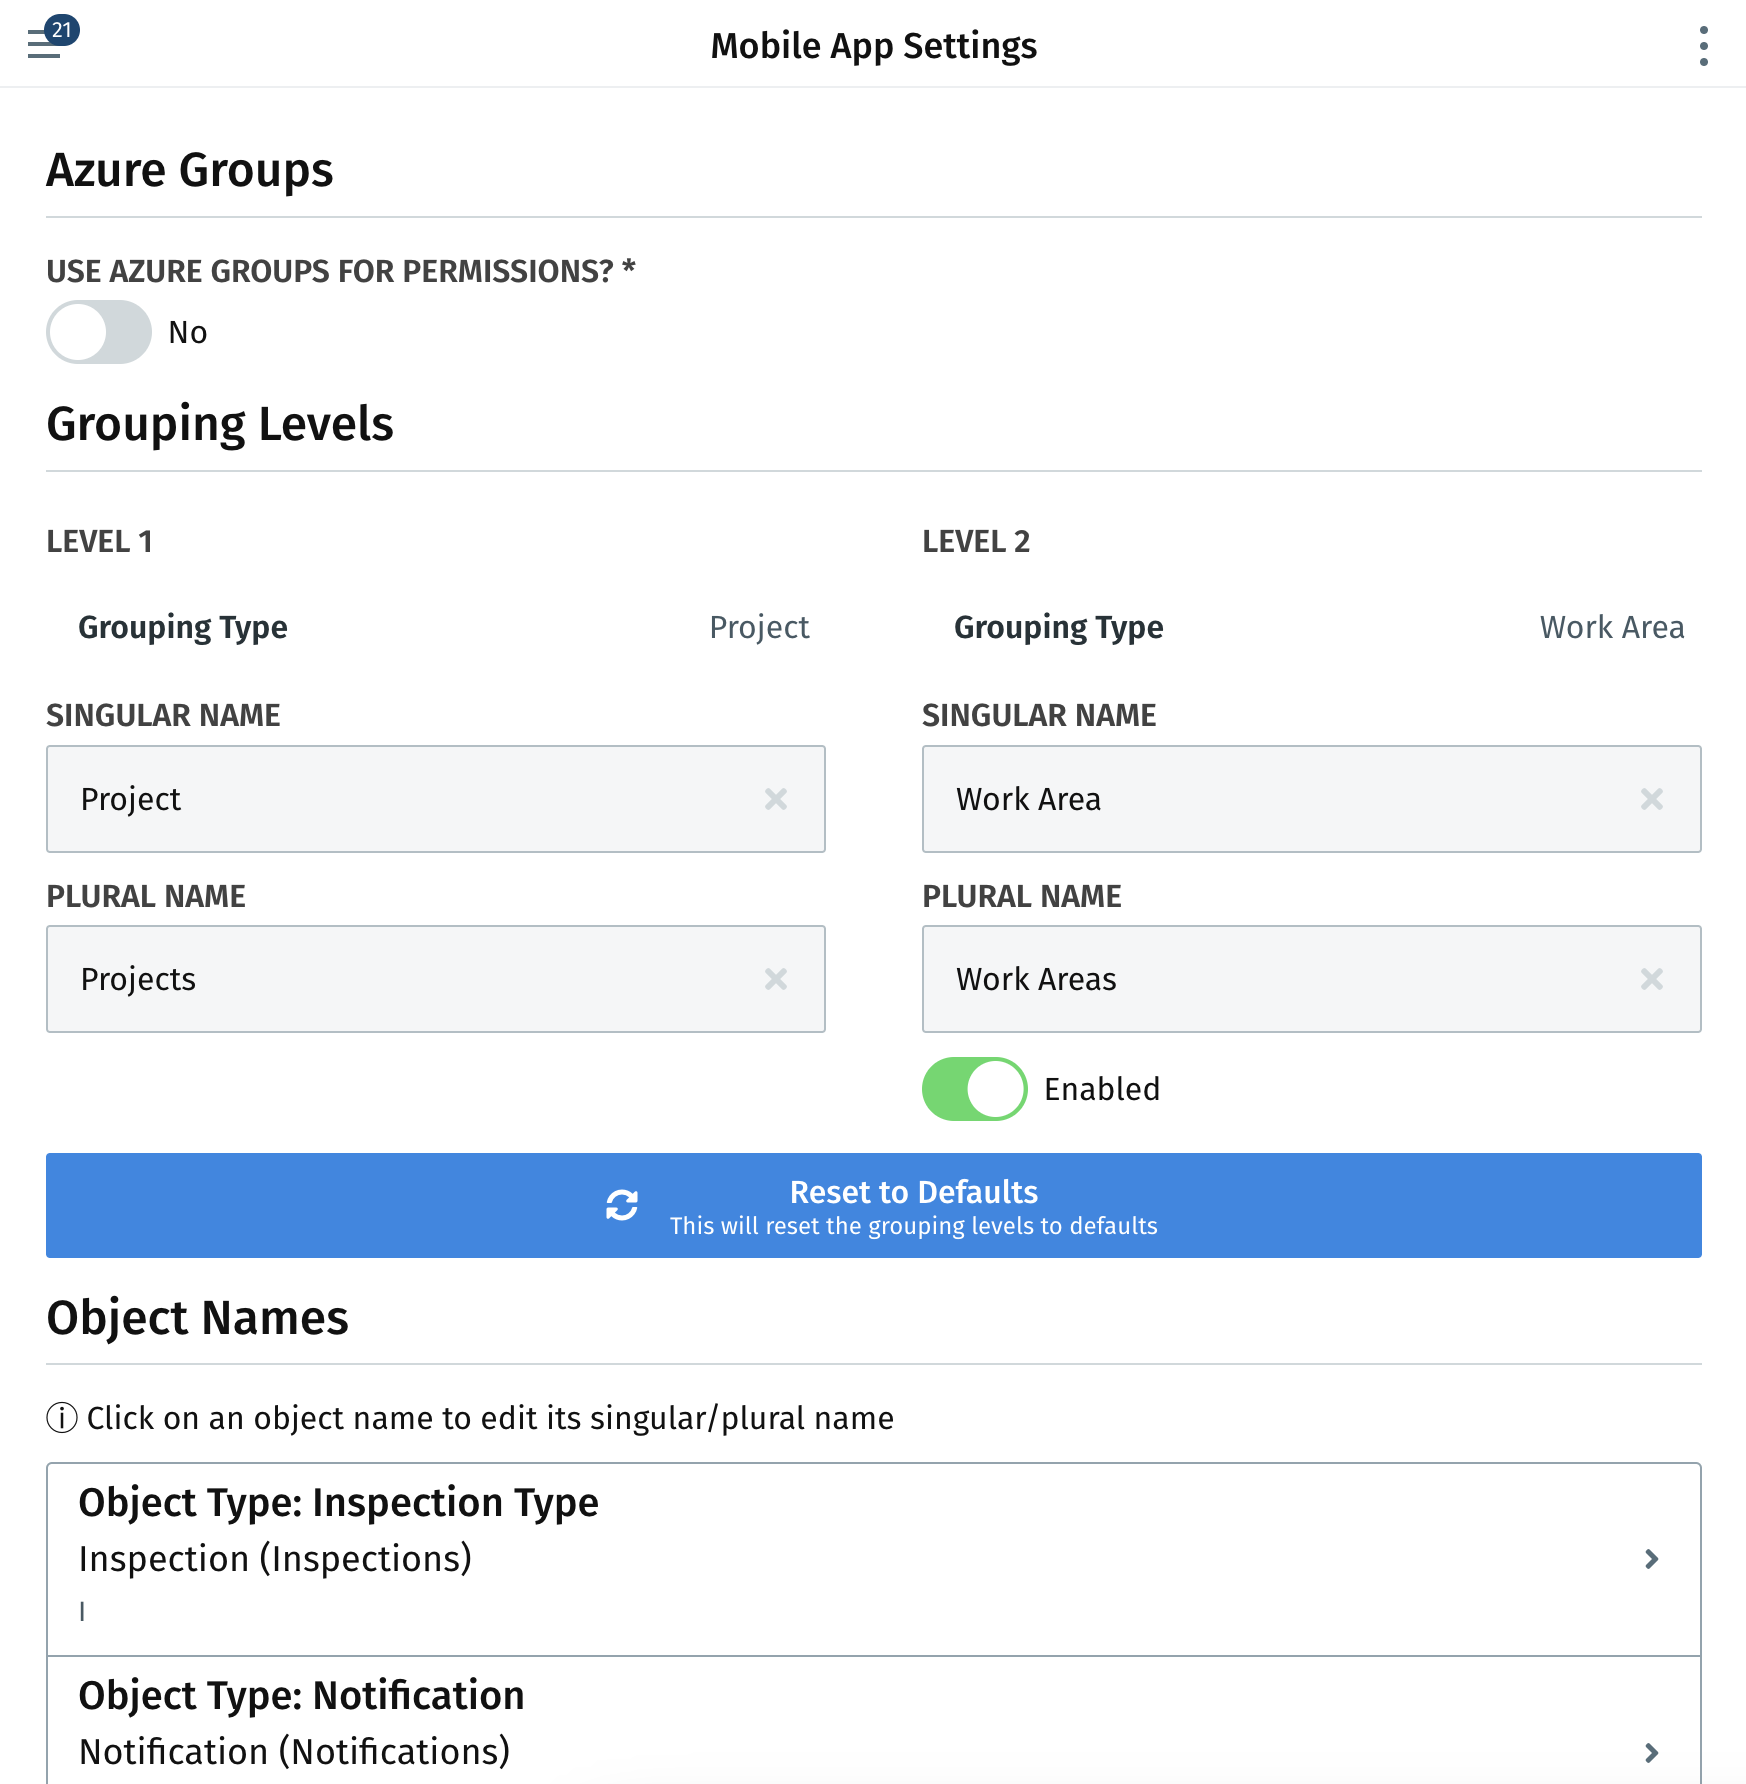
Within the mobile app settings, Inspector Manager+ users can toggle on if they would like to use Azure groups for permissions which maps the user's azure groups to roles. Then, when a user logins via SSO, the user's groups are evaluated and any matches will map the user to those role(s), also granting the user permissions for the app.
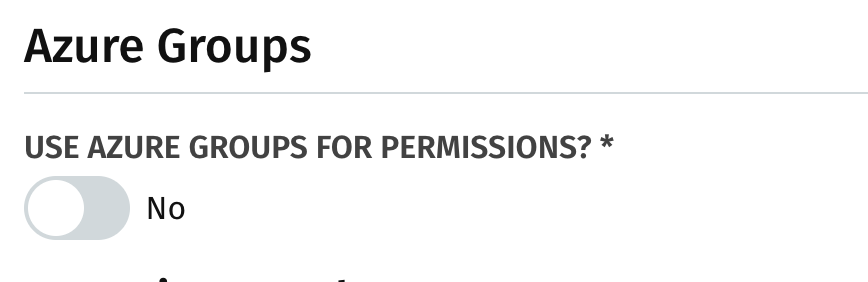
Once this is enabled Azure Group ID's can be mapped to Roles within the Application.
Inspector Manager+ users can also manage the grouping levels and naming conventions within their Inspection Management application by simply editing the names within the fields:
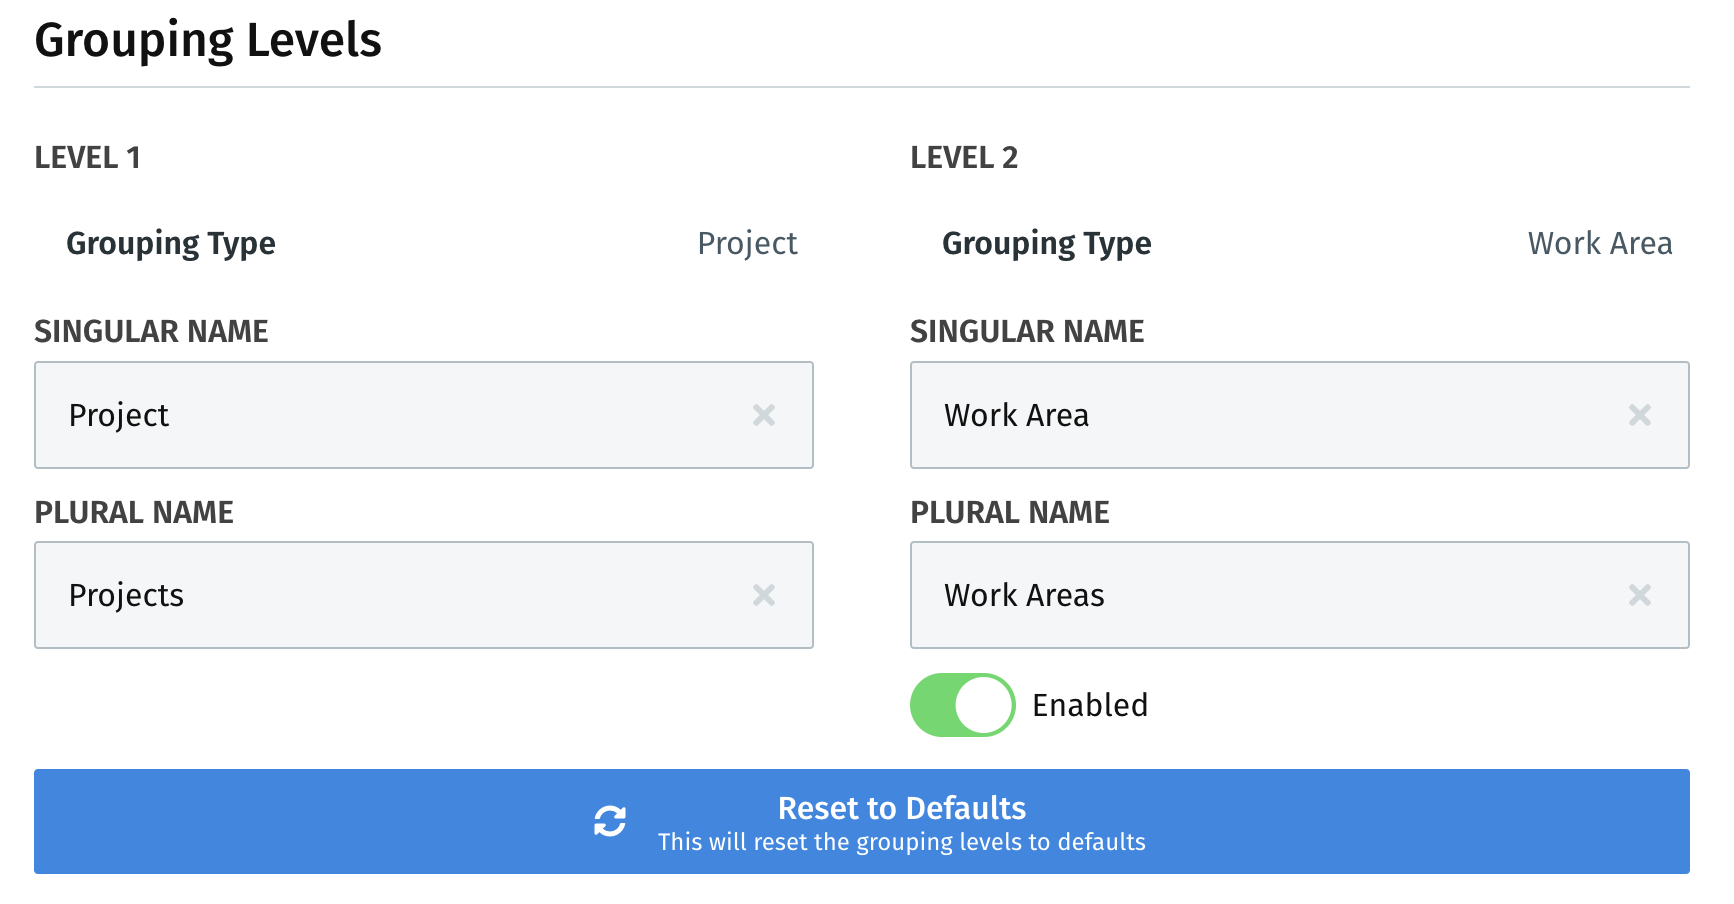
If the Inspector Manager+ user wants to reset back to the default fields they can easily do so by selecting the "Reset to Defaults" button.
Inspector Manager+ users have the ability to adjust the object names within their application as well by clicking on the object name to edit
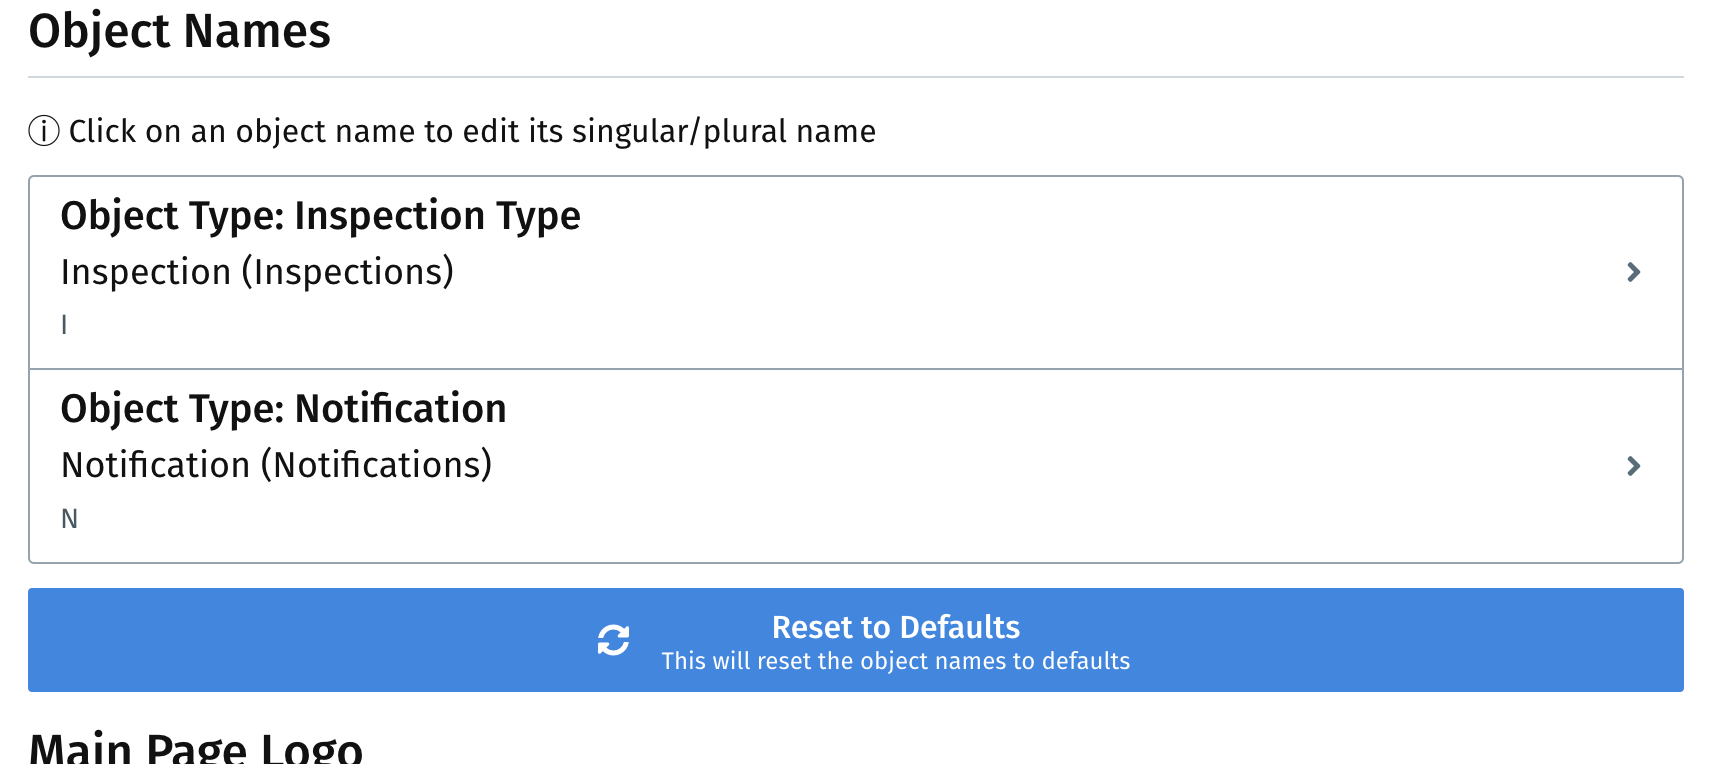
Like grouping levels, Inspector Manager+ users can reset back to the default objects by selecting the "Reset to Defaults" button within the object section.
Lastly, Inspector Manager+ users can manage the main page logo within the mobile app settings page by selecting "retake photo" and choosing a picture as their main page logo
![]()