Deployment And Set Up
The app can be downloaded here under Construction Management: https://appinstall.xyz/teamim/list
Setting Up Authentication on the App The authentication should be set up already on the app, but if it is not, reach out to TEAM IM support (support@teamim.com) stating you would like to add AD Auth to a deployment with the following:- Oxide link (can be copy and pasted from URL in browser)
![]()
- App Icon (1024x1024 pixel icon in PNG format)
- App Launch Screen (2208x2208 pixel image in PNG format)
The JA Integration vault app is what allows for communication between M-Files and Journey Apps. The steps to install are the following:
- Download the zipped file provided by TEAM and extract it to desktop
- Open M-Files Admin
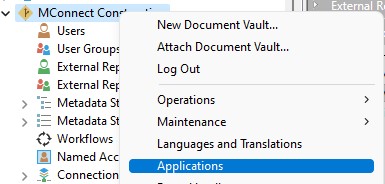
- On the left side pane, right click on the vault you wish to install, then click “Applications”
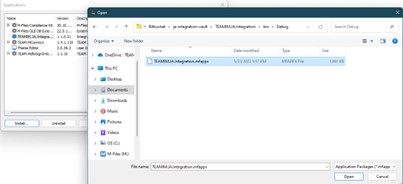
- In Applications, click on Install, and navigate to the .mfappx file in the extracted folder
- Click on the installed vault app, then click “License”. A license management popup will open.
- Click on “Install License” and select the .lic file provided in the extracted folder.
- Confirm that the license is valid. If it is not, please contact TEAM Support.
The JA app requires certain properties to be present in M-Files to work correctly. To easily create those, import the content pack provided in the deliverables:
- Download the zipped file provided by TEAM and extract it to the desktop
- Open the M-Files Admin
- On the left side pane, click on the vault dropdown
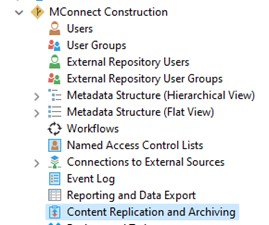
- Select “Content Replication and Archiving”
- In Content Replication and Archiving, click on One-time Import, select the corresponding index file provided in the deliverables, then click OK
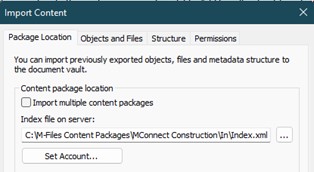
- The content import should be successful, and all objects, classes, and properties are set up.
From the deliverables in the zip file provided by TEAM, download the Synced Surveys Configurations.
Perform the following steps:
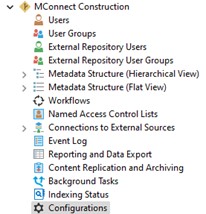
- Open M-Files Admin, expand the vault dropdown, and select Configurations

- Under Other Applications, click on the dropdown for “TEAMIM.JA.Integration”, then expand the dropdown for Configuration
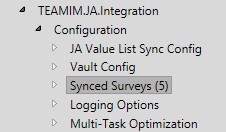
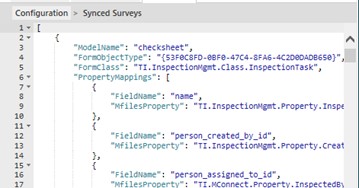
- Click on Synced Surveys, then click on Advanced on the right

- Copy and paste the Synced Survey Configurations into the Advanced tab and click save
From the deliverables in the zip file provided by TEAM, download Metadata Card Configurations. Perform the following steps:
- Open M-Files Admin, click on the vault dropdown, and select Configurations
- Click on Metadata Card, then click on Configuration
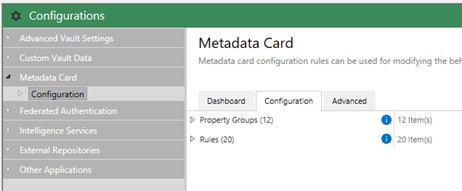
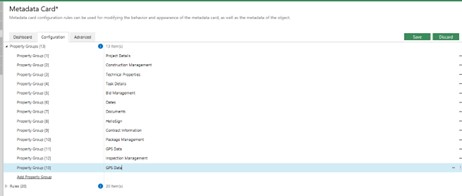
- Expand the Property Groups and add “GPS Data”
- Add a Rule called Inspection Management and save
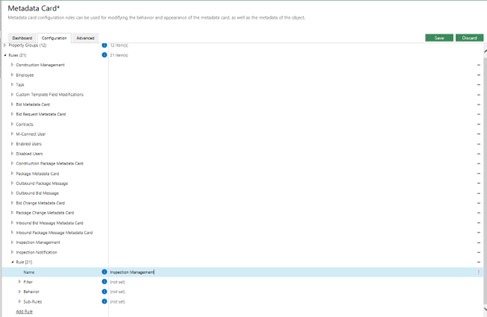
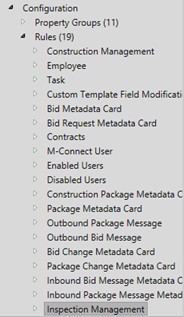
- Expand the Metadata Card dropdown, then expand the Configuration dropdown, and then expand the Rules dropdown
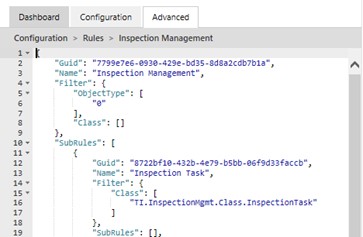
- Click on Advanced

- Copy and paste the Metadata Card Configurations into the Advanced tab and click save