Entra ID (Azure AD) Configuration
Users can be stored in Entra ID or an M-Files Vault. The following configurations are required if using Entra ID as the User Store.
Create User Provisioning Client App
Create the app
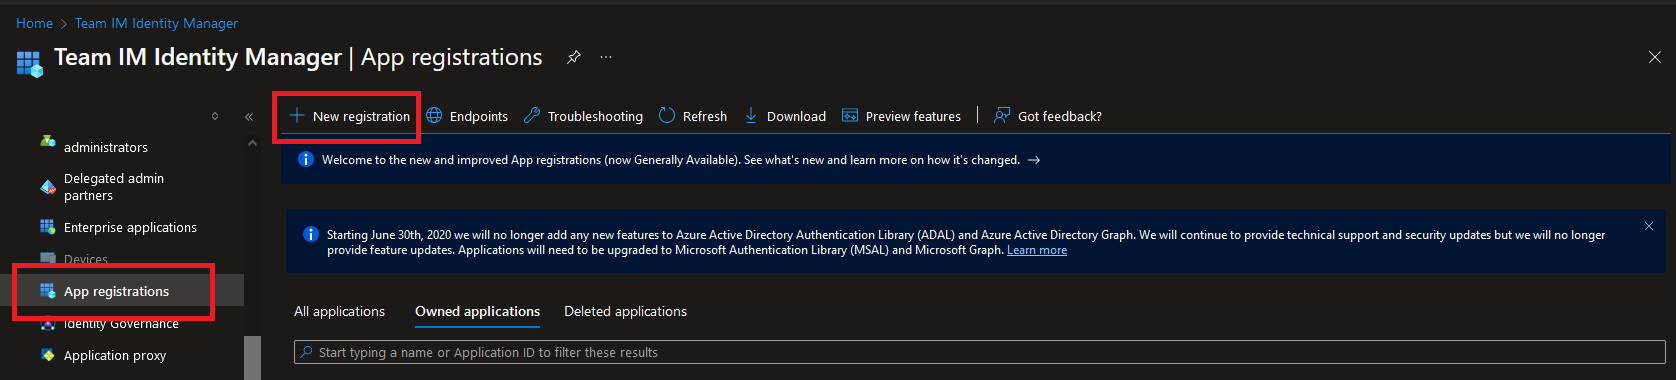
First, a client app must be created within your Azure tenant. Browse to the "App Registrations" section within Entra ID and select the "New registration" link.
Enter a "Name", set the "Supported account types" based on your organization's needs, and change the "Redirect URI" to SPA with your Identity Manager M-Connect URL as the value.
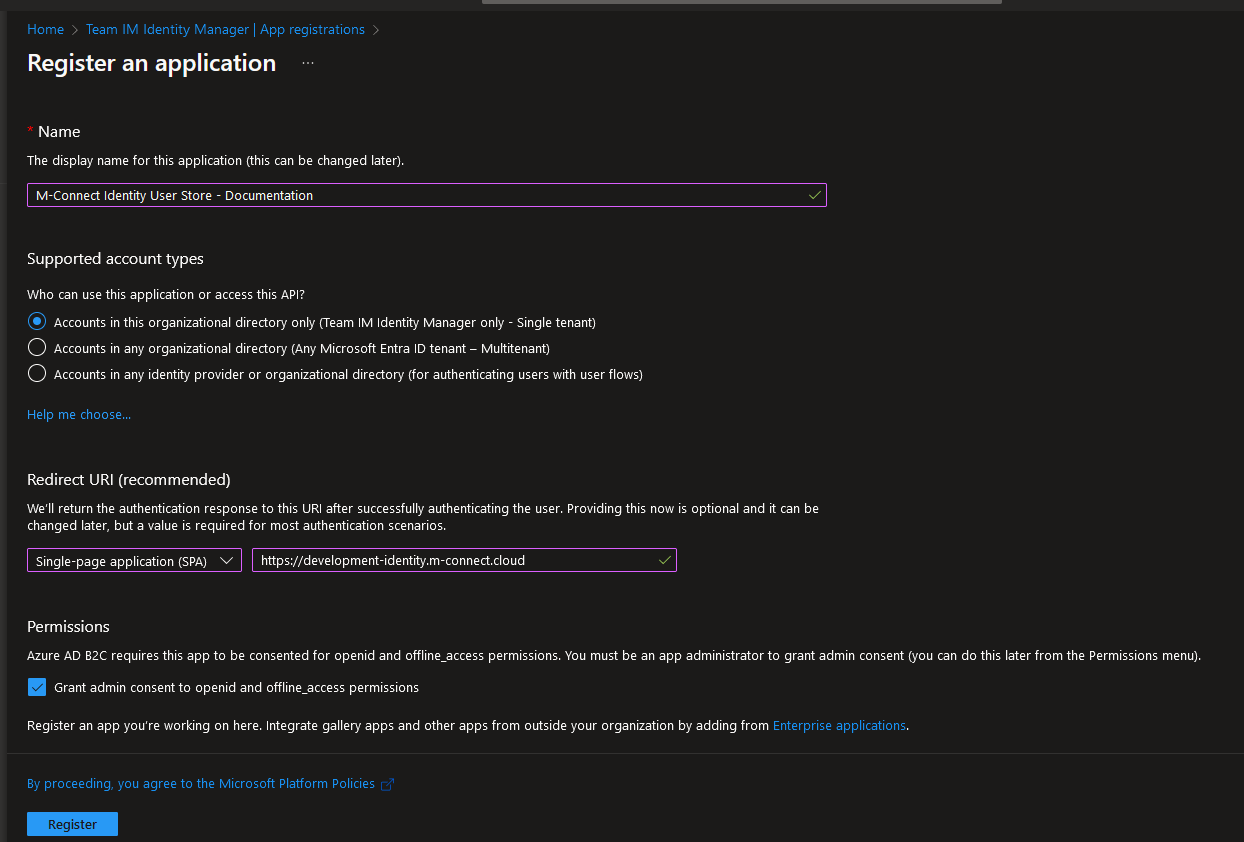
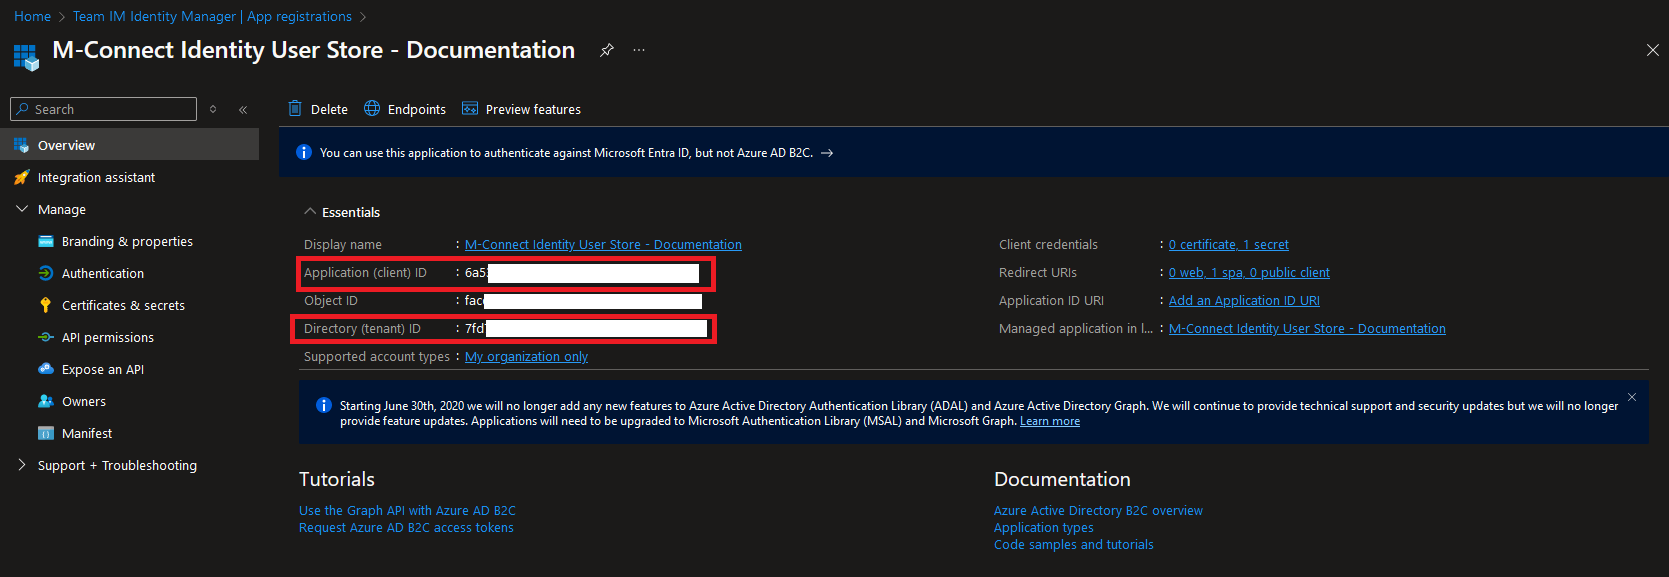
Press the Register button to register the new app. The overview page provides the details needed to configure AD as the User Store in M-Connect. Take note of the Application (client) ID and Directory (tenant) ID from this page.
Add Permissions
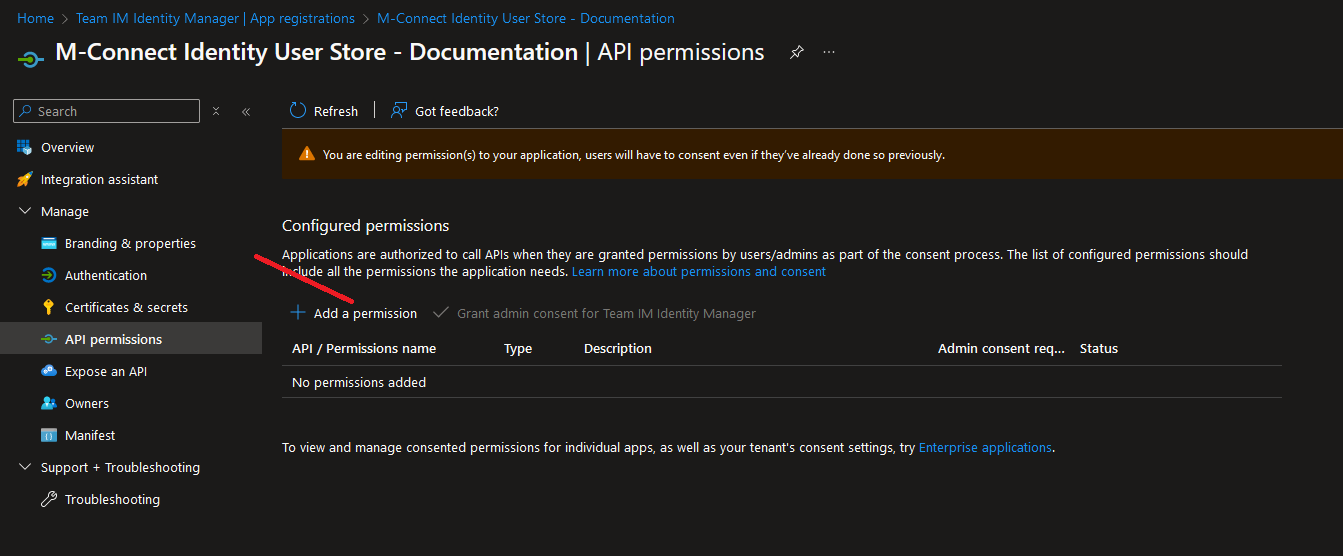
After the app has been created, browse to the "API permissions" section. Revoke admin consent and remove any permissions already present then select the "Add a permission" link.
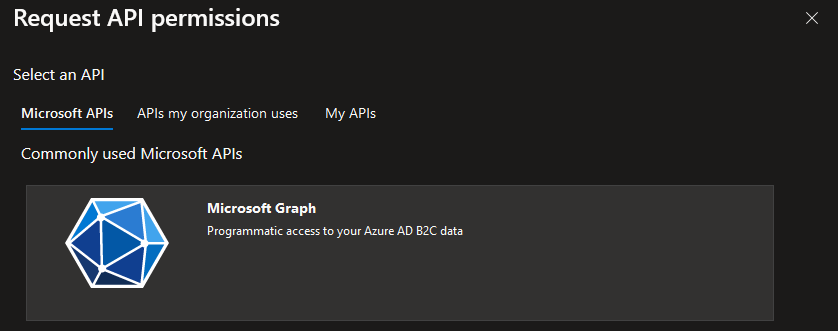
Select the Graph API.
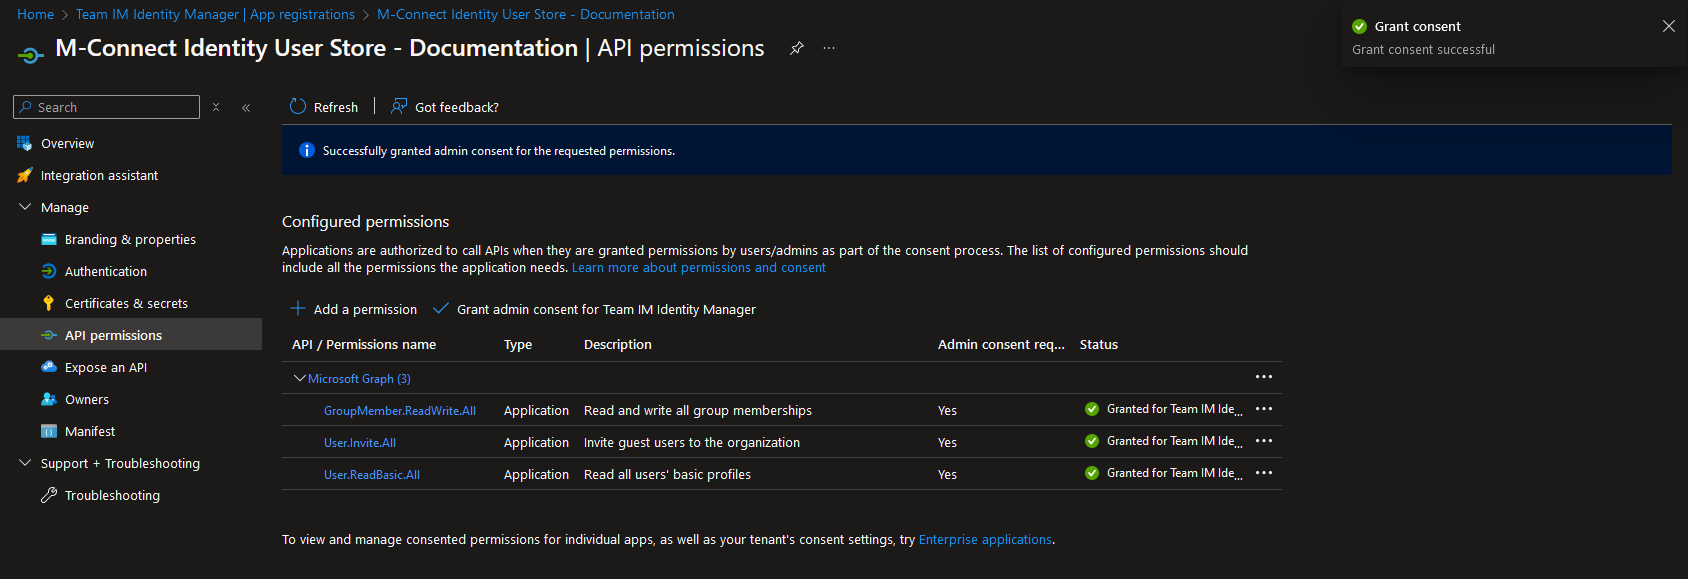
Add the following permissions (all as Application permissions) then select the "Grant admin consent for tenant" link.
GroupMember.ReadWrite.All
User.Invite.All
User.ReadBasic.All
Confirm the permissions are all set and have the status of Granted.
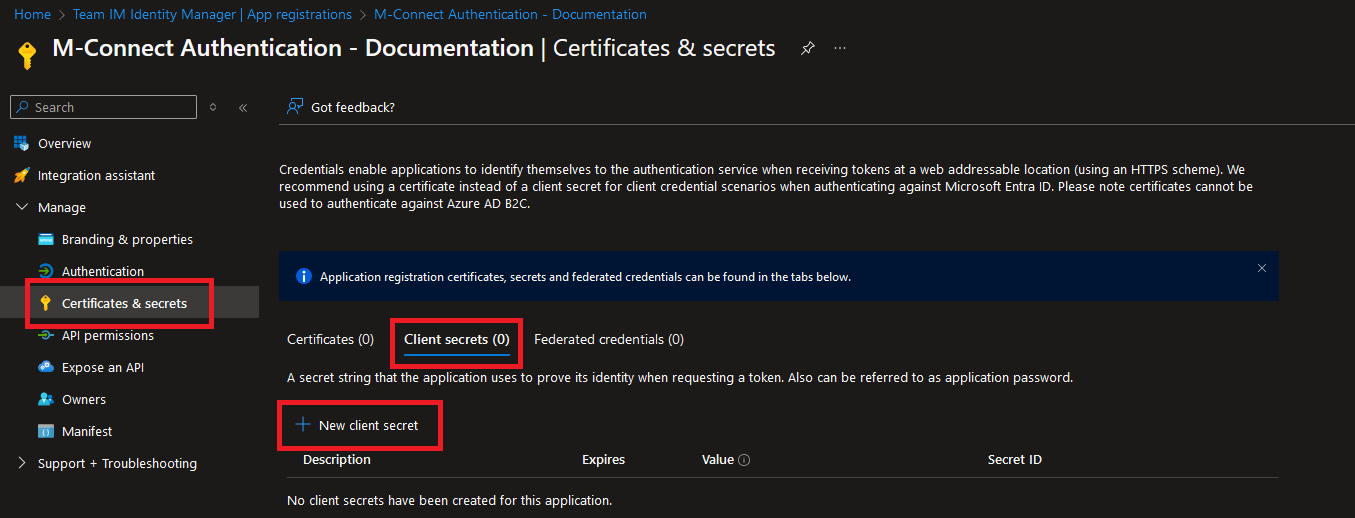
Create Client Secret
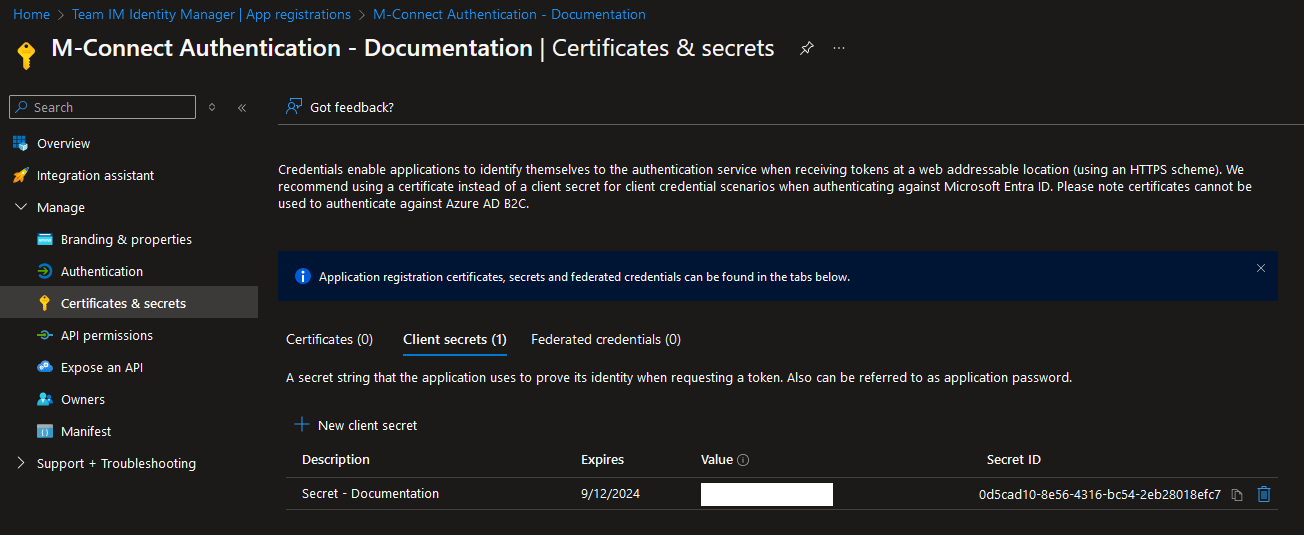
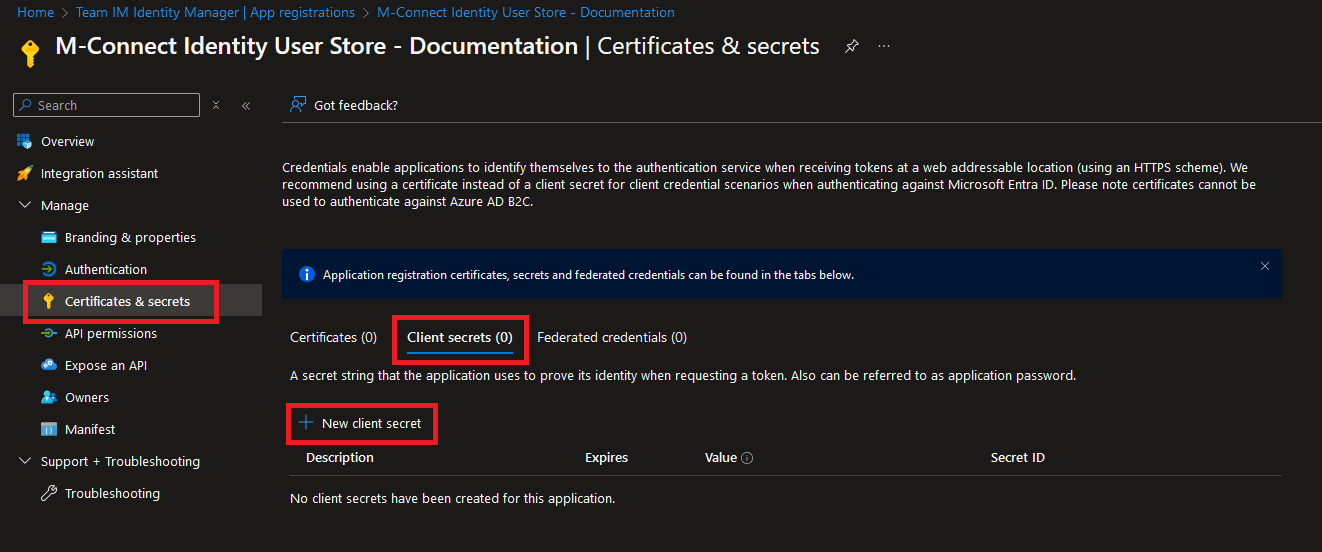
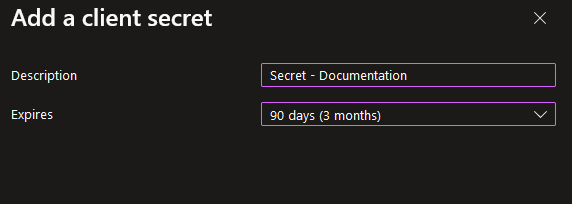
Browse to the "Certificates & secrets" section and select the "New client secret" link.
Enter a description and expiration date based on your organization's needs.
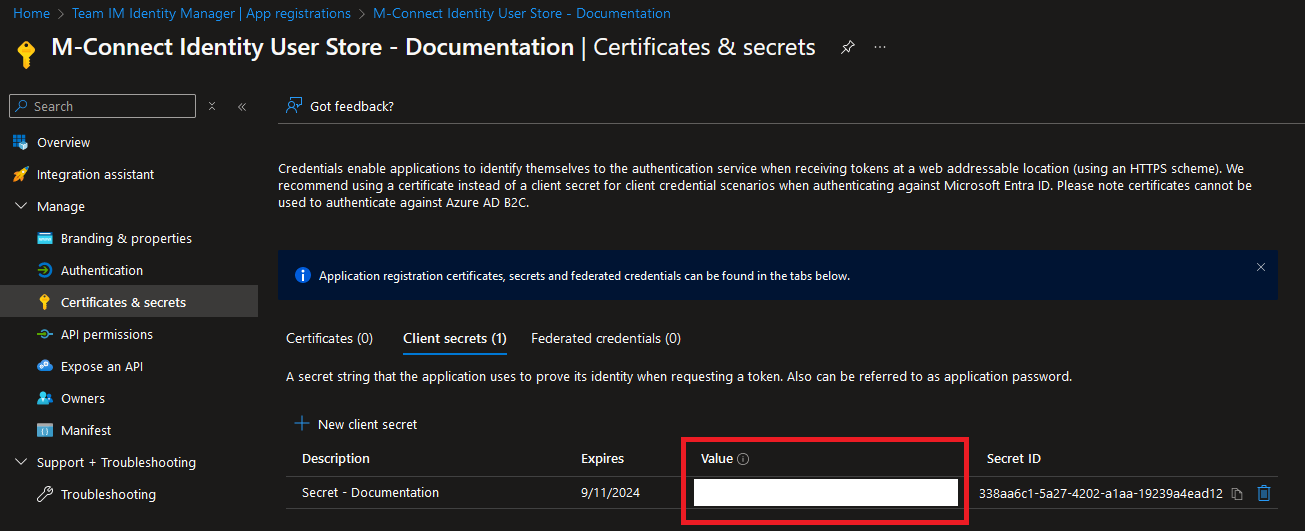
Save the secret in a secure location, it will be used when configuring the User Store in M-Connect.
Create M-Connect User Group
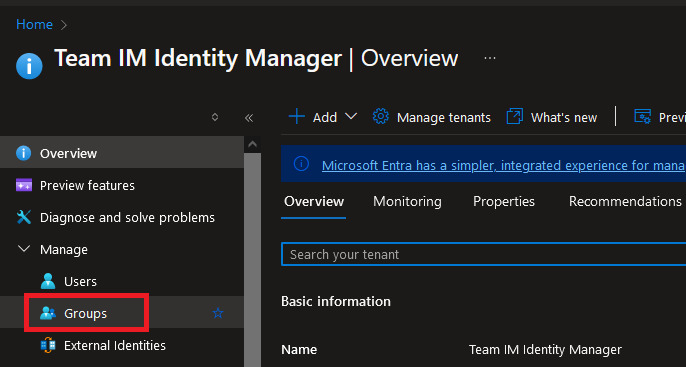
From the main Entra ID page, select Groups then select new group.

Fill out the group details as needed then click create.
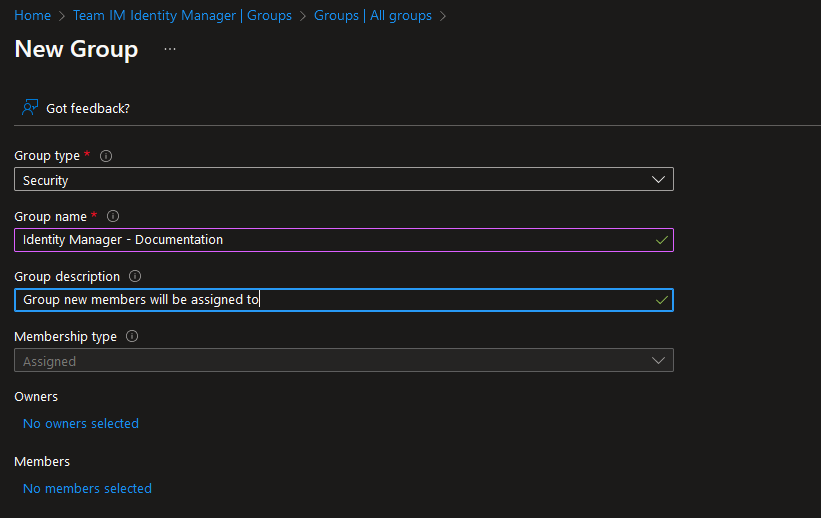
Select the group from the list and take note of the group name and group ID.
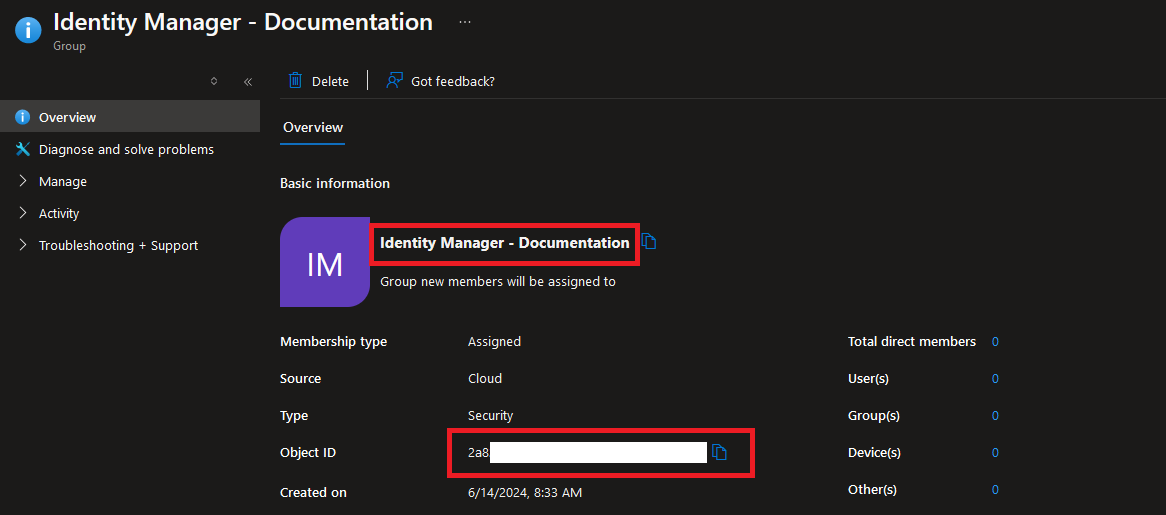
When configuring the User Store in Identity Manager, M-Connect Users will be mapped to a specific AD Group.
Users added to this group can be controlled by Identity Manager and will be synced to M-Connect applications.
Create Authentication Client App
Create the app
First, an additional client app must be created within your Azure tenant. Browse to the "App Registrations" section within Entra ID and select the "New registration" link.
Enter a "Name", set the "Supported account types" based on your organizations needs, and change the "Redirect URI" to web with the following Redirect URI, updating the hostname to match your M-Connect site.
https://yoursite.m-connect.cloud/api/login/azure/callback
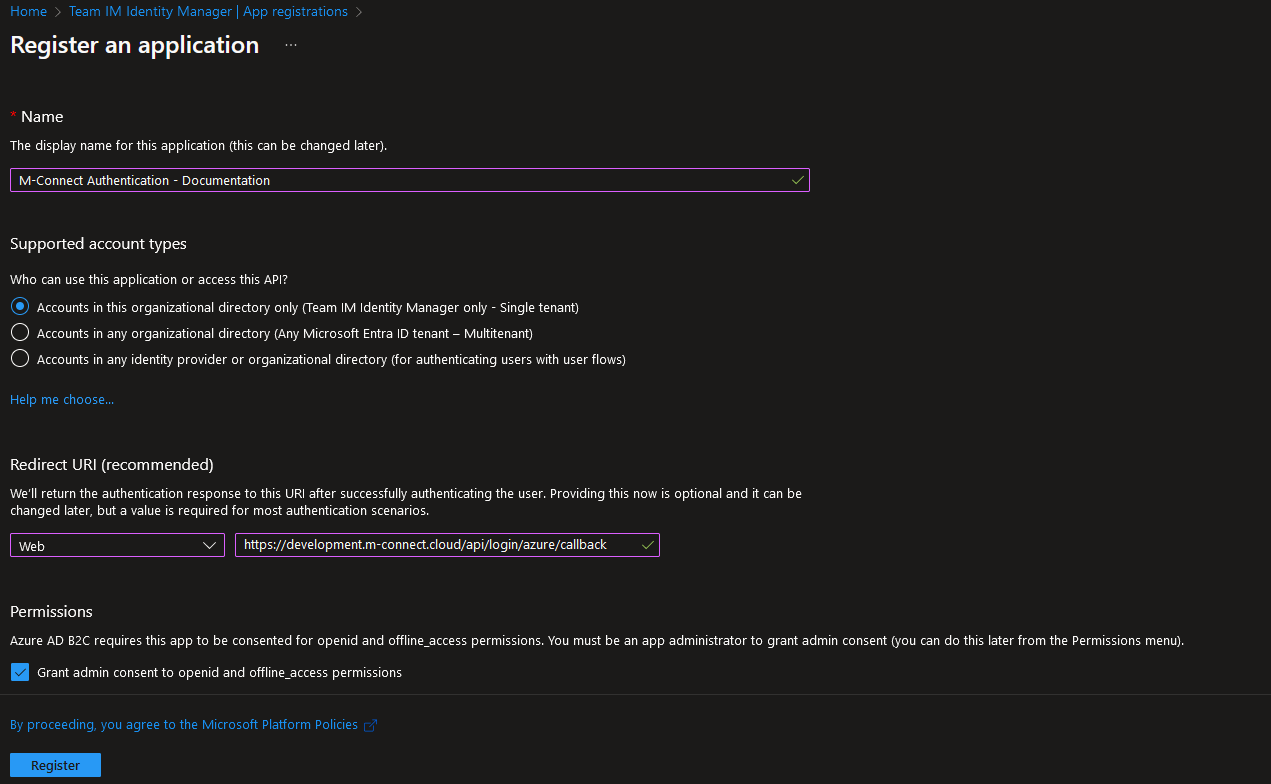
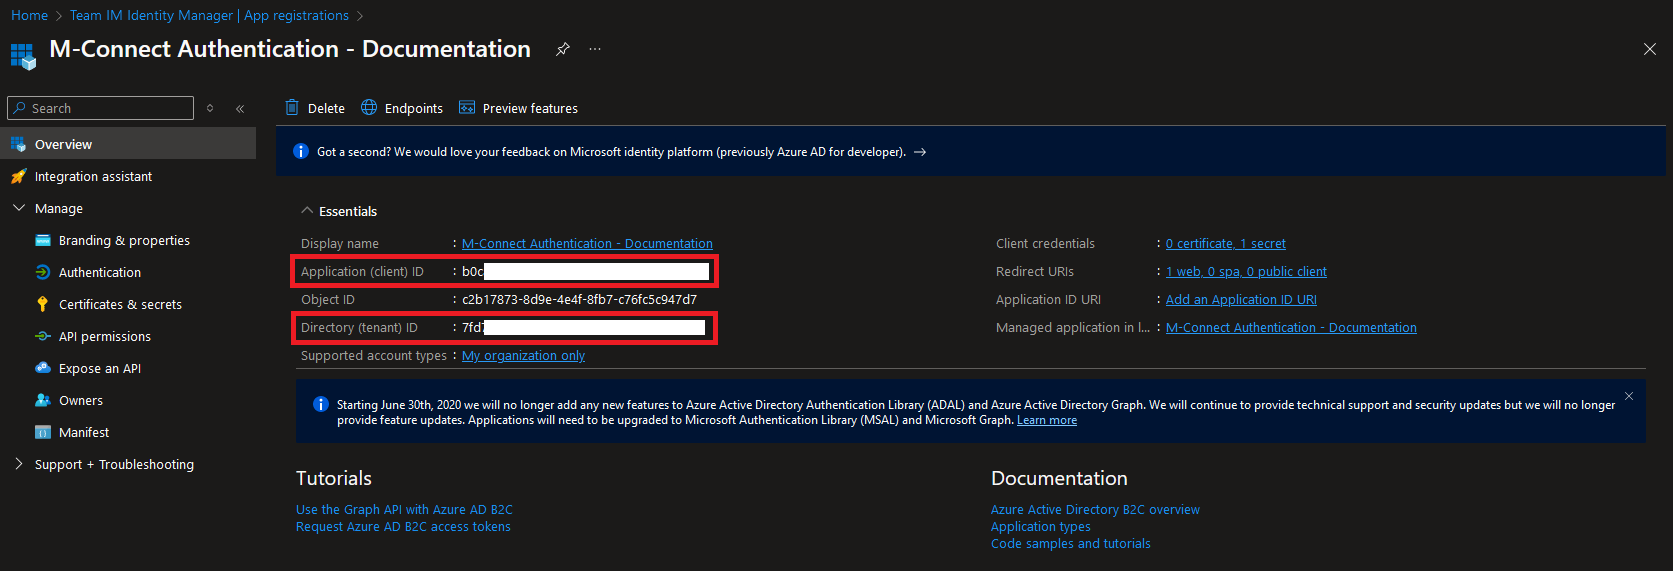
Press the Register button to register the new app. This will provide the details needed to configure Entra ID as the authentication provider for M-Connect. Take note of the Application (client) ID and Directory (tenant) ID from this page.
Add Permissions
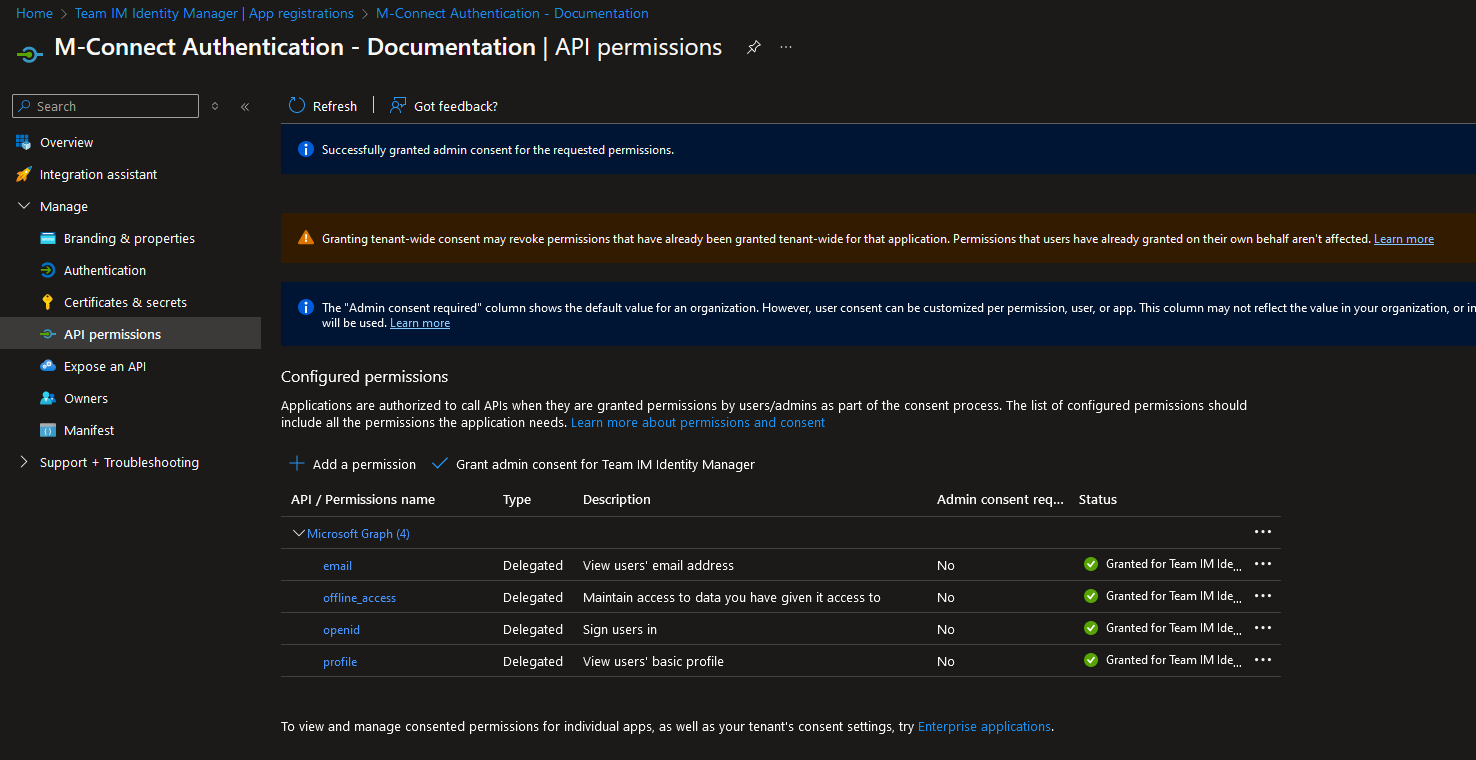
After the app has been created, browse to the "API permissions" section. Revoke admin consent and remove any permissions already present then select the "Add a permission" link.
Select the Graph API.
Add the following permissions (all as Delegated permissions under OpenId permissions) then select the "Grant admin consent for tenant" link.
email
offline_access
openid
profile
Confirm the permissions are all set and have the status of Granted.
Create Client Secret
Browse to the "Certificates & secrets" section and select the "New client secret" link.
Enter a description and expiration date based on your organization's needs.
Save the secret in a secure location, it will be used when configuring the User Store in M-Connect.