Initial Setup
Configure Initial Vault Connection
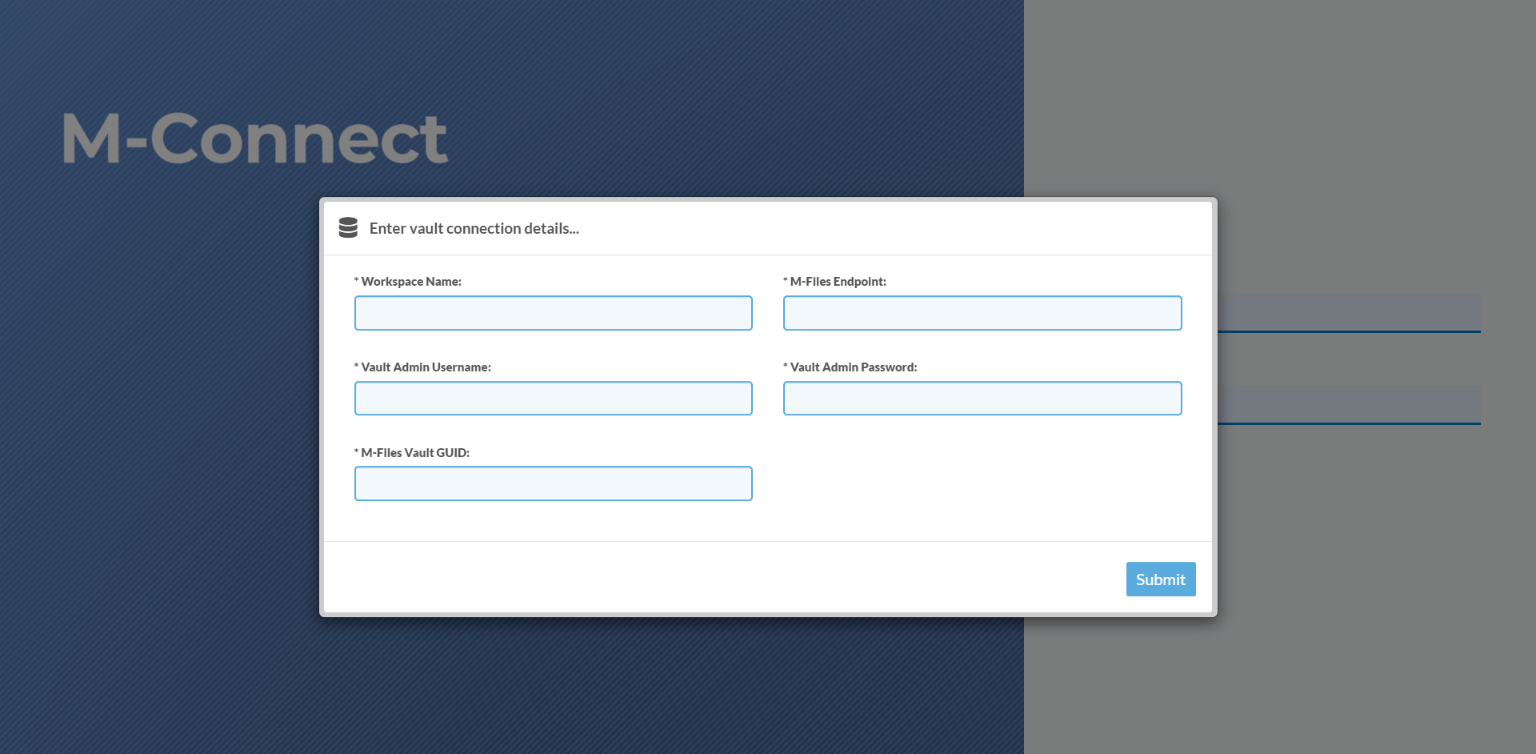
When visiting an M-Connect site for the first time, a vault connection configuration screen is displayed.
To setup your M-Connect site:
- Enter the following vault connection details:
- Workspace Name - The name of the site
- M-Files Endpoint - The URL of the M-Files server on which the vault is (e.g. https://mfiles.yourcompany.com)
- M-Files Vault GUID - The unique ID associated with the vault, surrounded by curly brackets (e.g. {123AB555-457C-4575-B9F3-2E0E0FABD4D2})
- Vault Admin Username - The username of a user with vault admin rights
- Vault Admin Password - The password of a user with vault admin rights
- Press the Submit button.
- M-Connect performs a test to ensure the vault user is valid and has admin permissions to the vault. After this completes, the page will refresh.
Setup Wizard
The first time you login the Setup Wizard is displayed.
- Login to M-Connect with the service user admin account.
- The first step allows you to edit basic information regarding the Portal Framework site:
- Site Name - The name of the portal, which will be used throughout the site.
- Display in Header - When enabled, the site name is displayed within the site header.
- Site Logo - Displayed within the site header and used when communicating with users via email. The logo is optional and can be used in combination with or instead of the site name.
- Recommended logo specs: transparent .png @ 750px width x 250px height
- Site Favicon - Displayed within the browser tab and used when users bookmark the site.
- Recommended favicon specs: transparent .png @ 125px width x 125px height

- Press the Next button to continue.
- The next step allows you to select which widgets you would like to enable. We suggest the Rich-text, Data View, and View widgets as a starting point. These settings are also accessible on the Global Settings page.
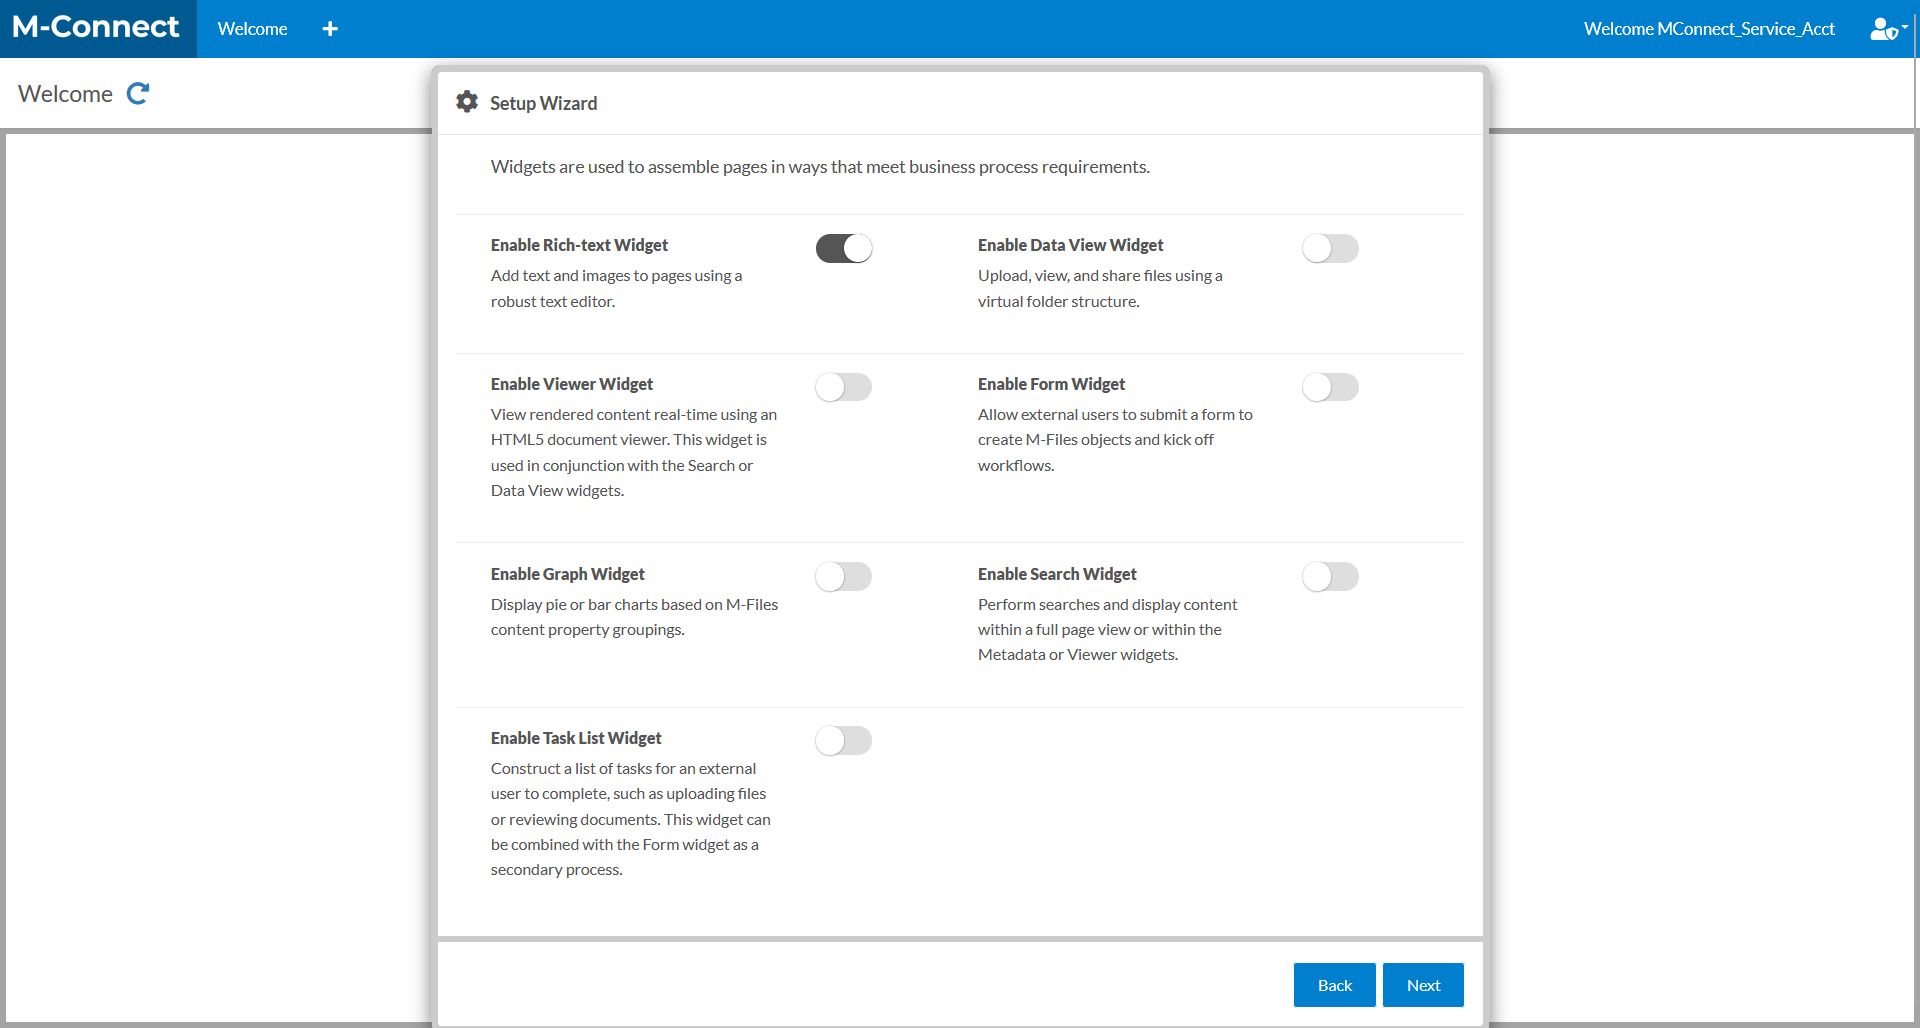
- Press the Next button to finish the setup wizard.